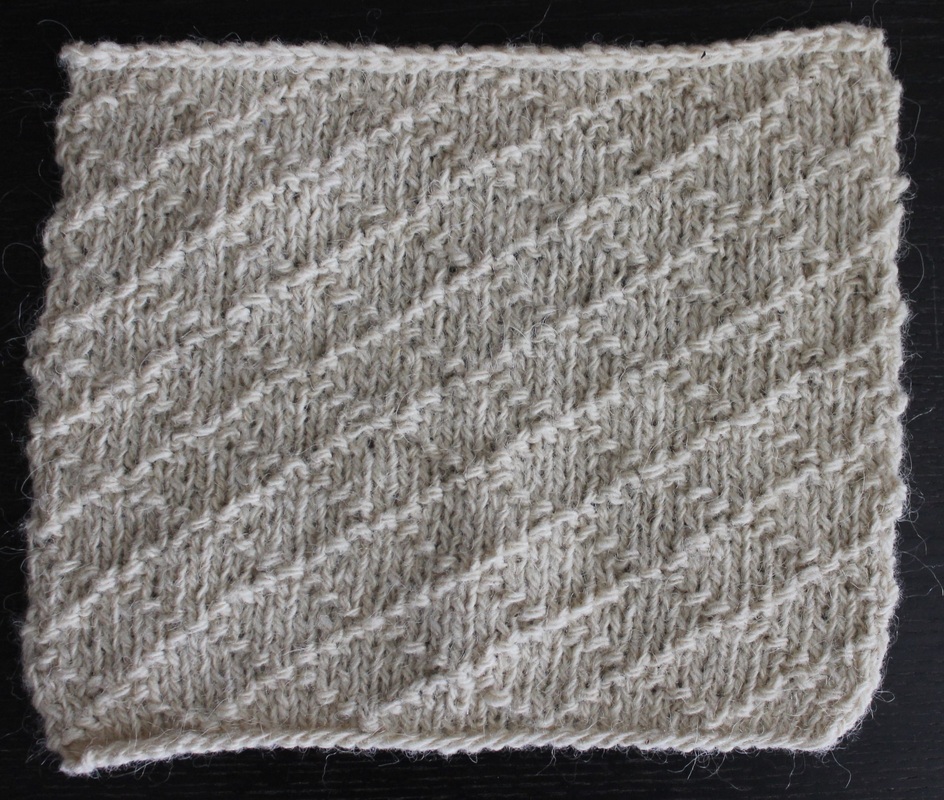
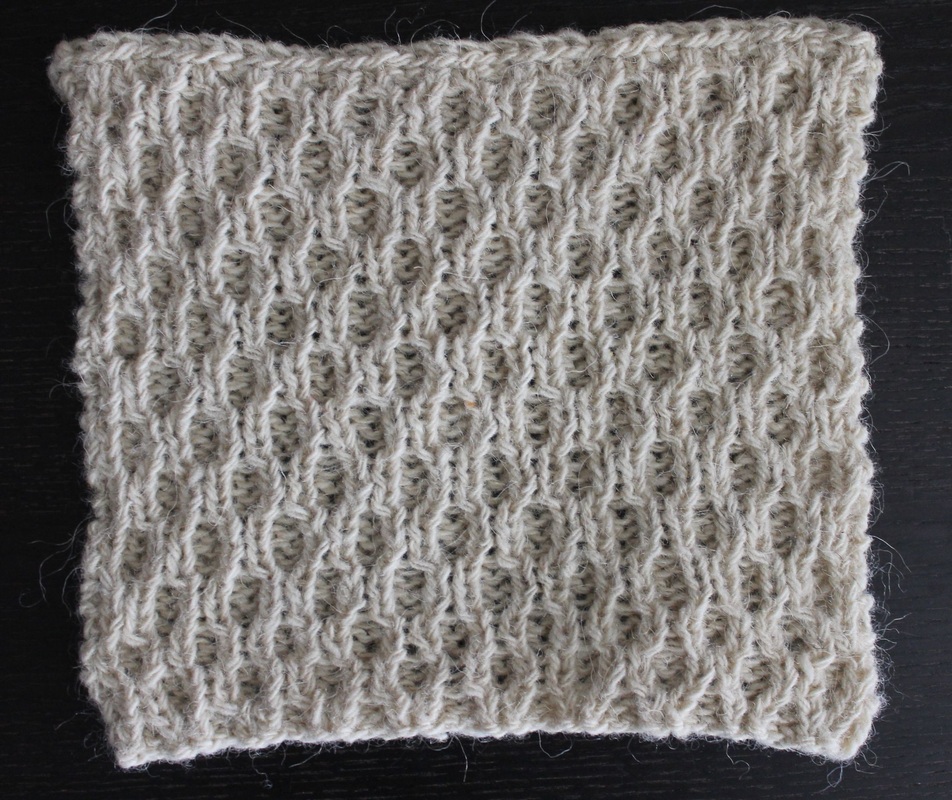
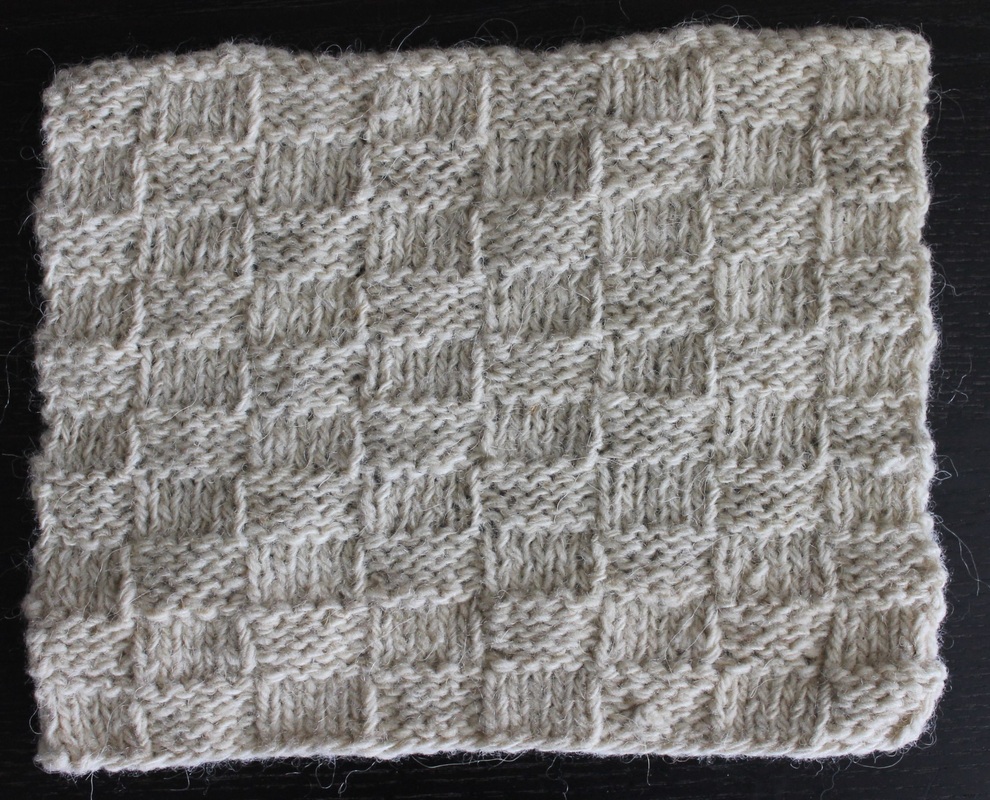
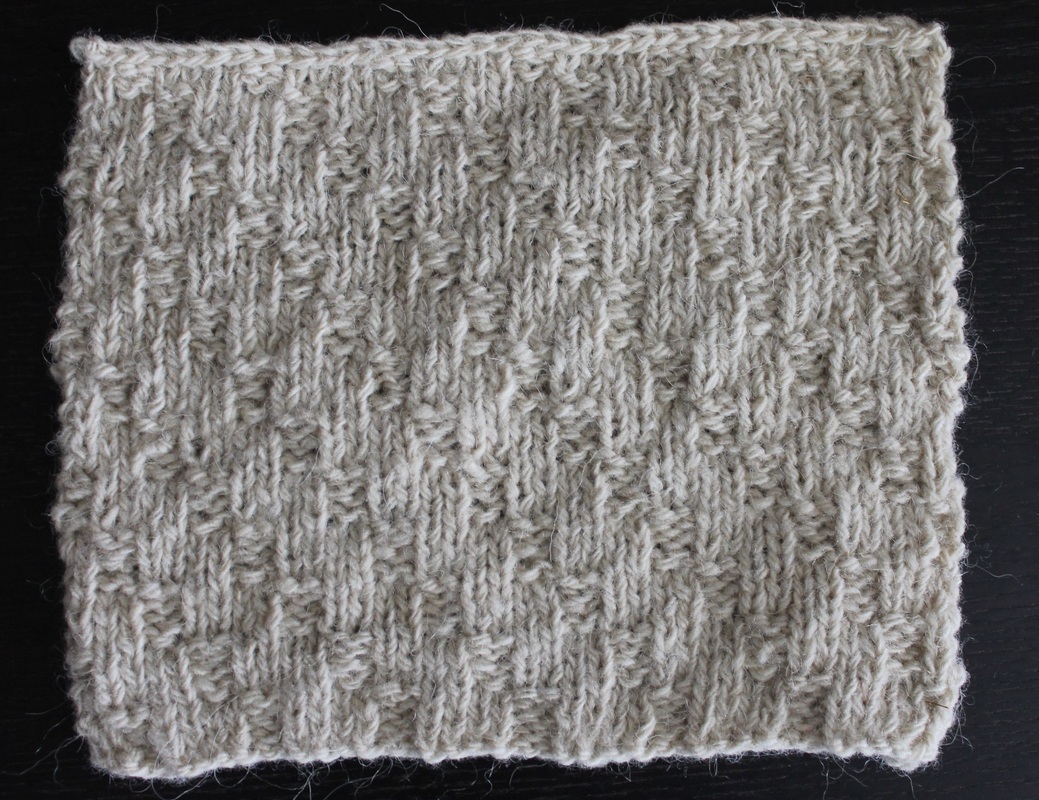
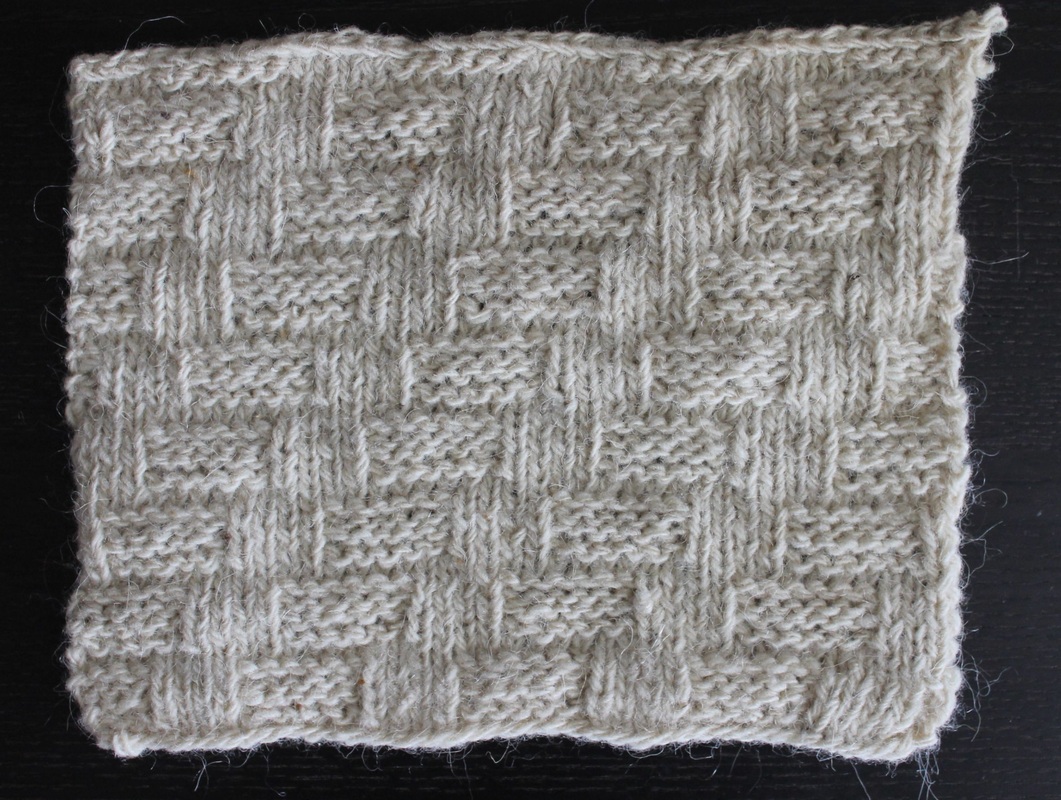
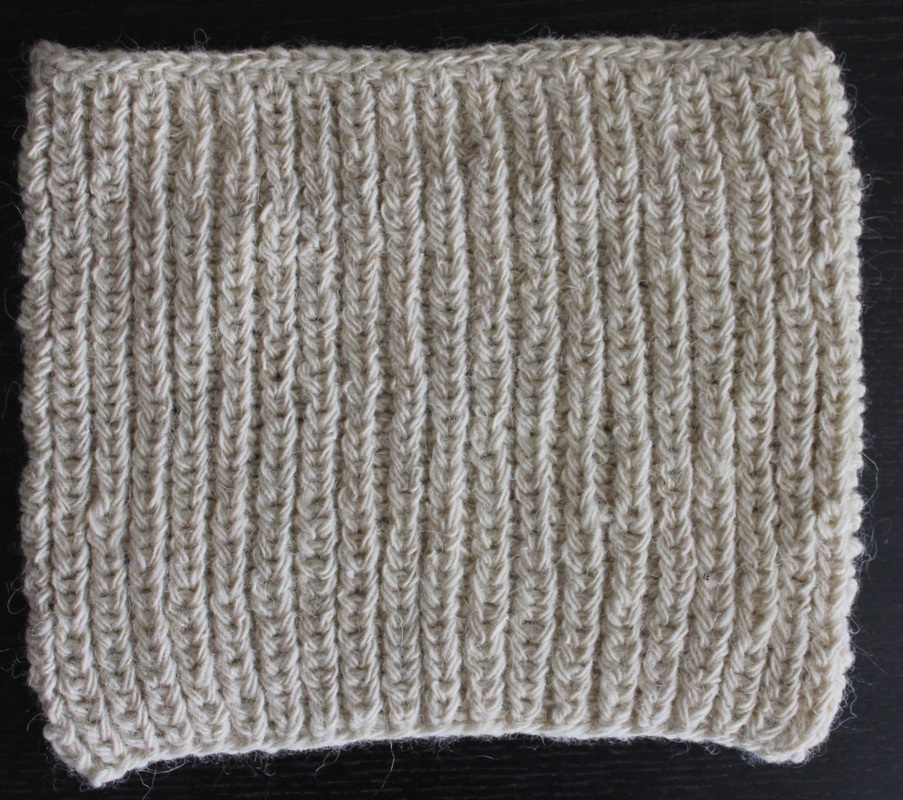
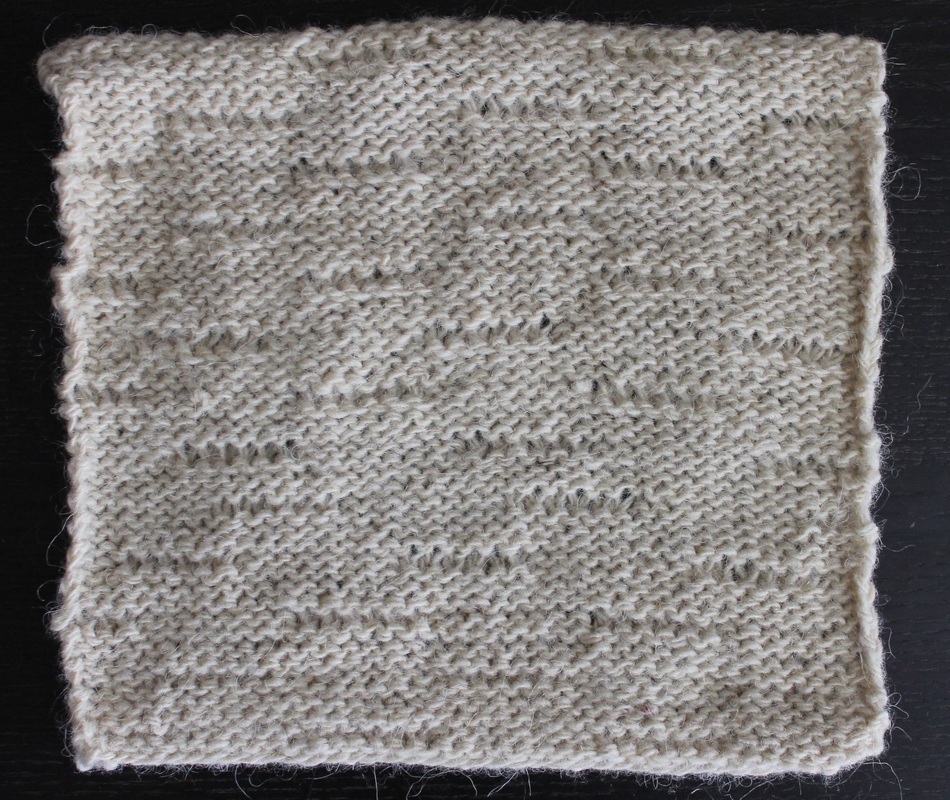
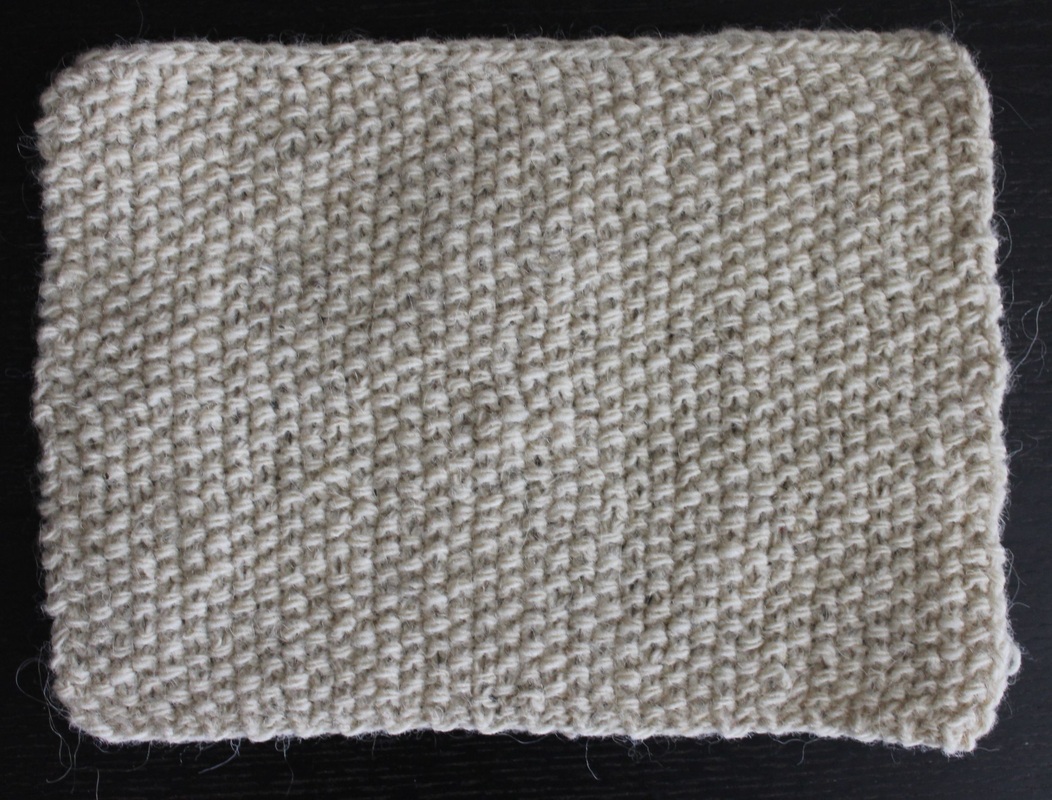
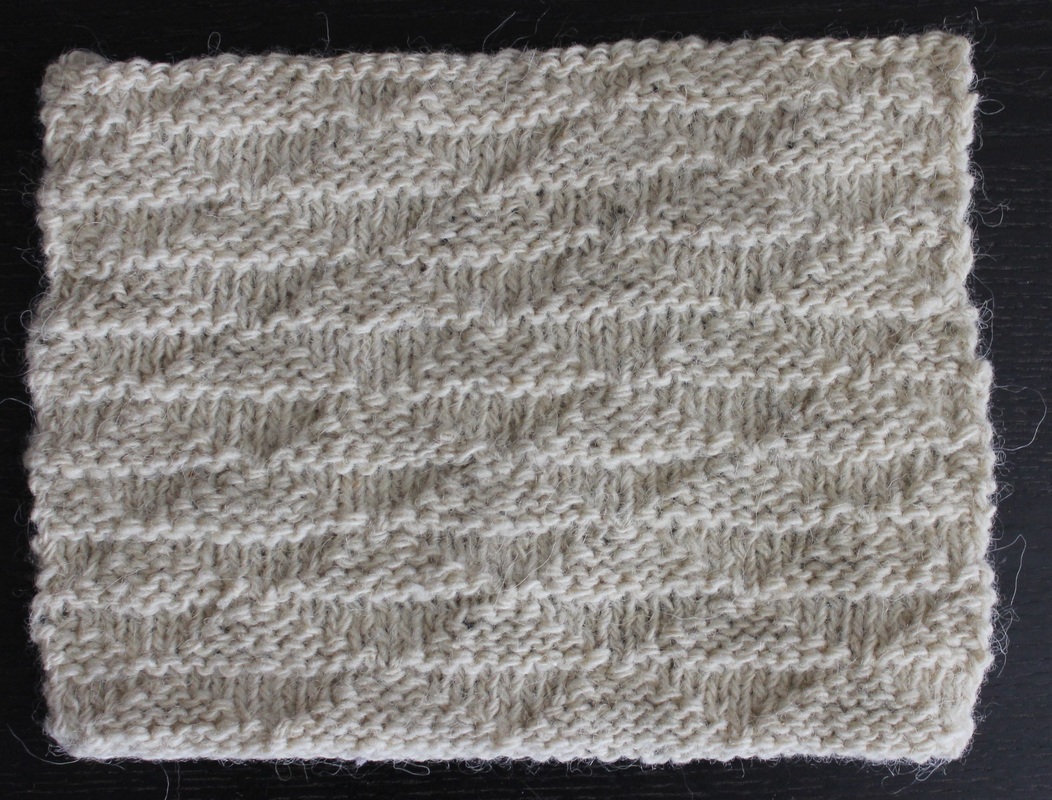
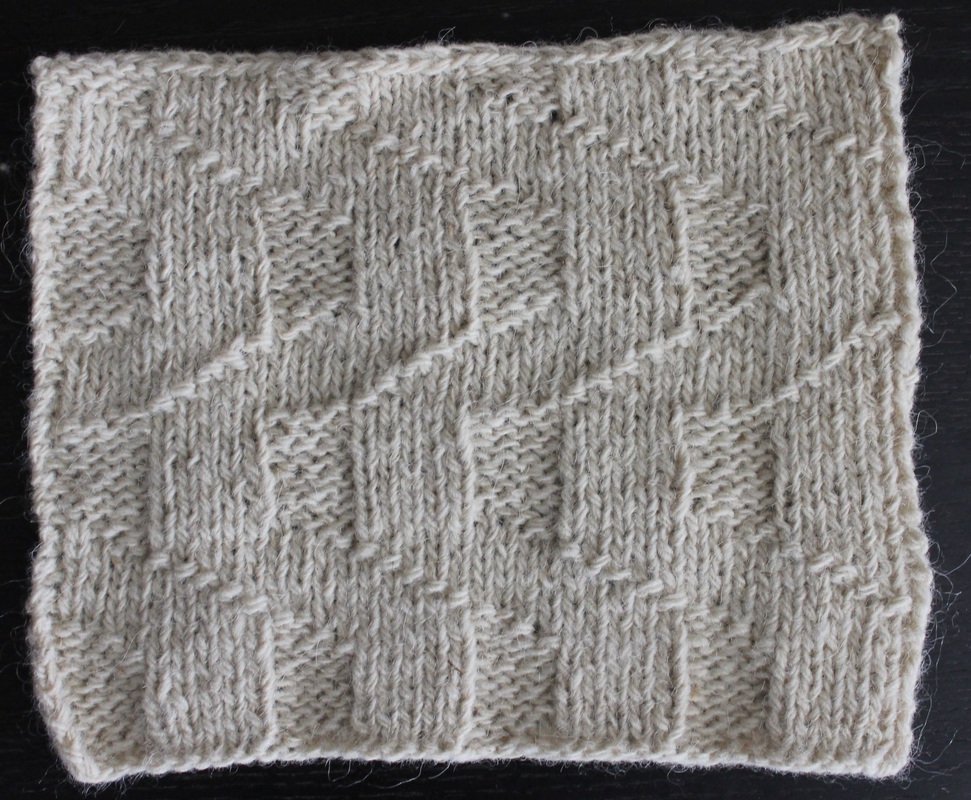
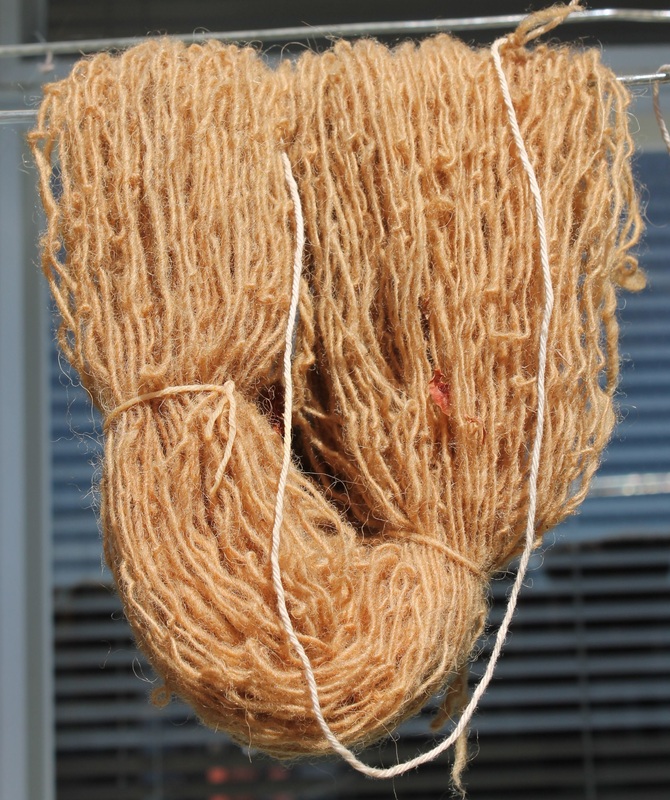
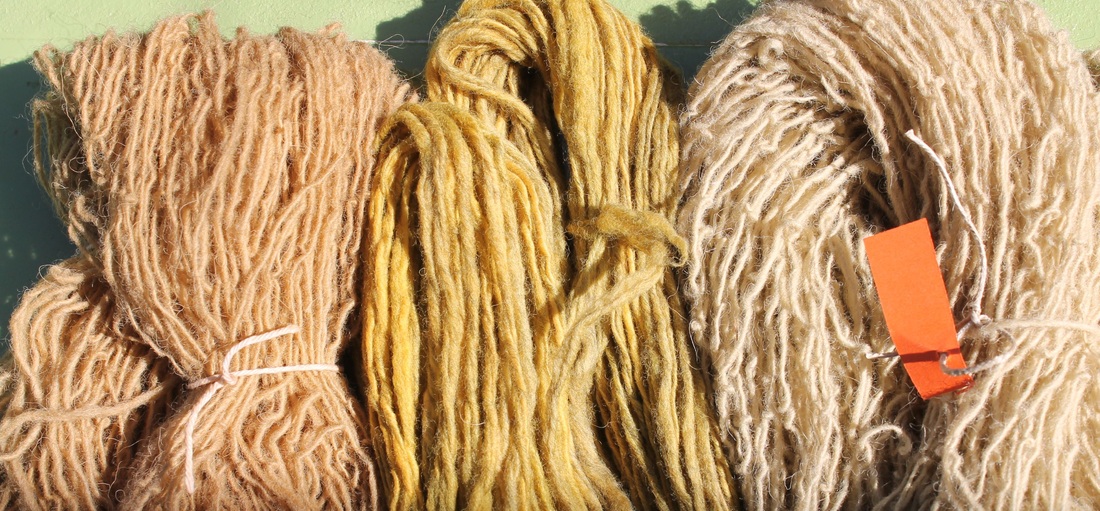
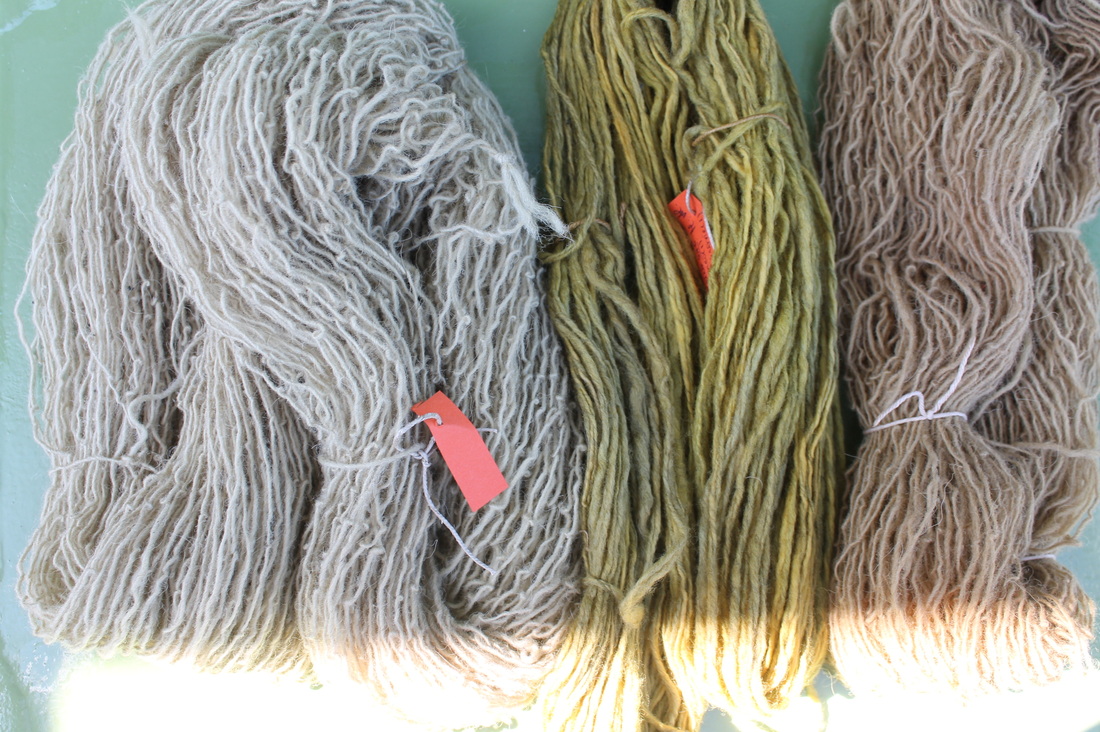
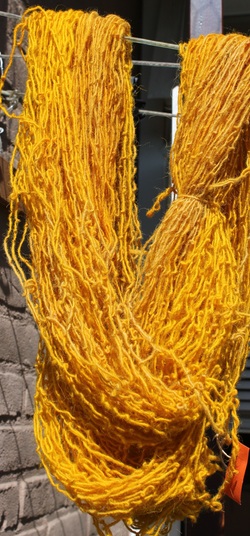
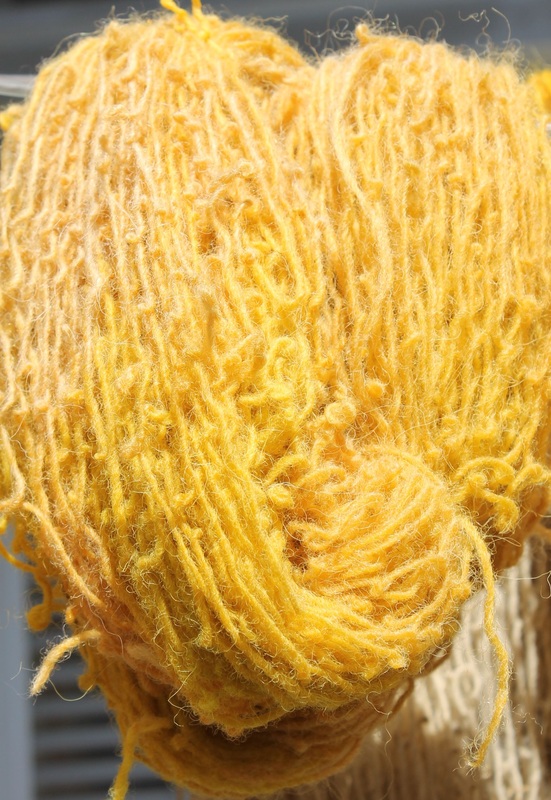
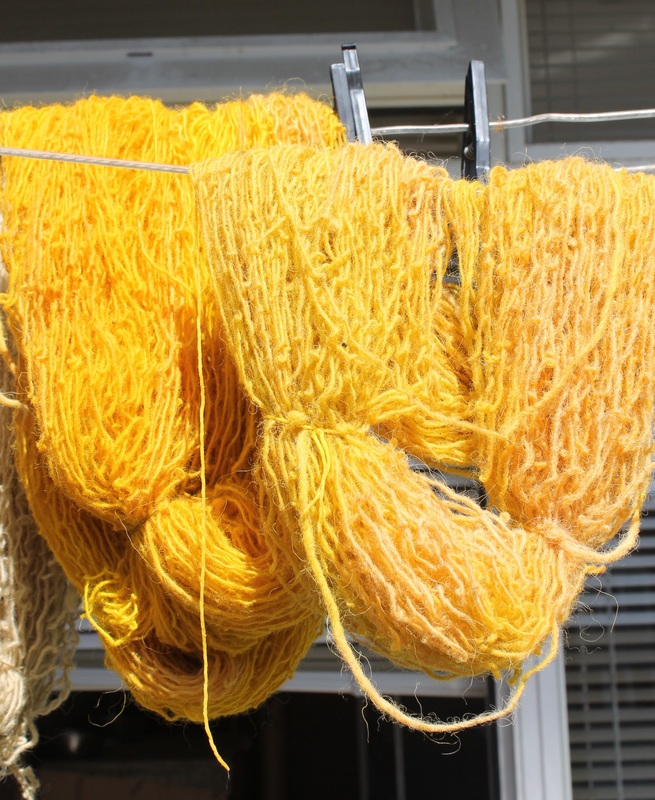
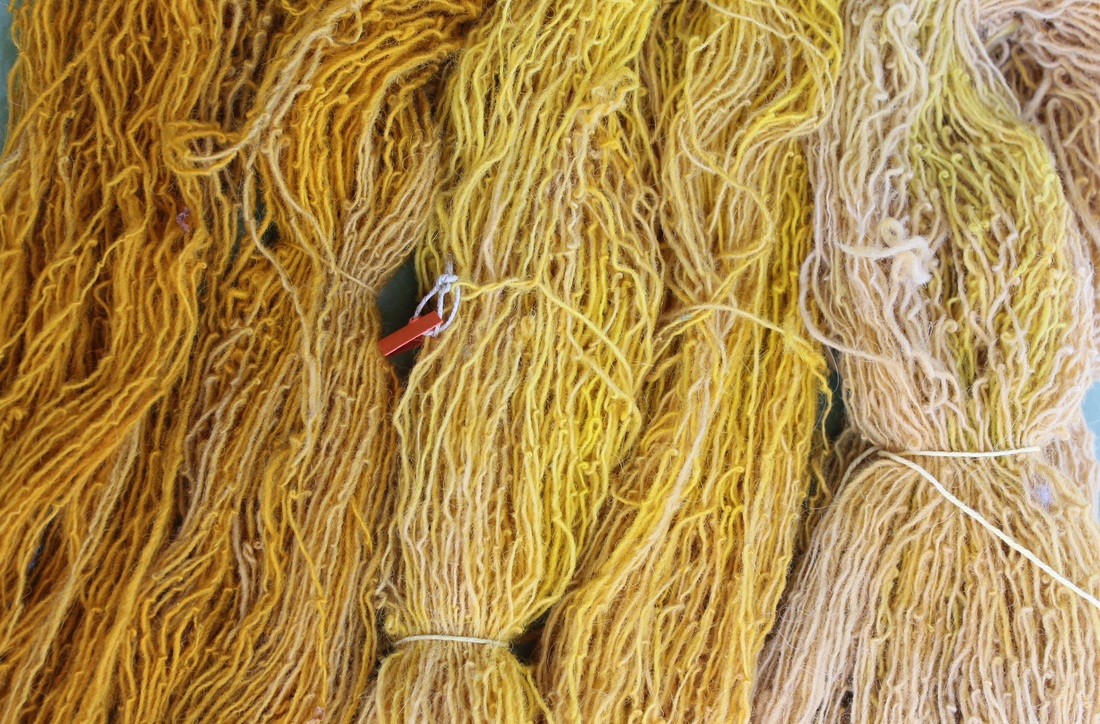
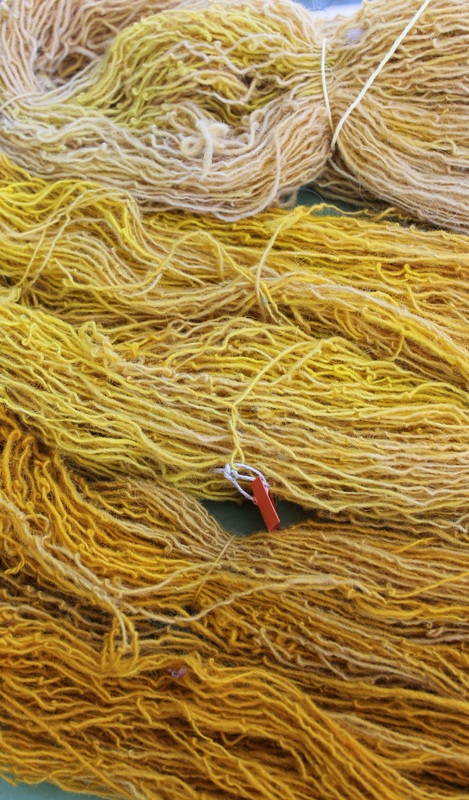
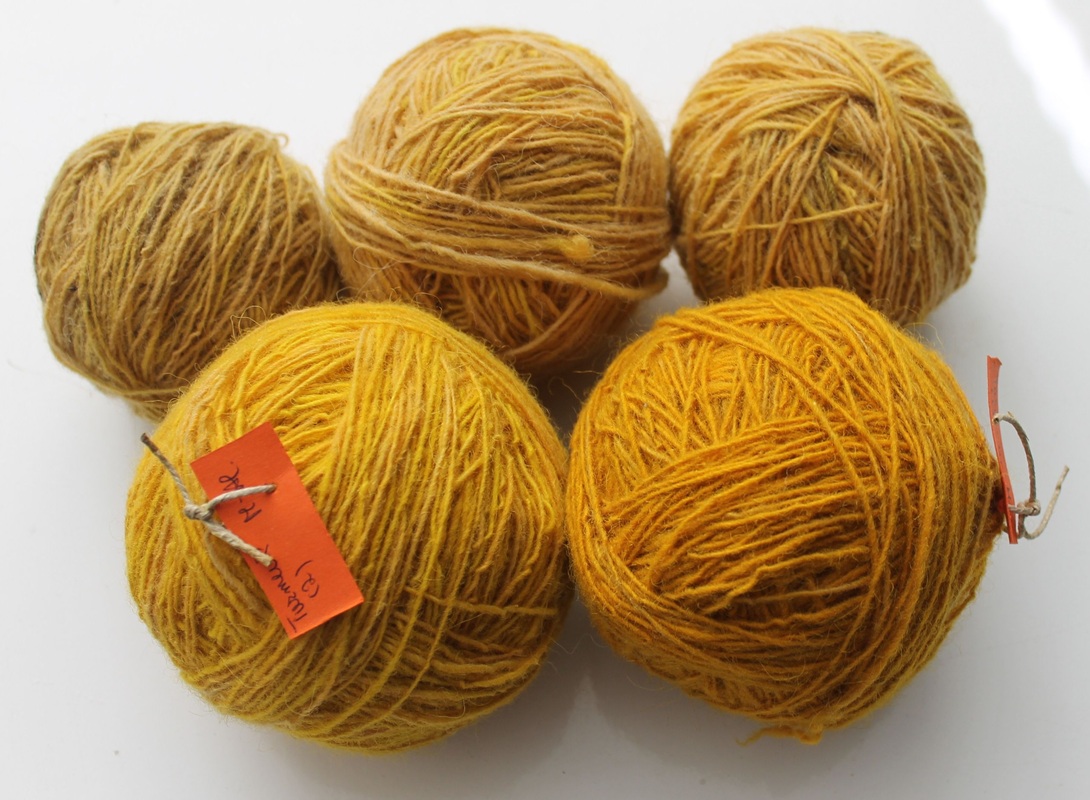
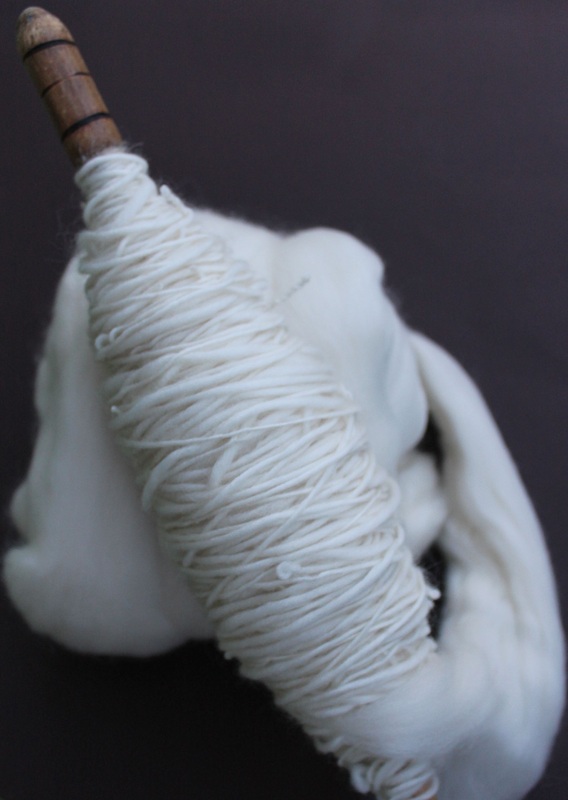
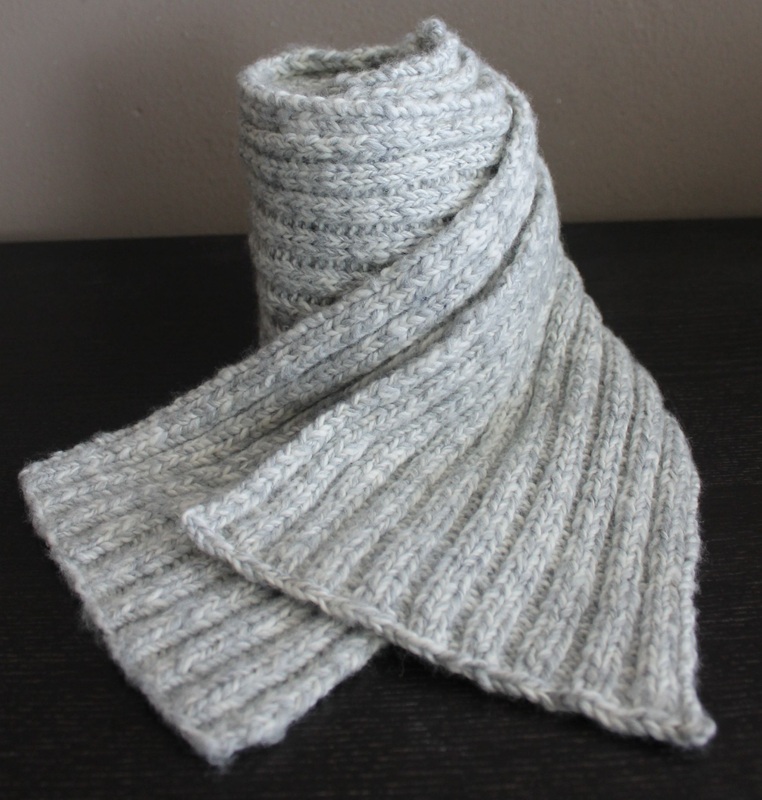
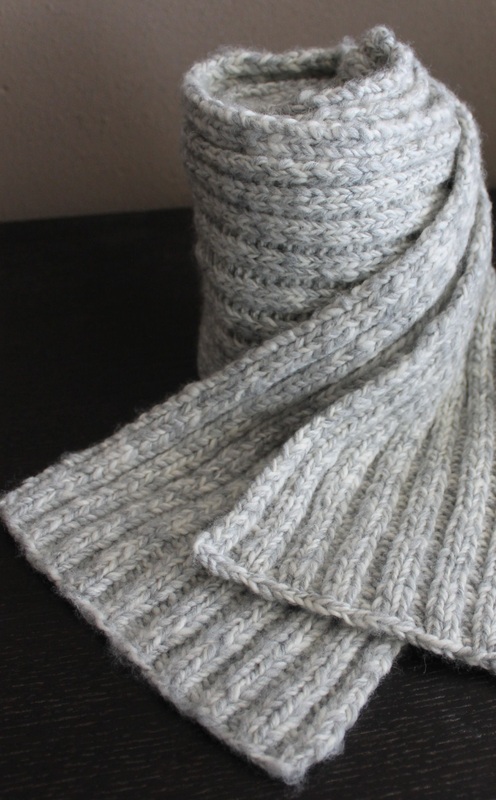
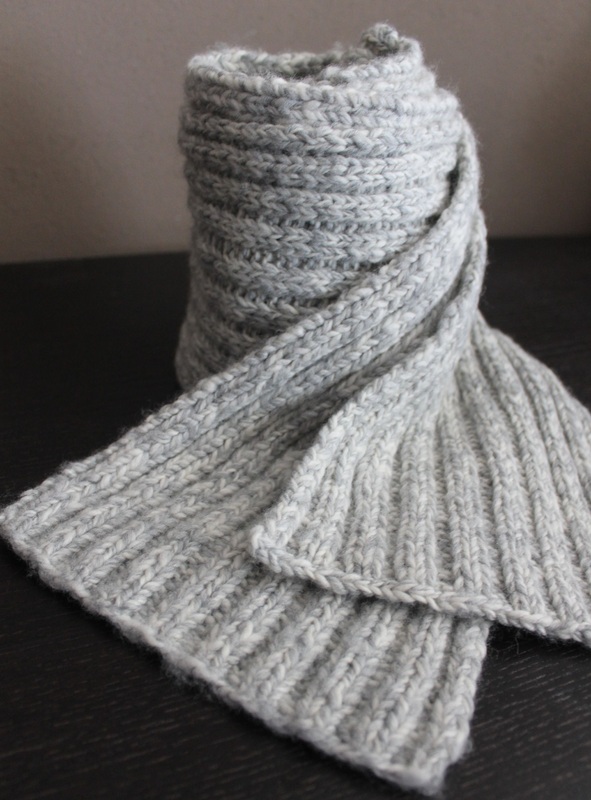
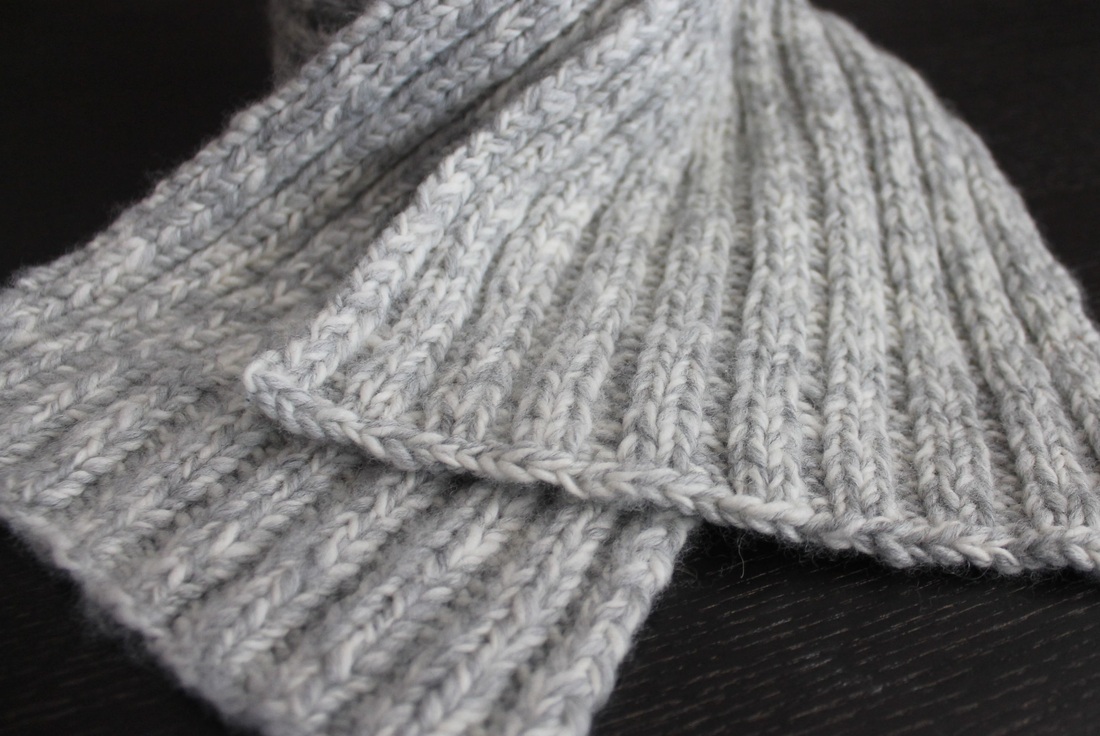
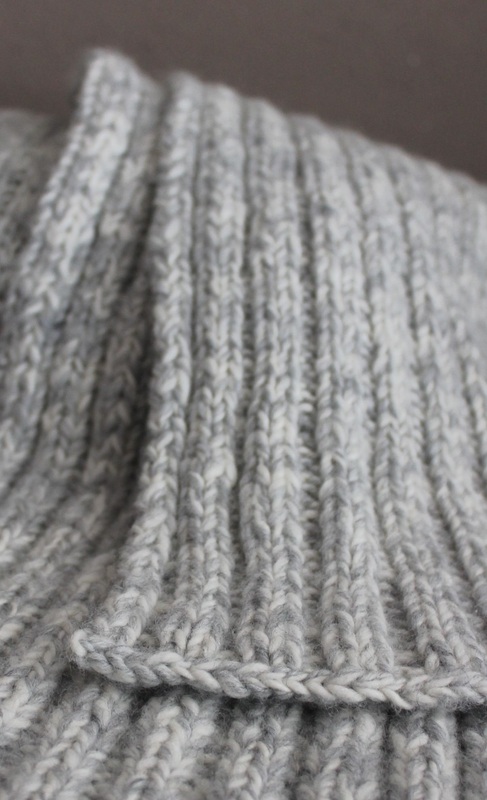
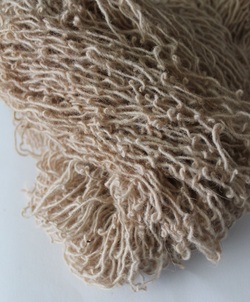
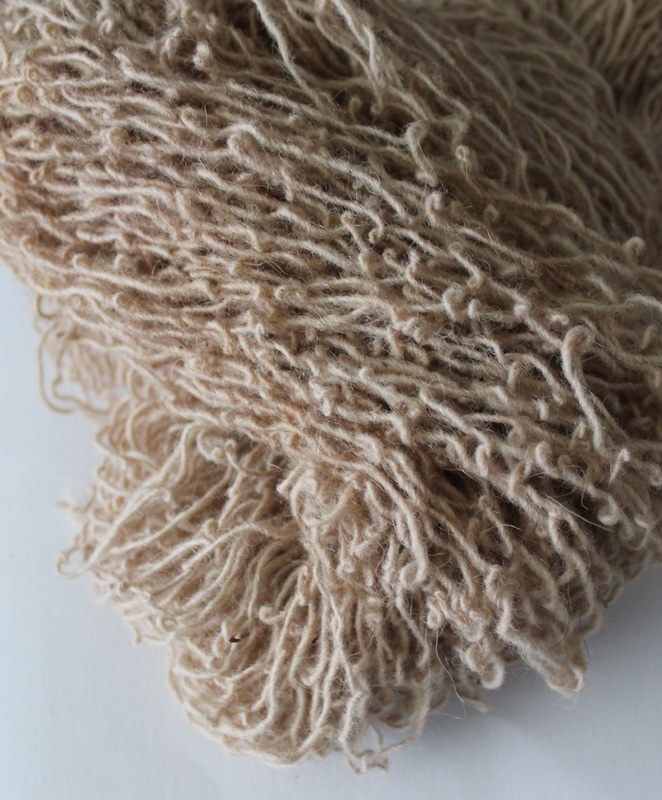
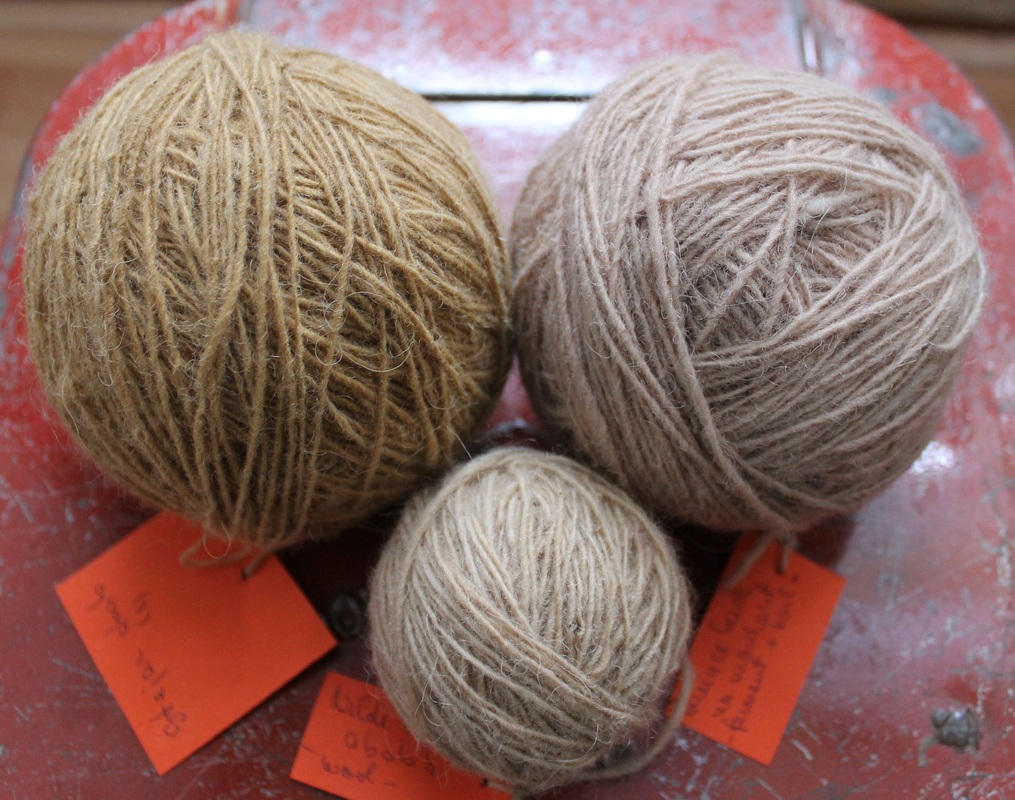
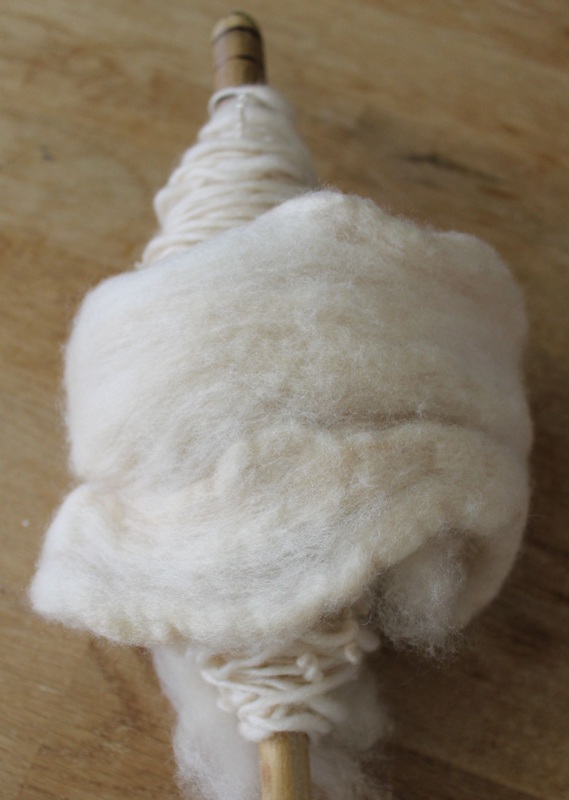
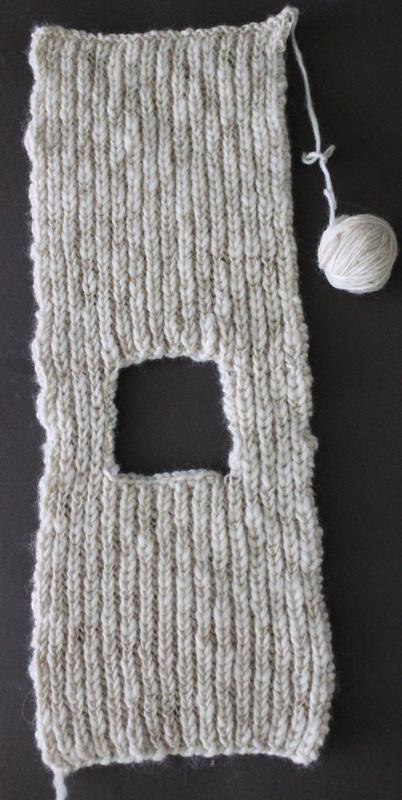
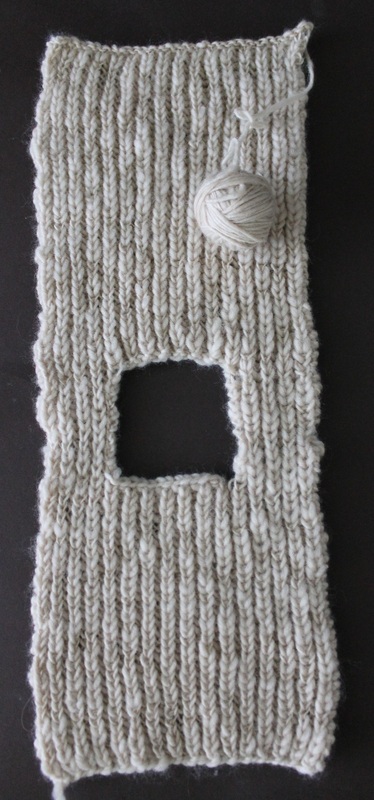
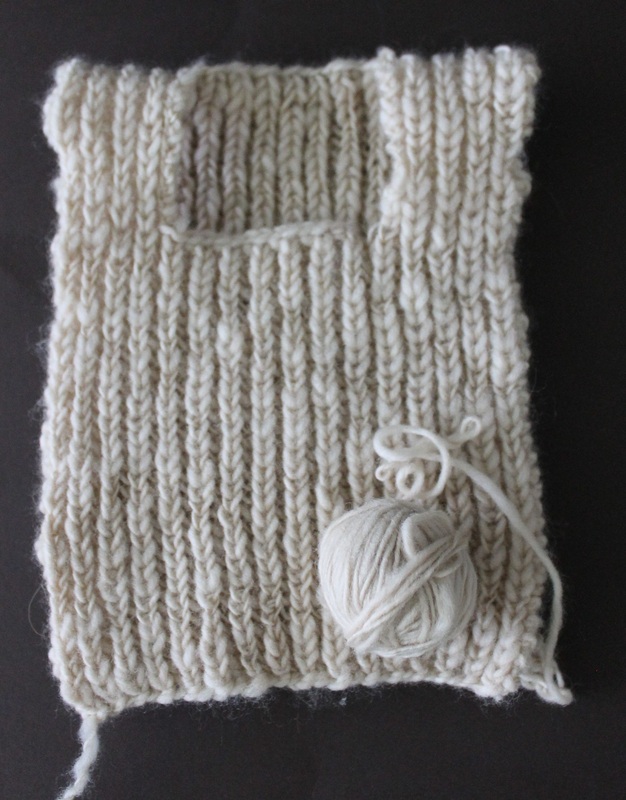
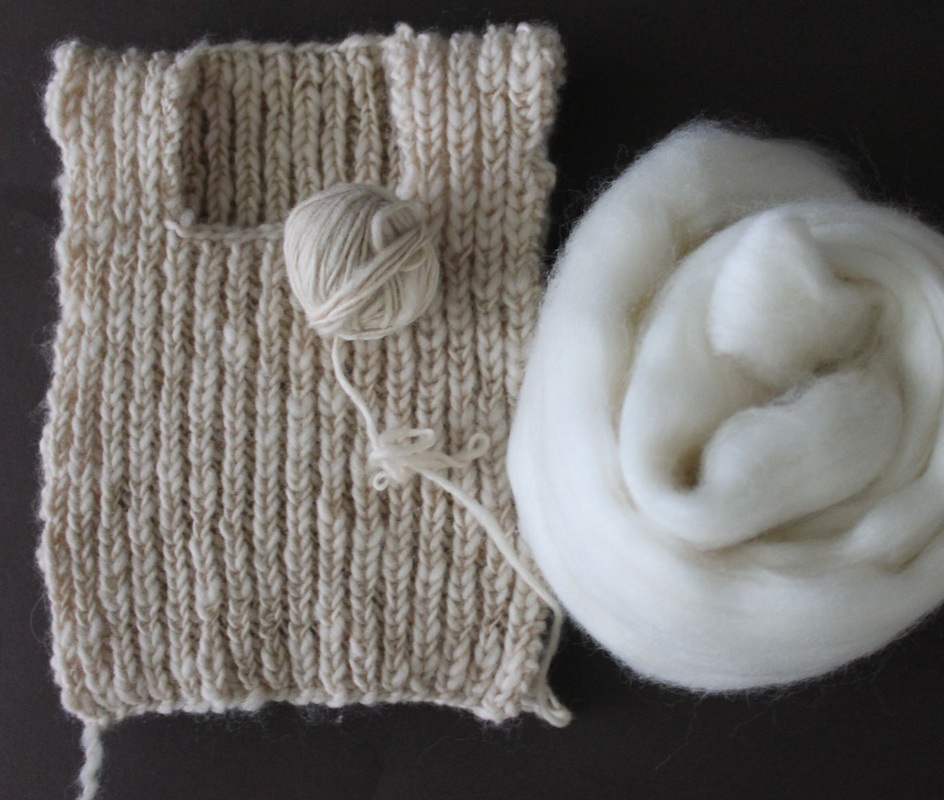
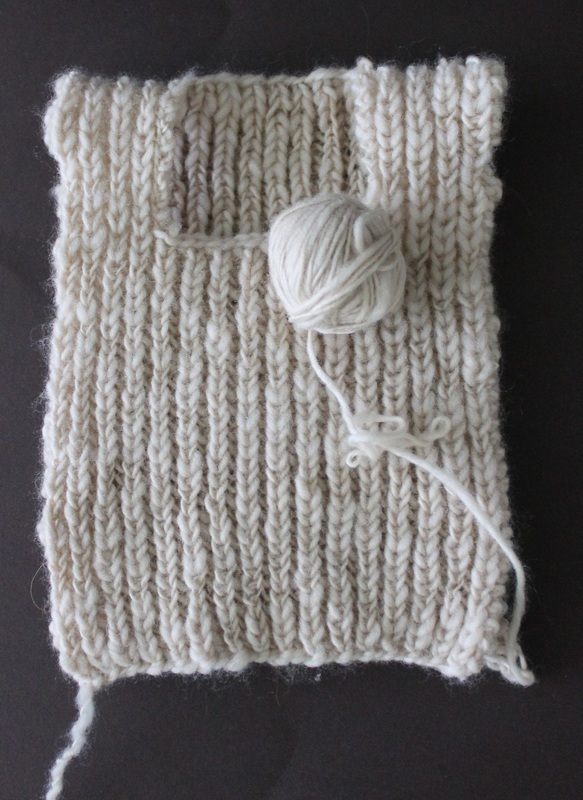
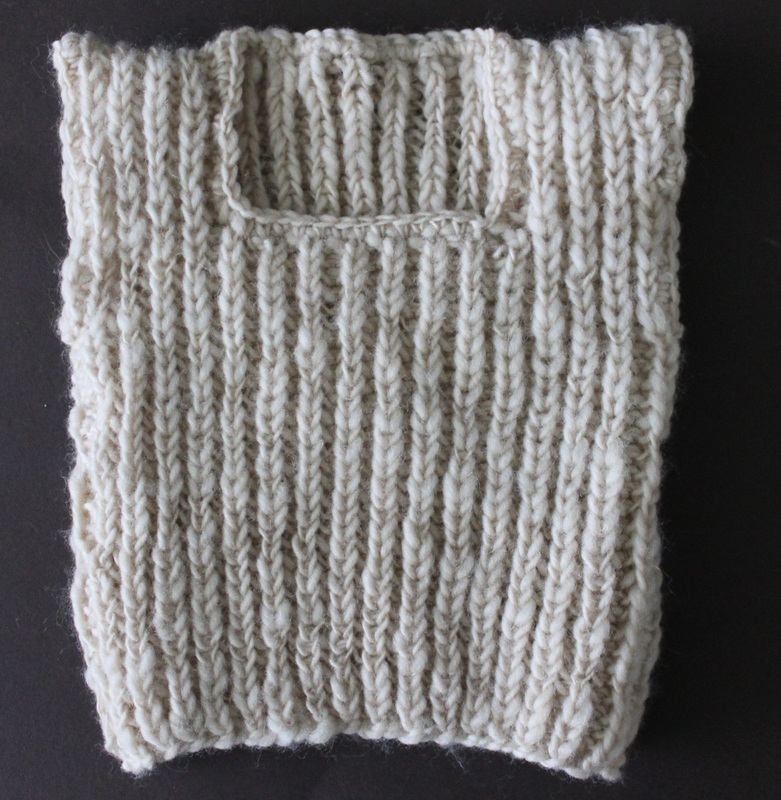
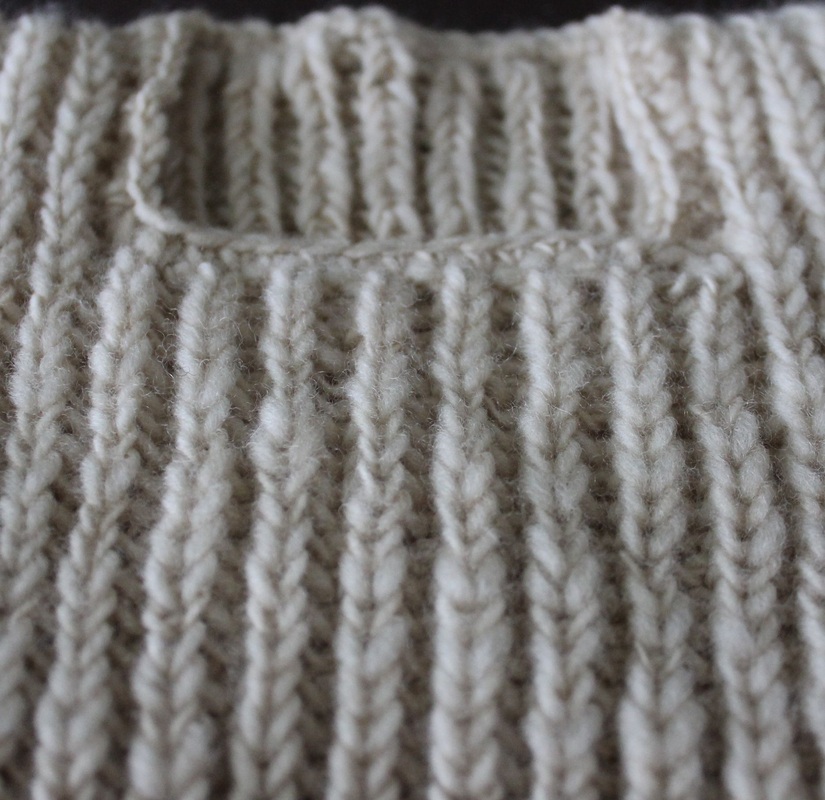
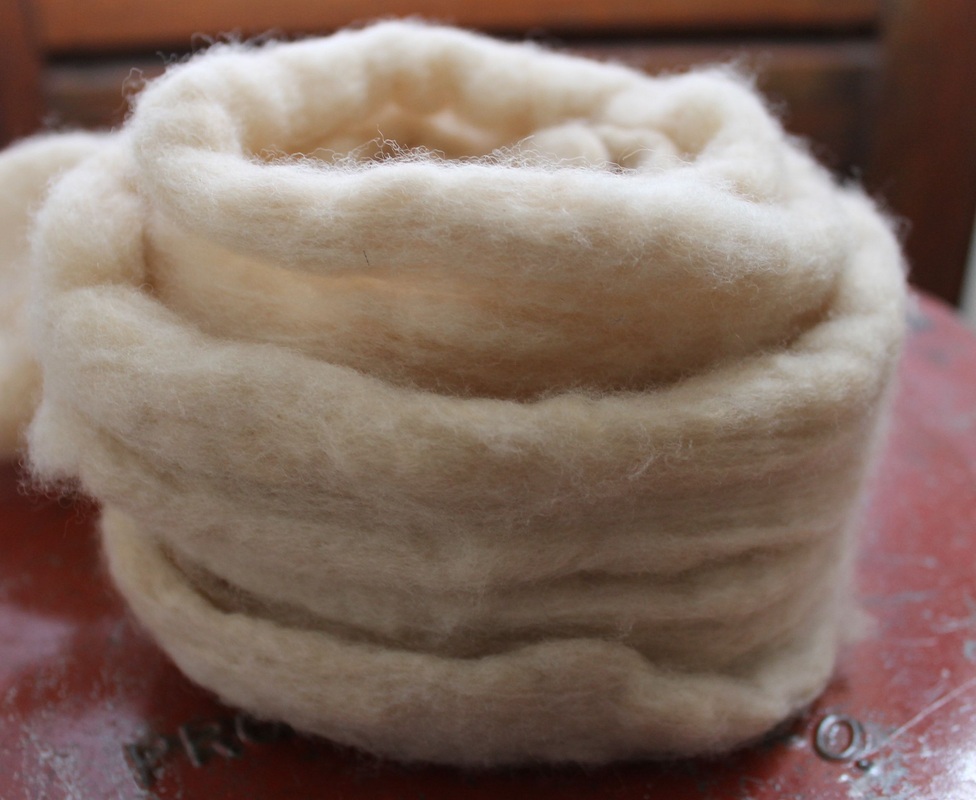
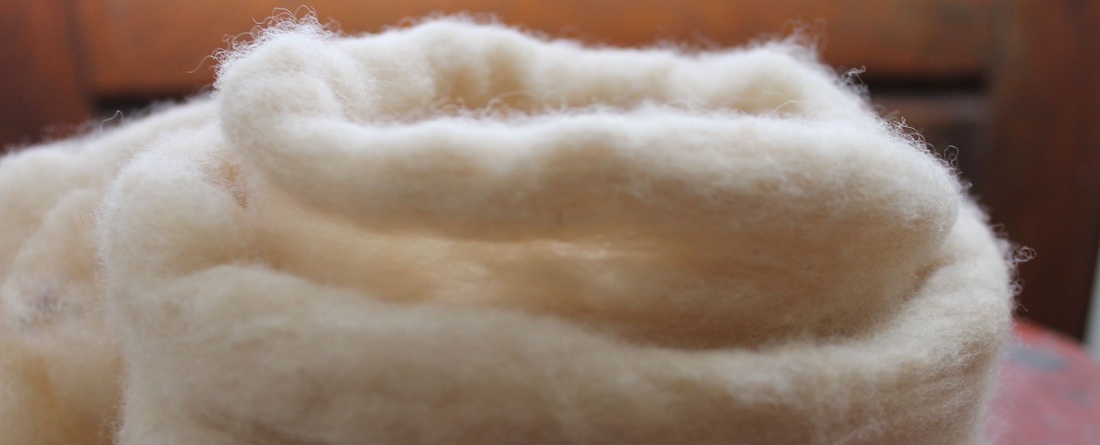
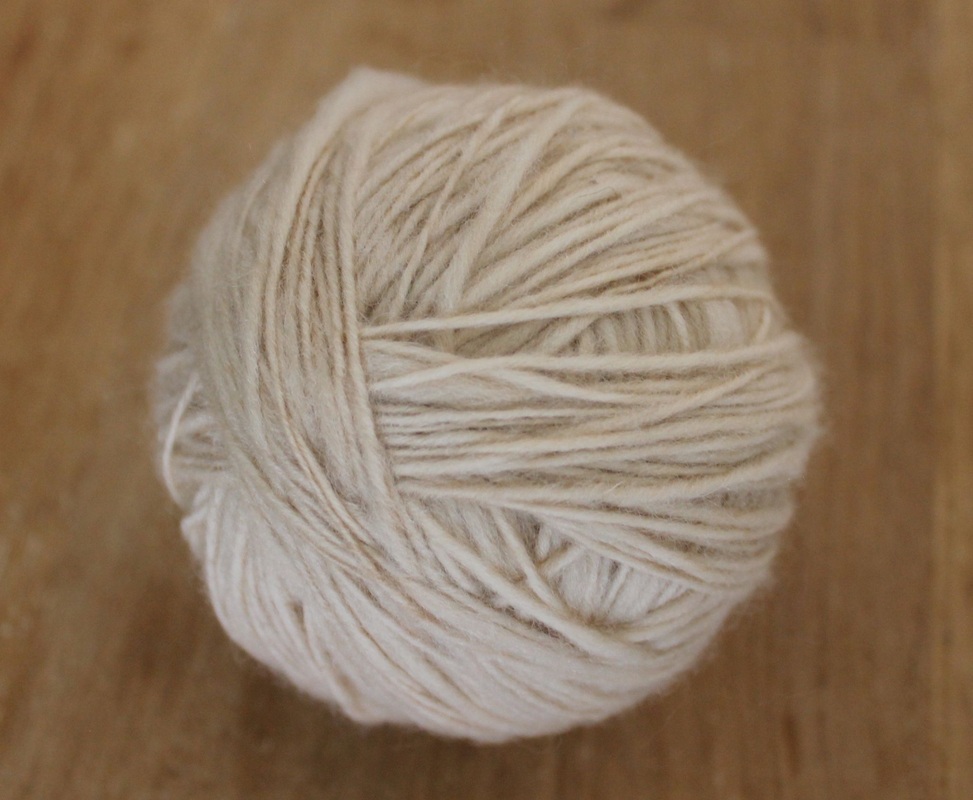
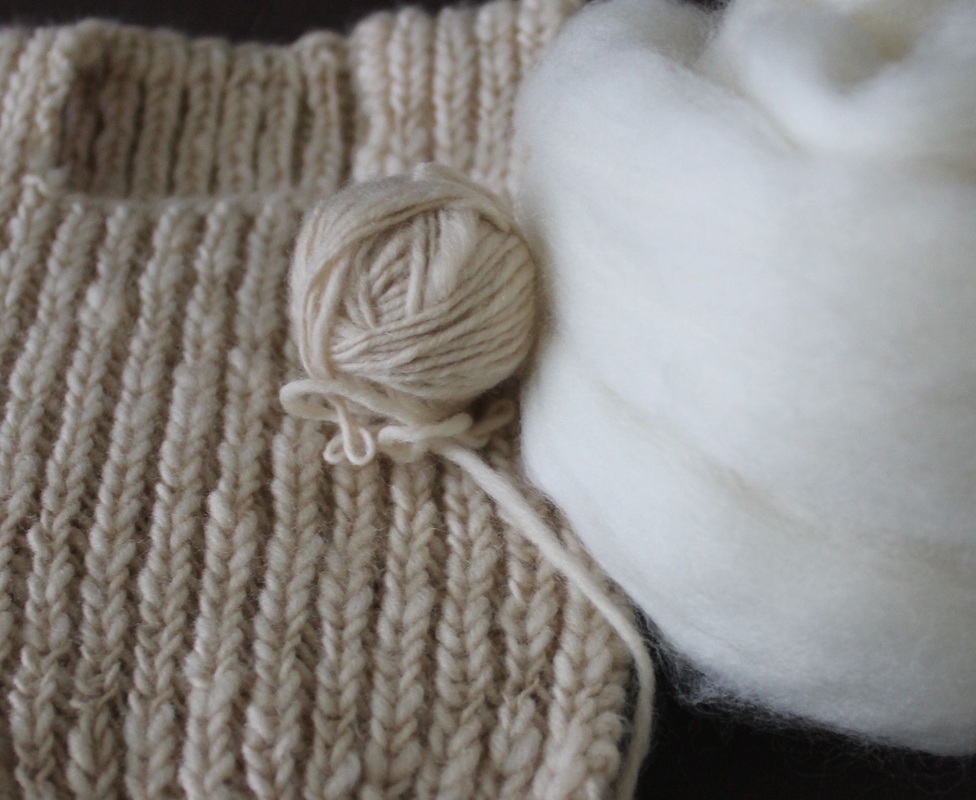
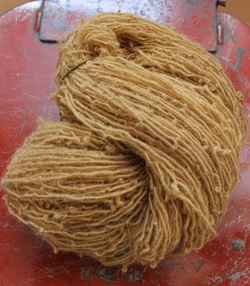
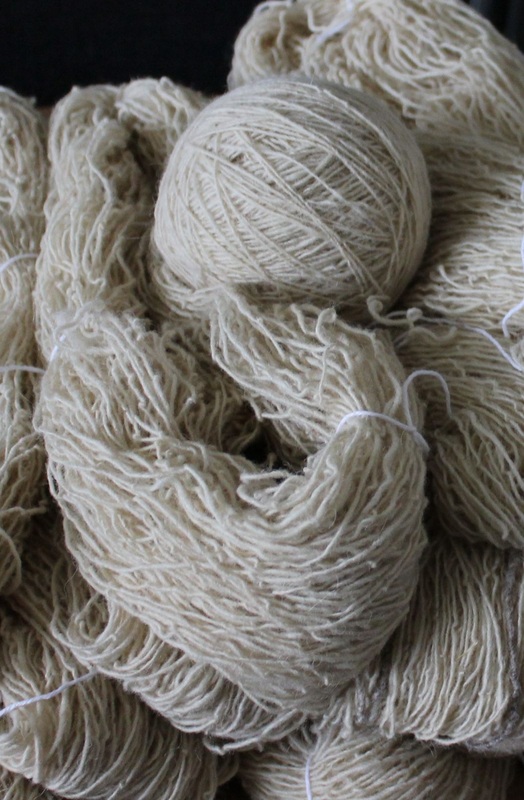
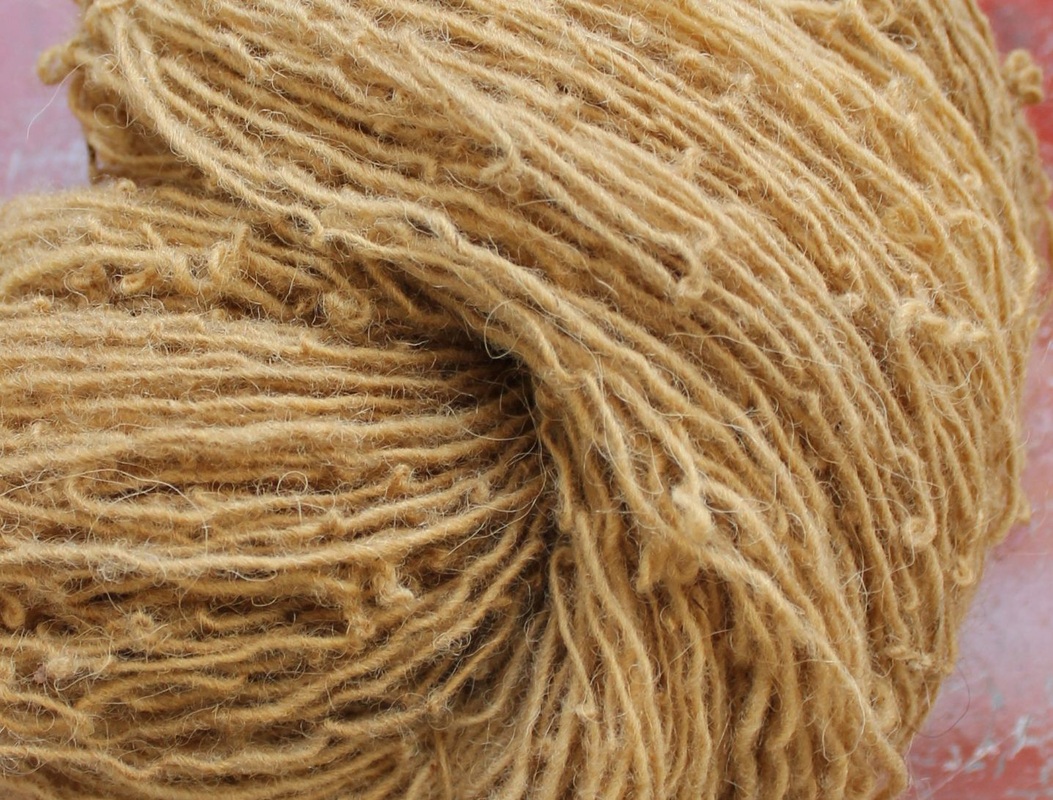
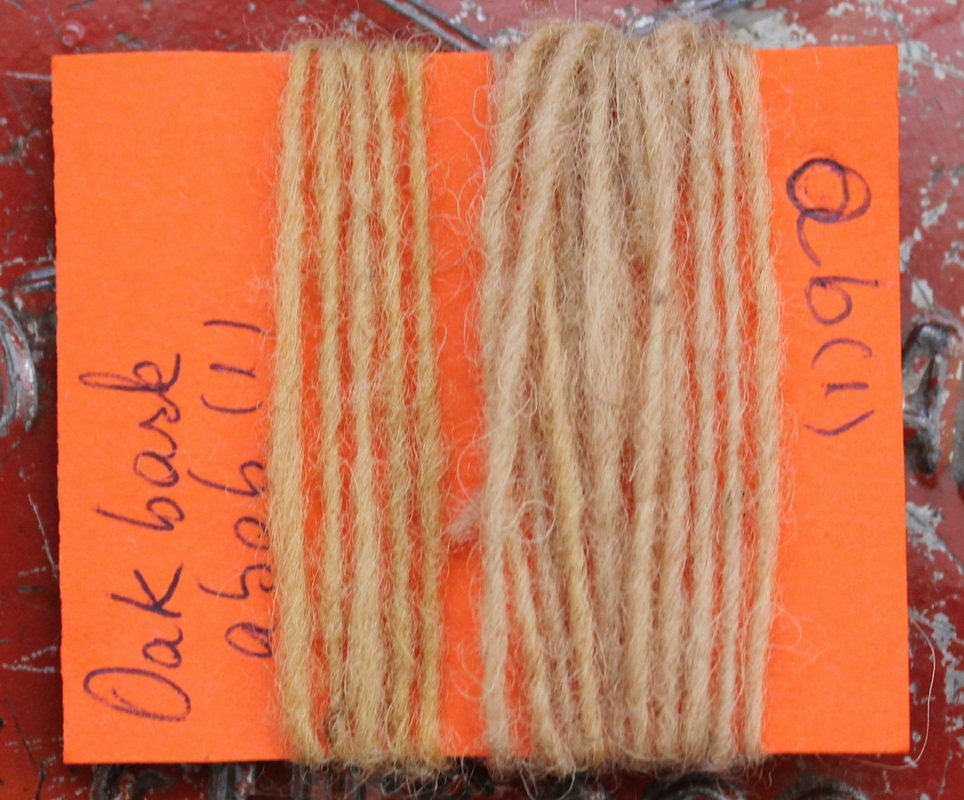
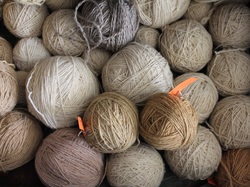
This is my treasures' chest :) Lots and lots and lots of wool that has a very special origin. It was hand-spun by my grandmother 16 years ago. It is still in very good shape so I decided to rescue it and started working on some swatches. I made quite a few by now and I will still make some more. I figured I can always use them as the building blocks for a nice blanket :)
0 Comments
Dyeing with plants is not only unpredictable but sometime very disappointing. Still, it is always fascinating to see what you get. My last experiments involved red onion skins, nettles and coffee. For those interested in objective facts and recipes here are the quantities of plant material to wool. For the red onion skins experiment I had 20 grams of plant material for 50 grams un-mordanted wool. For the coffee experiment I made strong coffee from 50 grams coffee beans for 60 gr un-mordanted wool. For the nettles experiment I had a 10 lt bucket 3/4 full with plant material for 150 gram wool and 35 gr merino, both mordanted with 10% alum. After the first dye I continued to use the exhaust dye baths (except the nettle dye bath) as there was still enough color in them - see the comments on the pictures in this post for explanations. And what are my impressions so far after these experiments? Nettles - disappointment. The nettles I used were already old so that might have been the problem. The color was just not strong enough :(. Red onion skins - works good both on un-mordanted or mordanted wool, and you can get a nice color even with not very much plant material. As for the coffee experiment - hm... I am not very impressed with the color I got. But of course, that is just a matter of taste. Lately I was busy trying some spices as natural dyes for wool. One of these spices was the turmeric (curcuma), a bright yellow spice that I bought as powder. I saw quite a lot of posts on the internet about using it as a wool color, so I said, ok, let’s give it a try. I was also curious about something else that I read: that the color you get is not very light fast and using alum as mordant will make the color even more sensitive to light exposure. Here is an article about this topic if you are into a more scientific approach to natural dyeing. Anyway, my method was the following: I measured 50 grams turmeric powder, dissolved them in warm water and I added 2 spoons of salt (no iodine type). I then added 100 gram wool that I already left to sit in water for around 2 hours. I put the pot on the fire, slowly raised the temperature to around 70- 80 Celsius degrees and left to simmer for around 40 minutes. I left the dye bath to cool with the wool still in. When it was cool, I removed the wool and added the next skein, this time 100 grams of wool pre-treated with alum. I repeated the procedure as before. When the dye bath was cool I removed the second skein and saw that there was still lots of color. I thought I might as well see how much more wool can I dye with the exhaust bath so I added another 200 grams wool and repeated as before. So, what are my results: the first skein (no mordant) was a really nice strong dark yellow. The second (Alum mordant) was a lighter yellow but still a very strong vibrant color. The skeins that I dyed in the 3rd exhaust bath were almost neon yellow. Was I happy with the colors? Oh yes! Did I let them dry in the sun? Yes, I did. Did they changed color? Yeap, dramatically even. And the most dramatic changes I observed for all the skeins that were pre mordanted with alum. The strong vibrant almost neon yellows faded incredibly fast to a duller yellow pinkish shade. Such a big disappointment… And so I tested and verified that the article I read was perfectly correct in assessing that alum and turmeric equal poor light fastness. And now that I also saw how dramatic the change in colors can be due to sun exposure I am not so sure I will use turmeric anymore. Or if I will do, I will only use un-mordanted wool which I will use for some home accessories, not for items that will spend a lot of time outside in the sun. Oh yes, and I will definitely use roots and not powder turmeric... It is a long time now since I wanted to make something for my husband, something entirely made by me. And so I bought some merino roving with the idea that I will spin it and make him some socks. But the merino was just too lovely soft to make socks out of it. And so I decided to make something equally useful: a warm scarf that will keep him protected from the cold cold cold (brrr….) winter winds. I believe that simple stitches make the most of handspun wool so I chose a simple stitch: knit 2 purl 2. I used two strands of yarn - one grey and one white on no 6 knitting needles and knitted for 180 cm (special request from my husband). After washing it with lukewarm water and basic soap I blocked the scarf and left it to dry. And that’s it! One soft and warm made from scratch scarf is done! Now let the winter come :) Next on my list with natural dyeing was quince tree. I only used the bark which initially I put in a jar to ferment. It did for about 3 - 4 weeks. But after my previous experiments with fermentation method I was afraid I will again get a light color so I decided to try a different approach. I boiled the bark (boy, it stinks!) and kept the temperature under 80 degree. Then when the dye bath was not so warm I added some pre-soaked un-mordated wool and let it again simmer at under 80 degree for 40 minutes or so. I left the wool in the dye bath overnight. The shade I got is quite interesting: the photos do not make justice to the pinkish shade in the wool. I wonder if this shade would be stronger on mordated wool... As I was saying in the previous post, I dyed some merino roving with wild liguster. I got a delicate cream color. It looked lovely so I decided to do something with it right away. I spun the wool and got a 32 grams ball of yarn. What could I do with so little yarn? Obviously, something for a baby! Like a baby vest :) I wanted to keep alive the thick - thin character of the yarn I spun so I decided for a simple yet stretchy pattern: the English rib stitch also called the fisherman's rib. Here's a video tutorial explaining how to knit this very simple stitch. For this vest I cast on 34 stitches on size 4 needle. I worked my way up 14 cm. At this point I worked one shoulder by keeping on a separate needle only 10 stitches and knitting those 10 stitches for 6 cm. I then continued the row I left undone by casting of 14 stitches in order to make the neckline. The last 10 stitches I knitted for 6 cm in order to complete the other shoulder. When I was done I joined the two shoulder pieces by adding 14 stitches between them, thus closing the neck hole. I continued knitting the back of the vest (20 cm). To finish the vest, I joined the sides and for a neater look I crocheted an edge around the arm holes and neck hole (single crochet stitch). And that's it - vest is done. Now I need to wash and block it and wait for the boy to be born... pff... still 4 months to go. For one of my experiments with fermentation dyeing I used twigs from some fallen branches from a plant called Ligustrum vulgare aka wilde liguster (in Dutch) aka wild privet (in English). I put them in a Cola bottle (I did not have anything suitable around), covered them with a black plastic sheet (to keep the solution away from direct sunlight) and left them sit in a sun and warm place for about a month. The water colored very fast and I had big hopes for it - it had a brown purplish shade that I hoped to see also on my wool. A few days ago I decided I will try and dye a piece of merino rowing. I followed the same procedure as before: acid and basic solutions, 2 hours in acid, 20 minuted in basic and repeat. But oh, the disappointment! While the shade I got was very pretty, it was not purplish and it was very light! I am not saying I do not like it, it's just that I did not expect to get this color out of the dye solution. Ah well.. I guess that is the beauty of dyeing with plants... you don't always get what you expect. Meanwhile I finished spinning the wool and decided to make a simple baby vest for my brother's not yet born son. To keep things clean and tidy, I will write a separate post about the baby vest pattern :) After a lot of waiting here are the first results of my fermentation dyeing experiments. By now I tried two of the vats: the birch fungus and the oak bark. First, the birch fungus. That fermentation vat resulted in nothing, niente, nada :) I have no idea what went wrong, the acidic solution had a wonderful orange-brownish color, but the wool did not absorbed any of it :( So, that was that. But now the good news! The oak birch vat worked and I got a lovely color as result :) The photos are from the first skein I dyed. I let this one stay first 2 hours in the acid vat, then 20 minutes in the basic vat, then overnight in the acidic vat and again 20 minutes in the basic vat. With breaks in between for drying. The result is a lovely caramel color. I like it a lot :) Now about the technicalities: I had around 1.5 kg bark and by now I dyed around 600 gr wool. I used lemon juice for the acidic vat and caustic soda for the basic vat. The vat is still good, but I will stop now because I have others waiting in line to be tested :) |