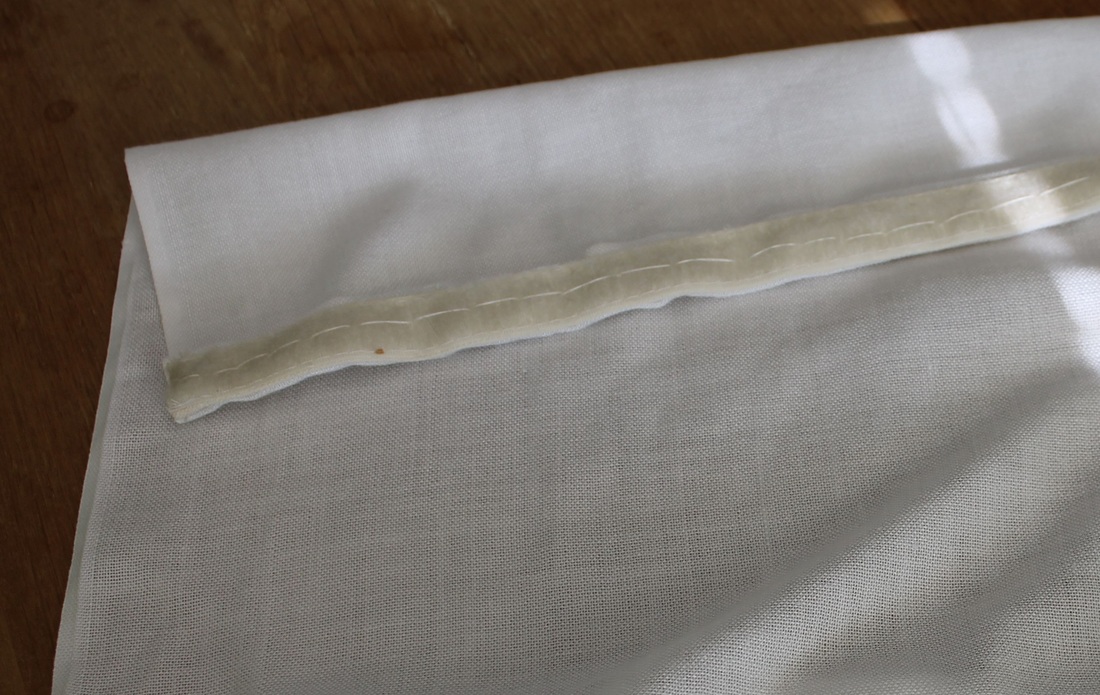
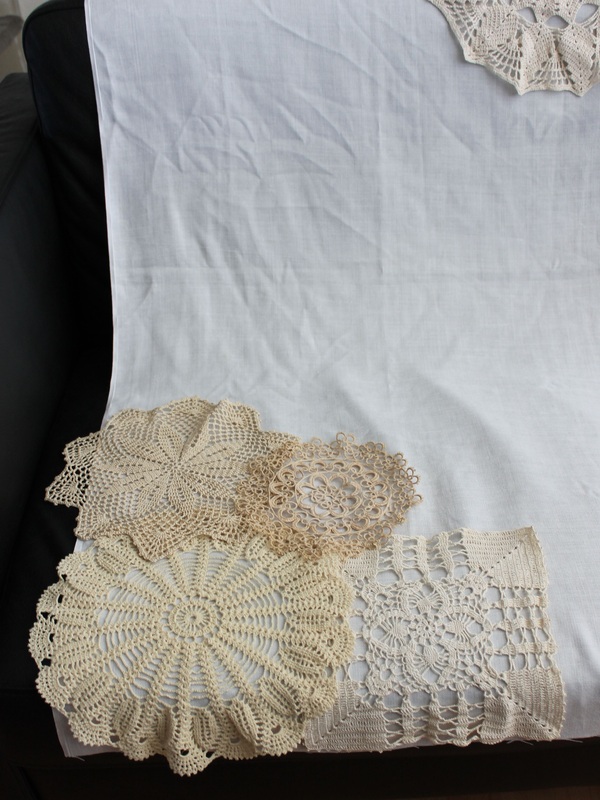
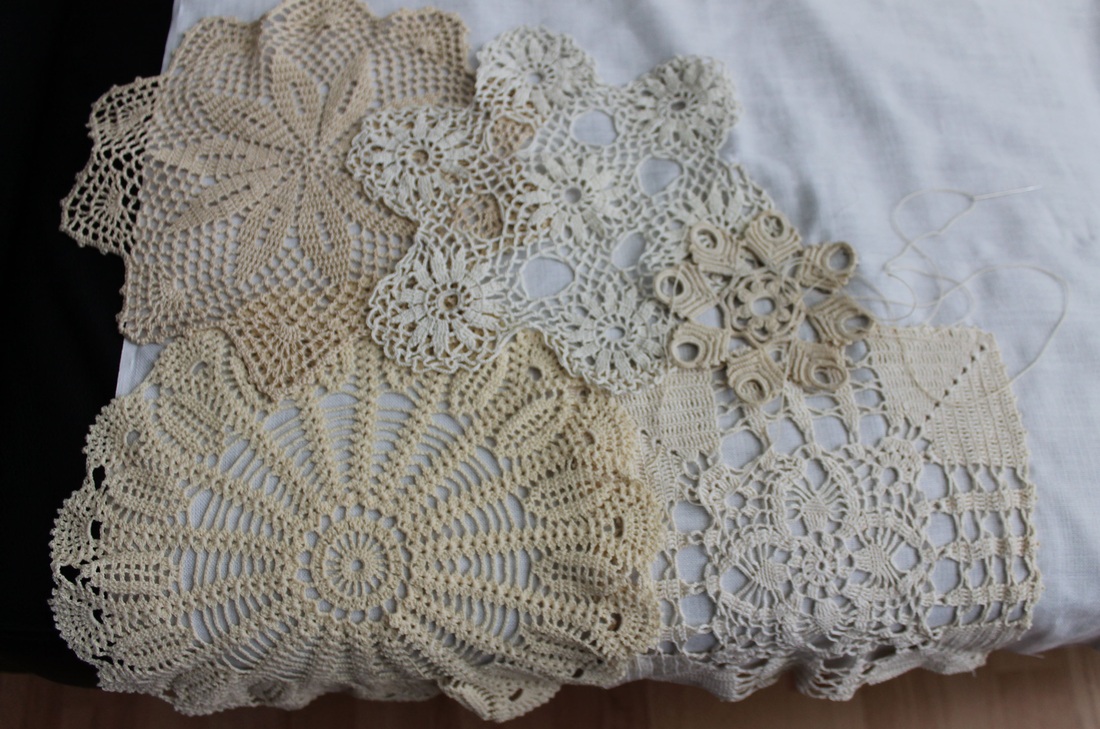
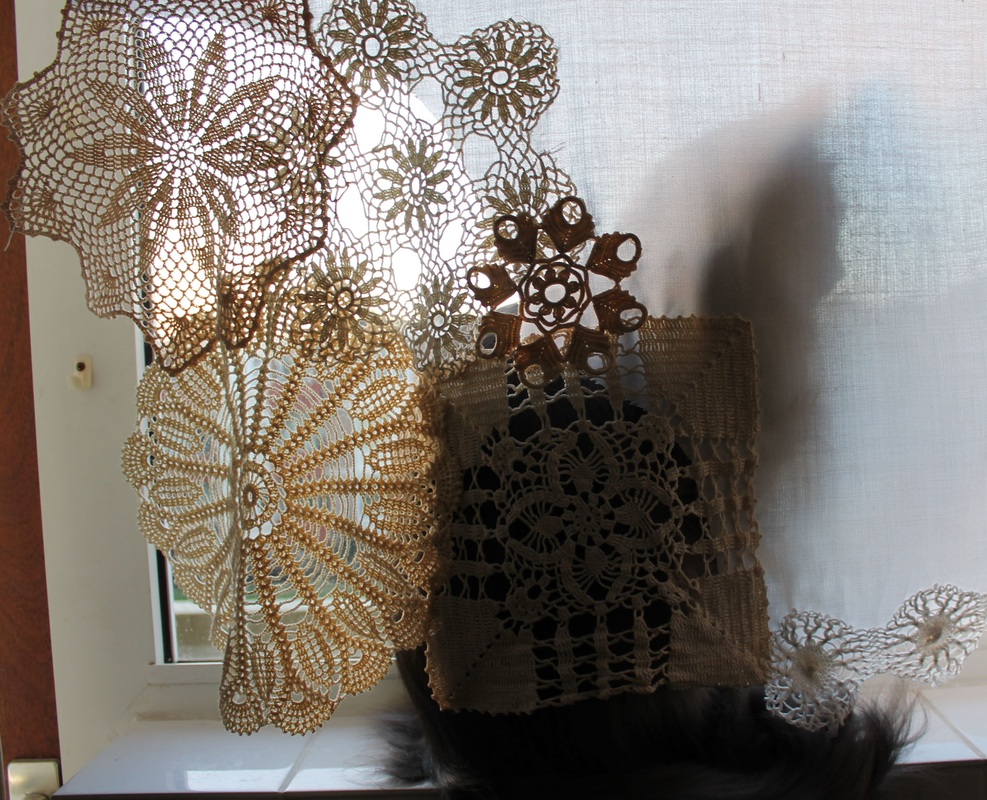
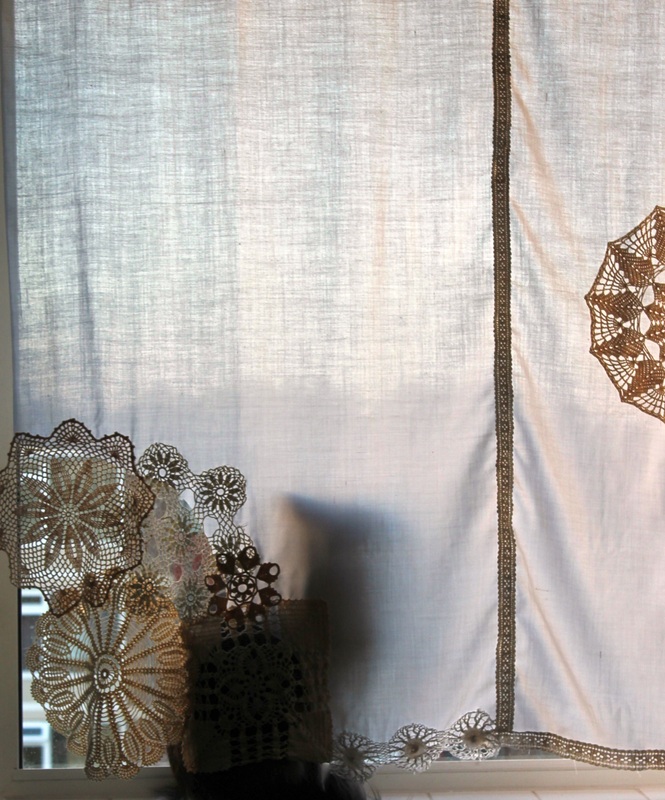
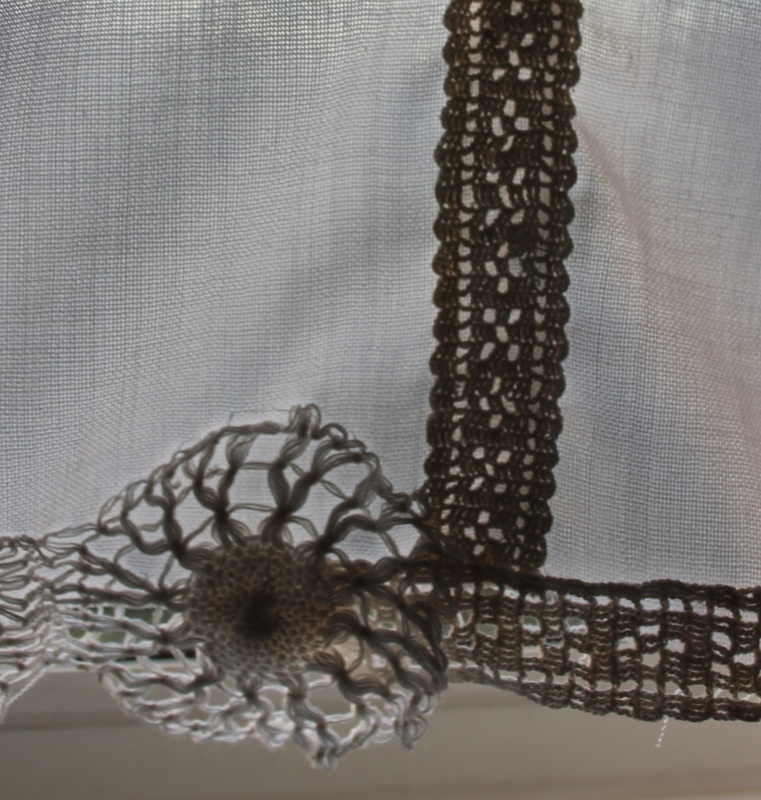
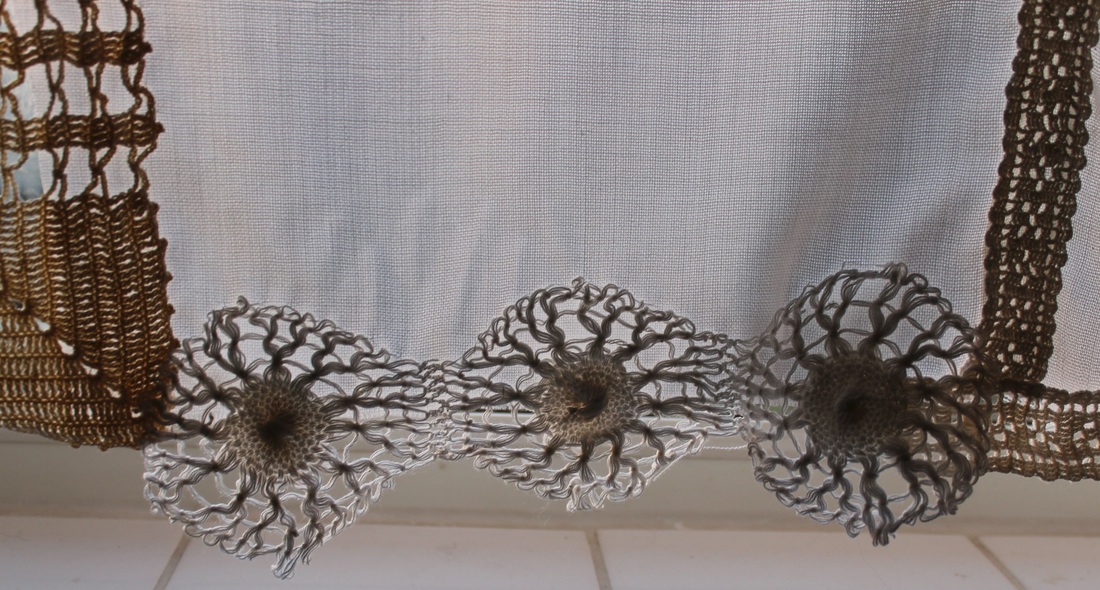
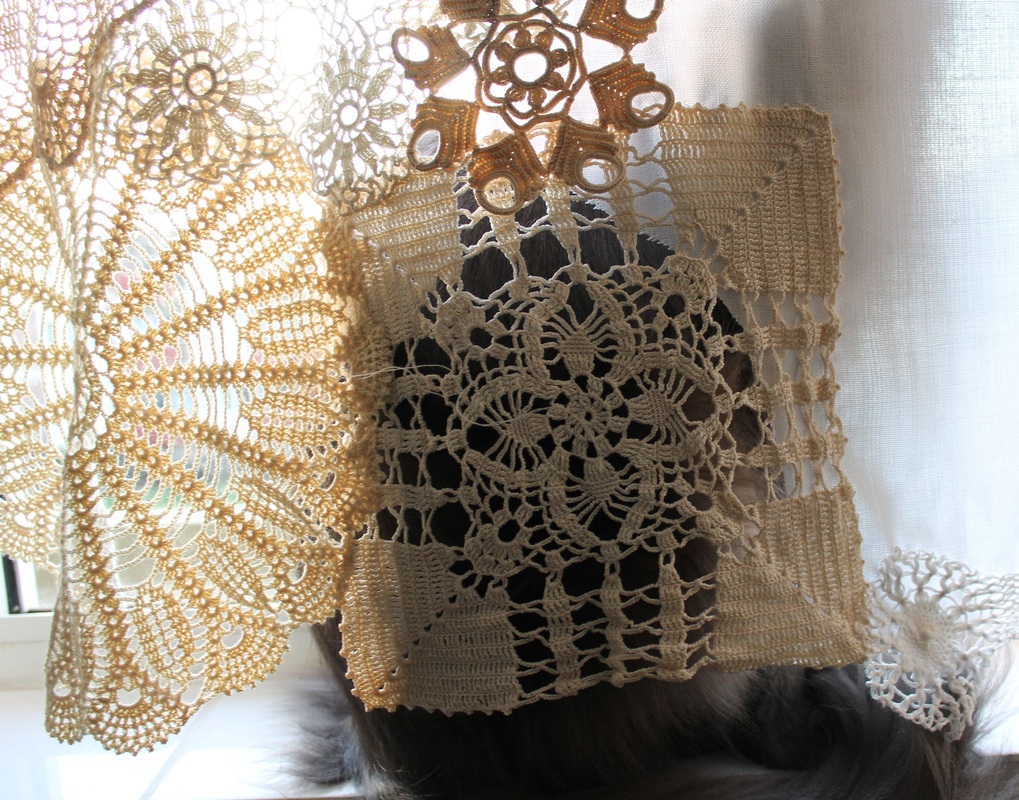
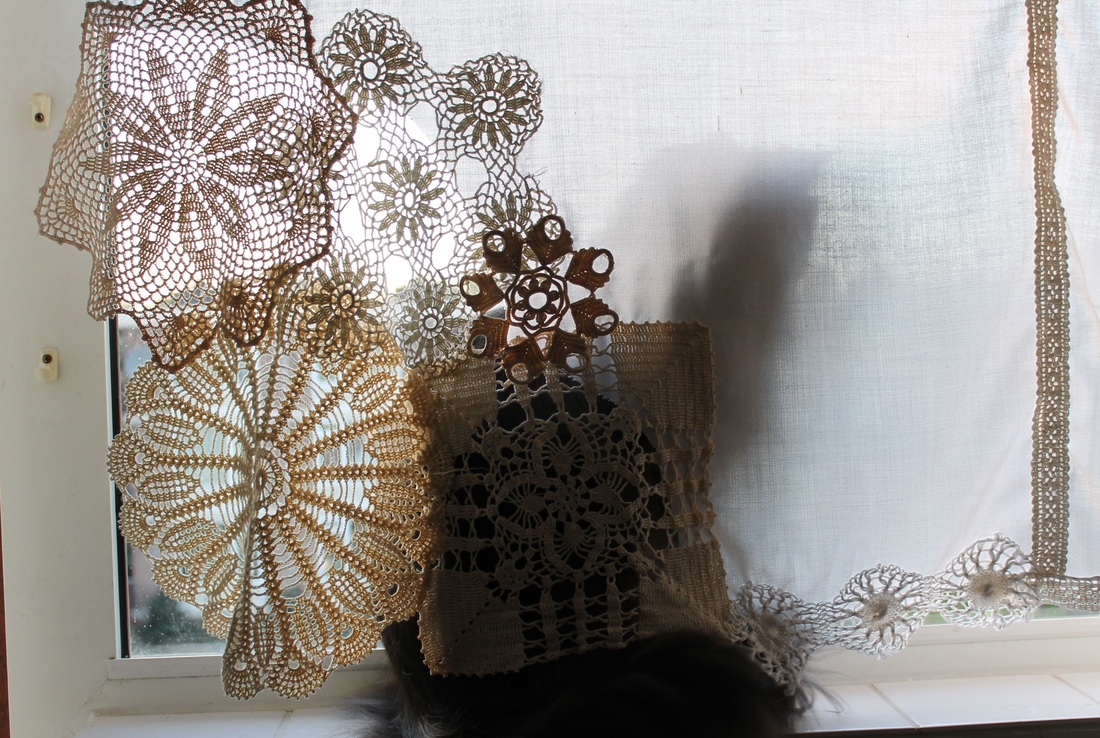
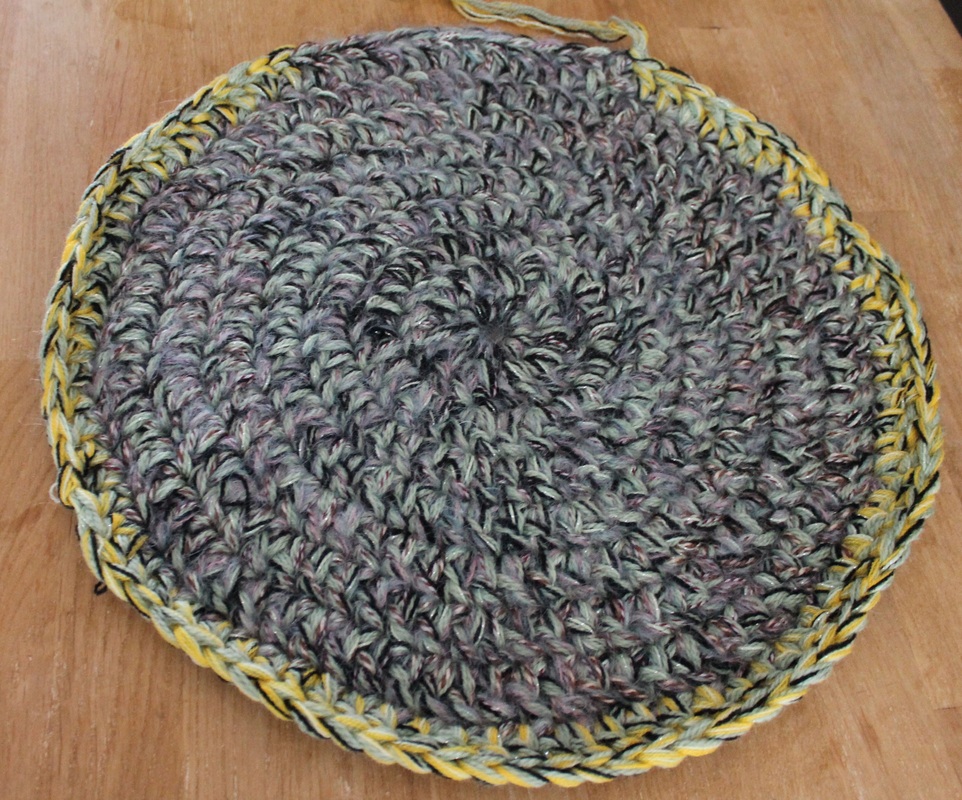
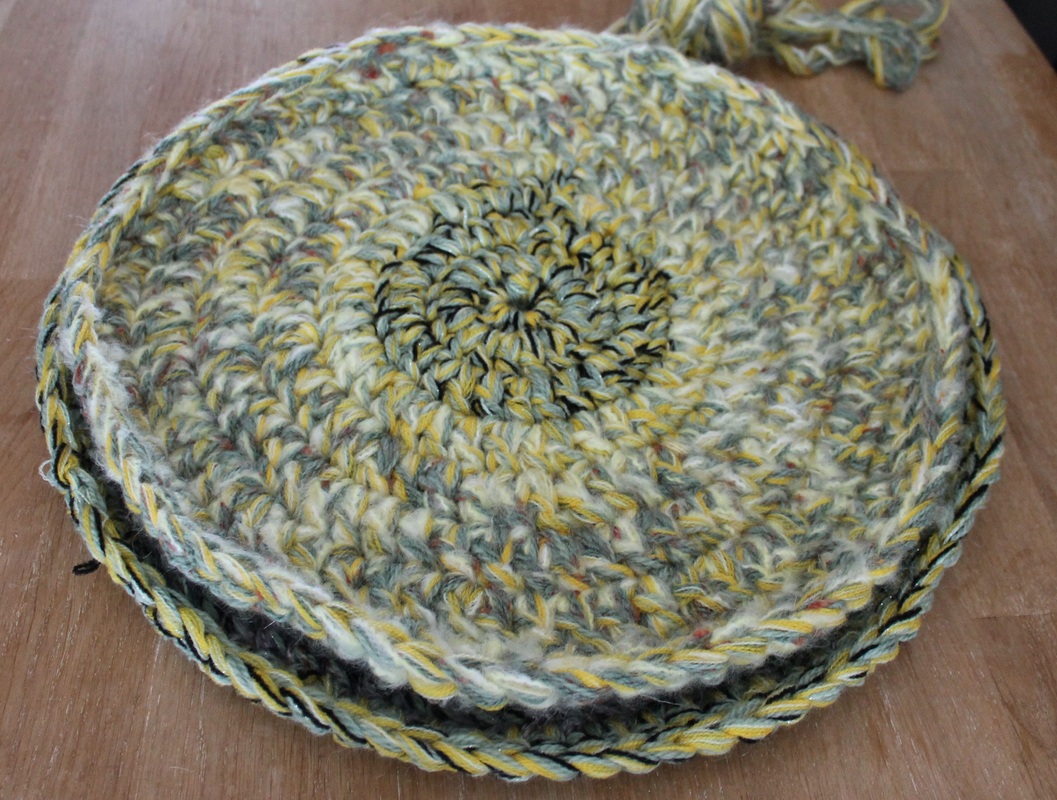
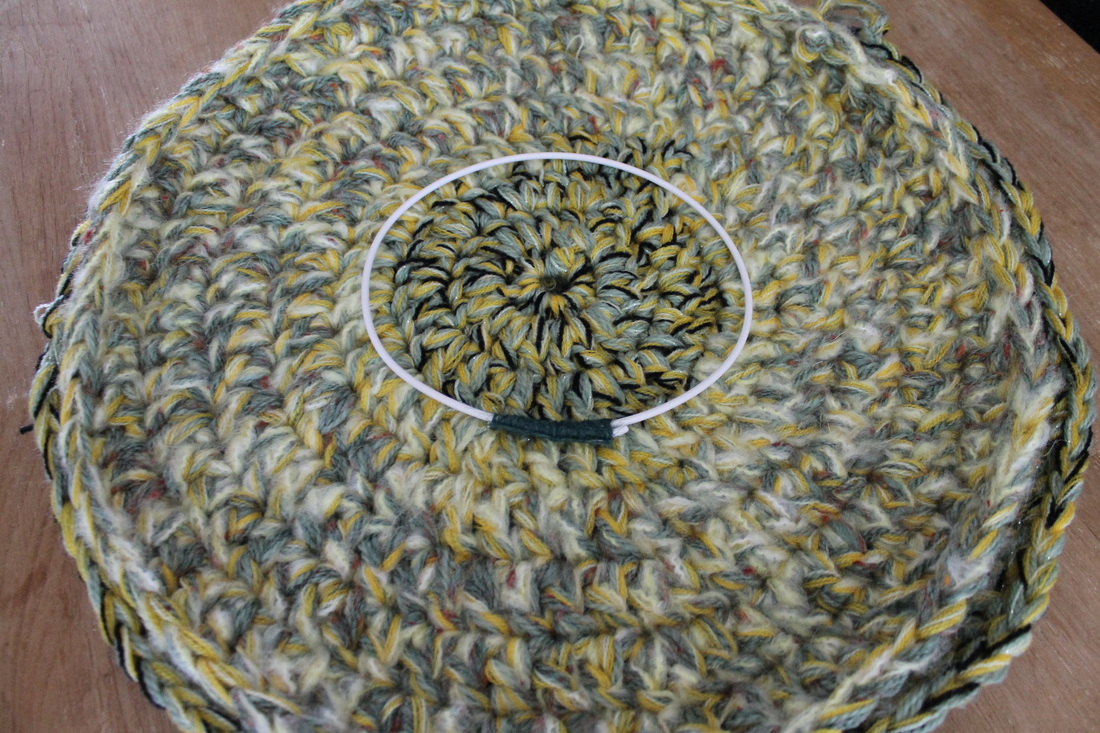
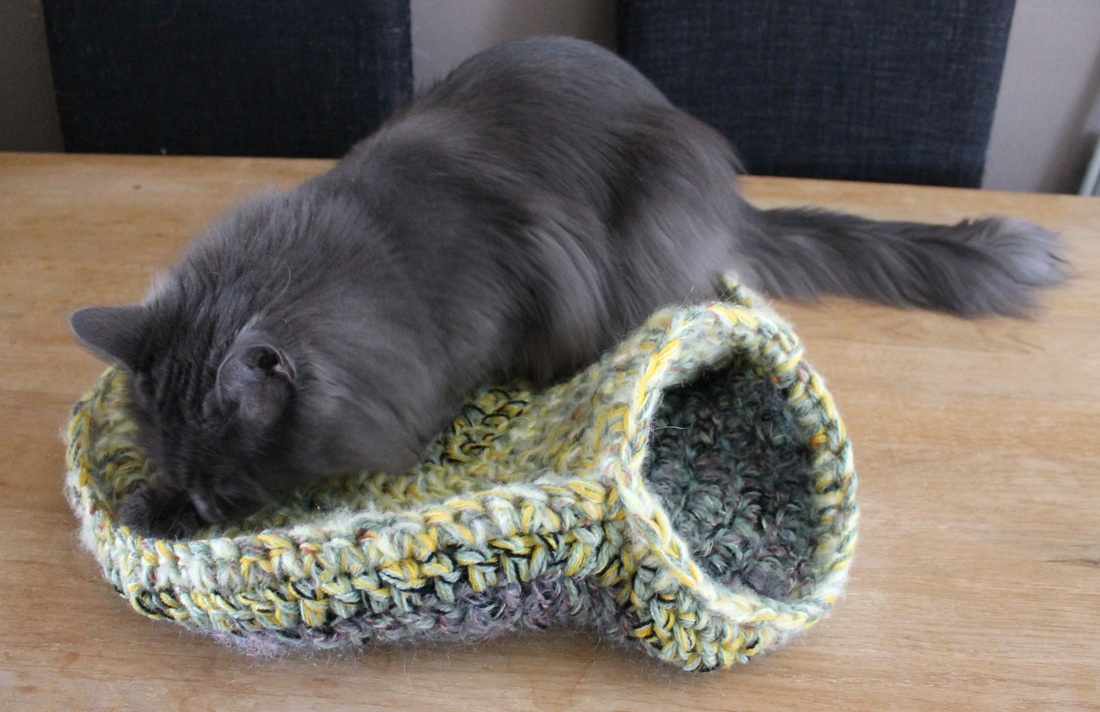
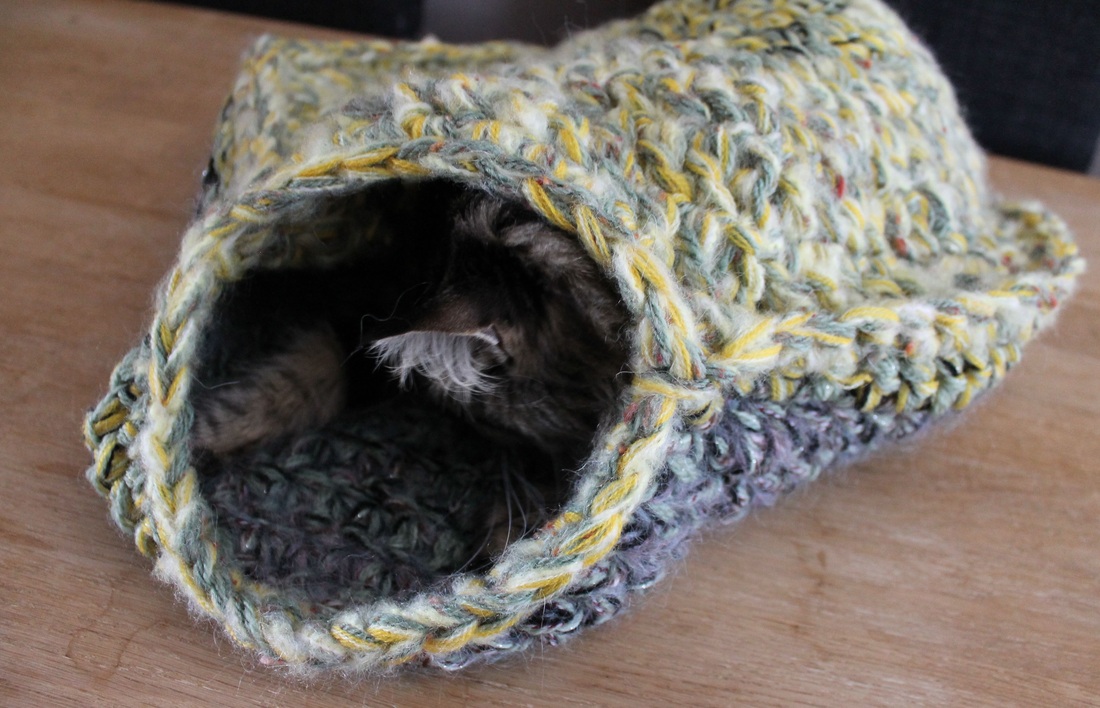
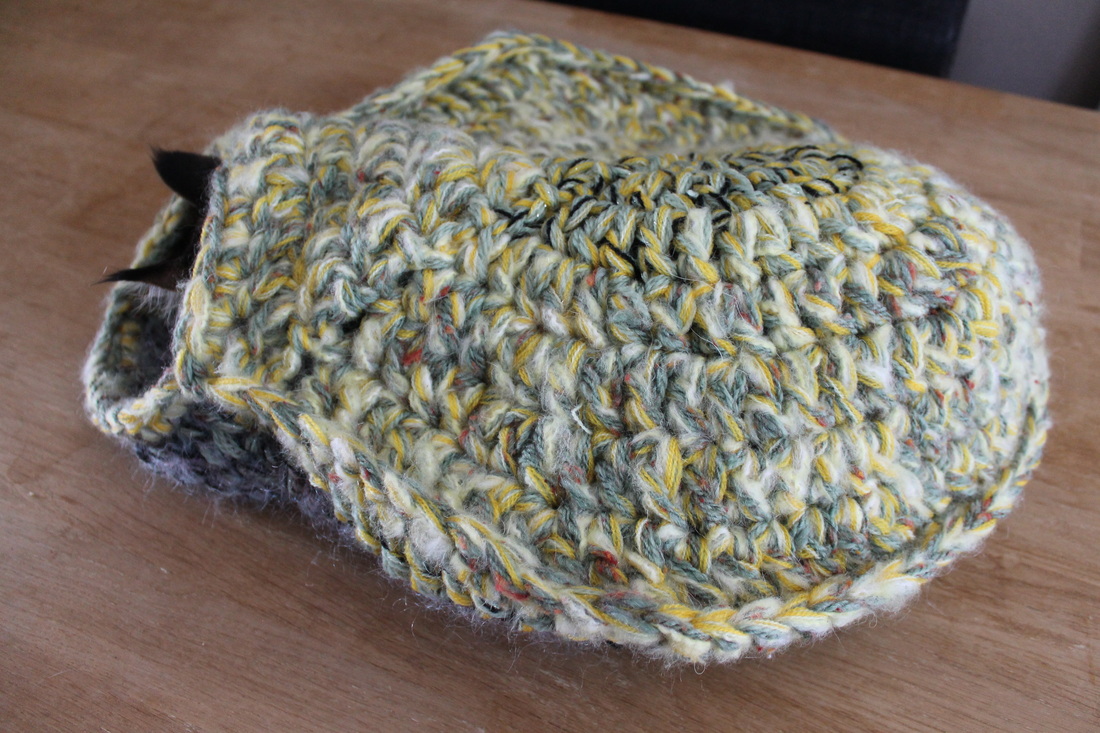
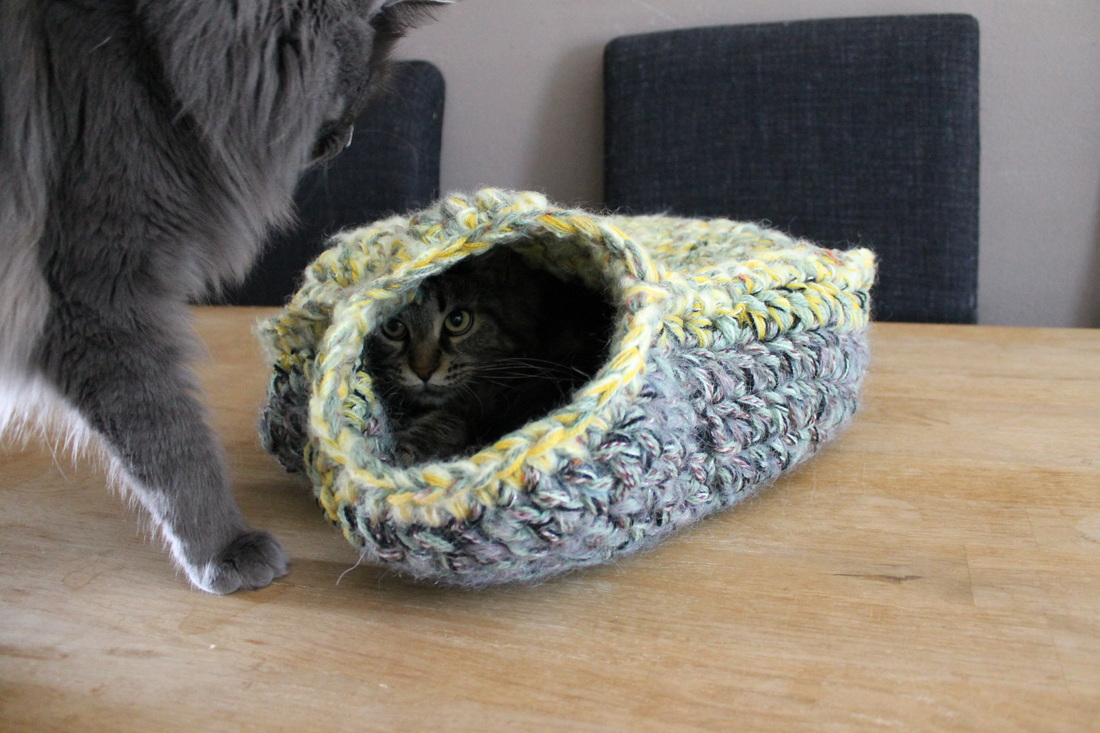
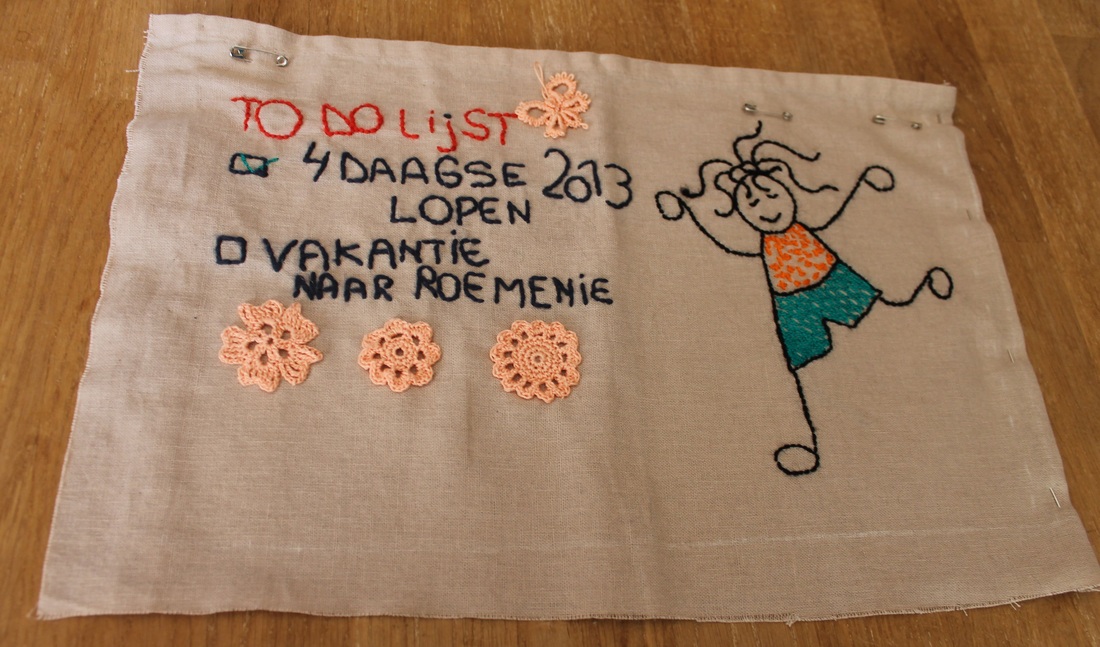
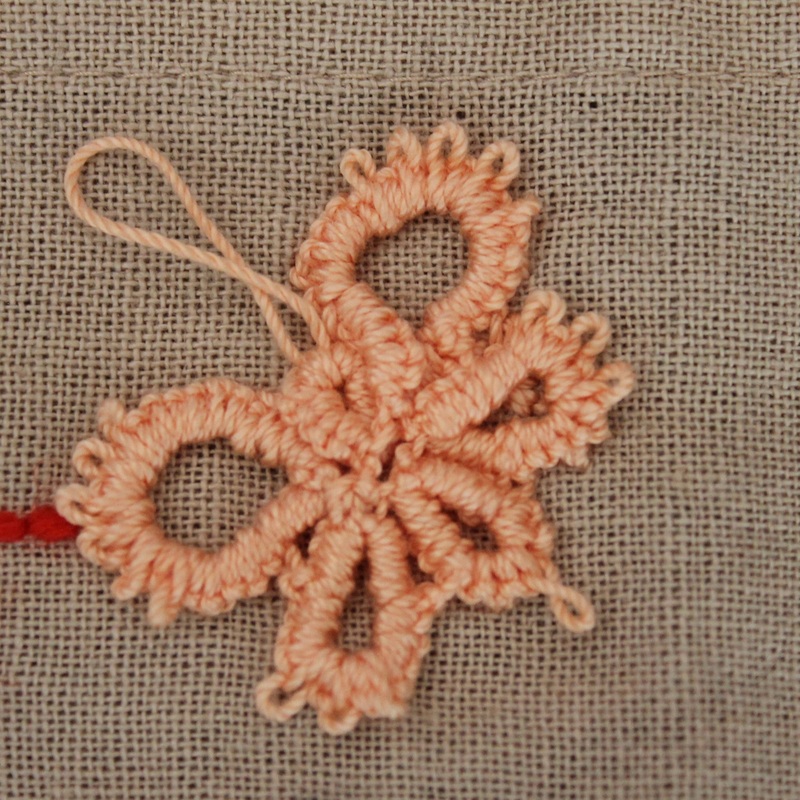
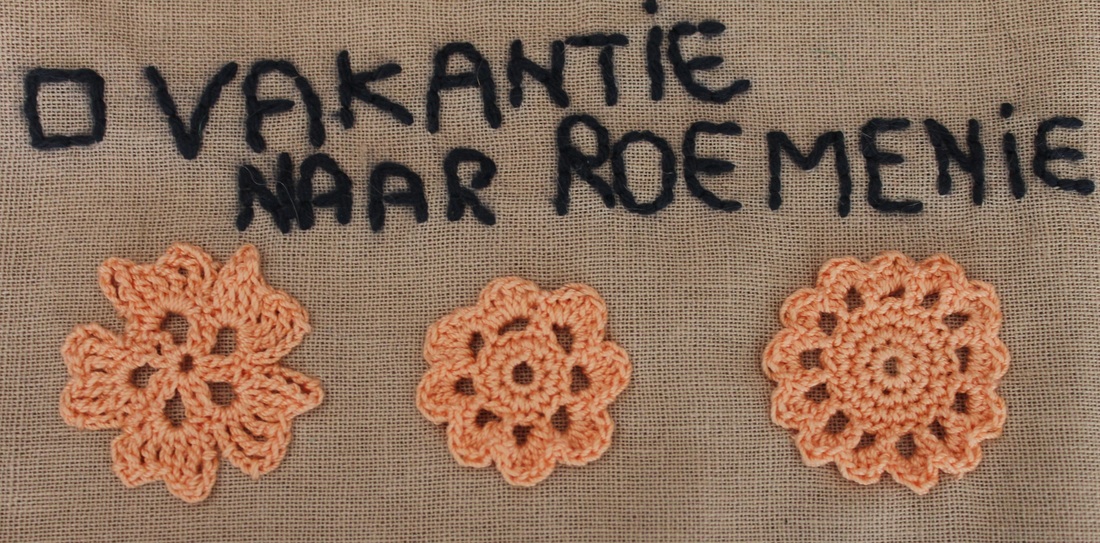
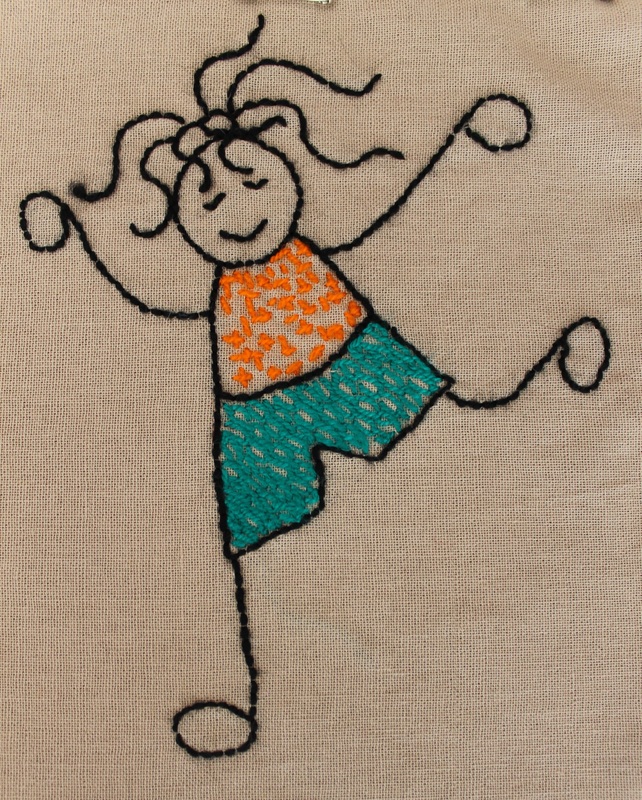
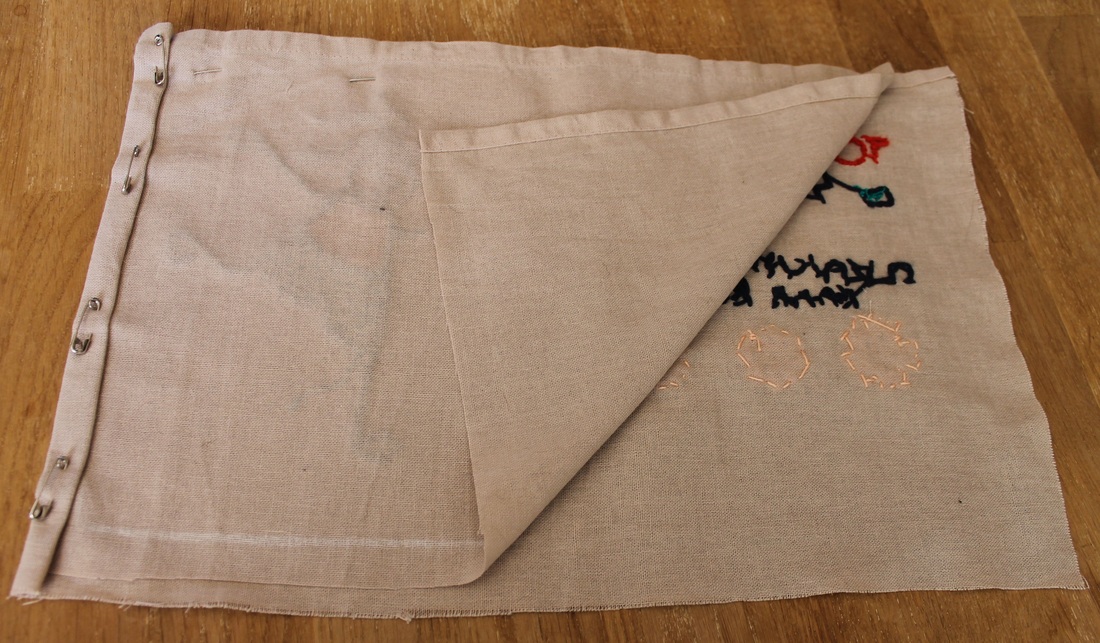
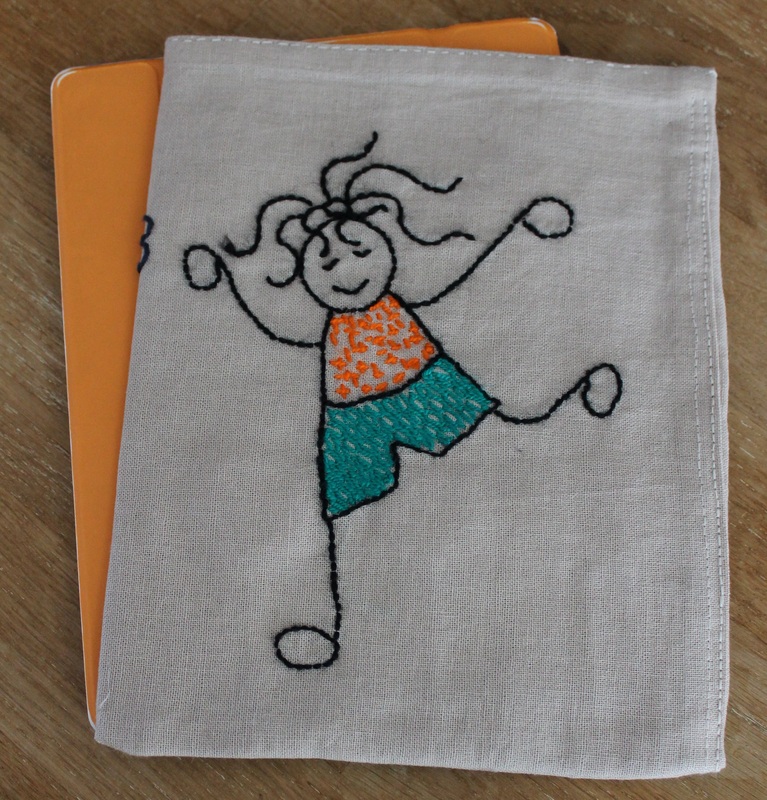
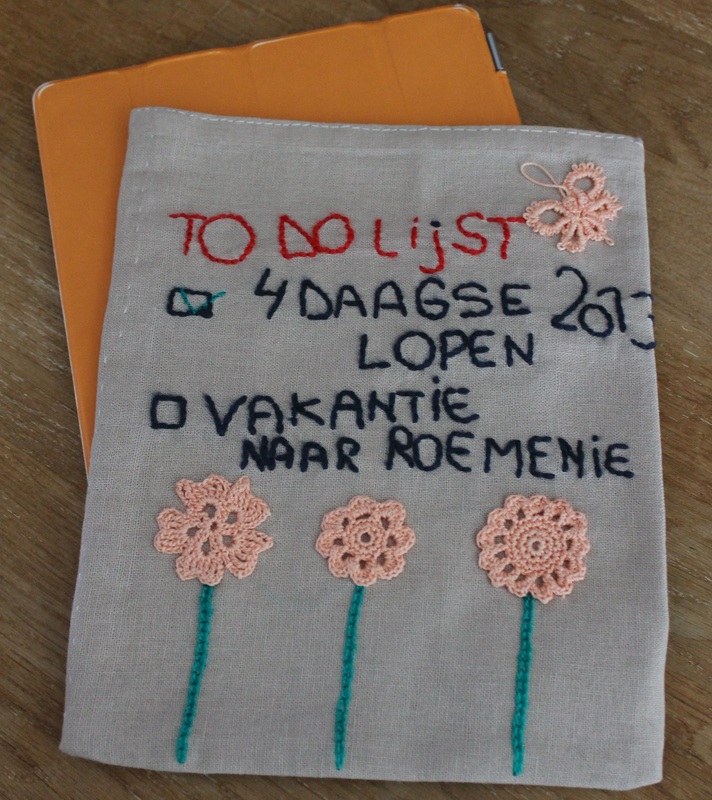
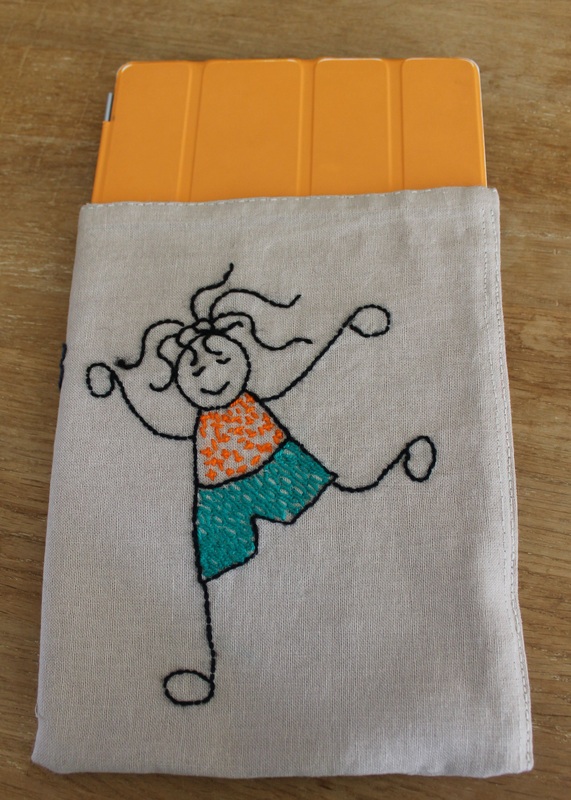
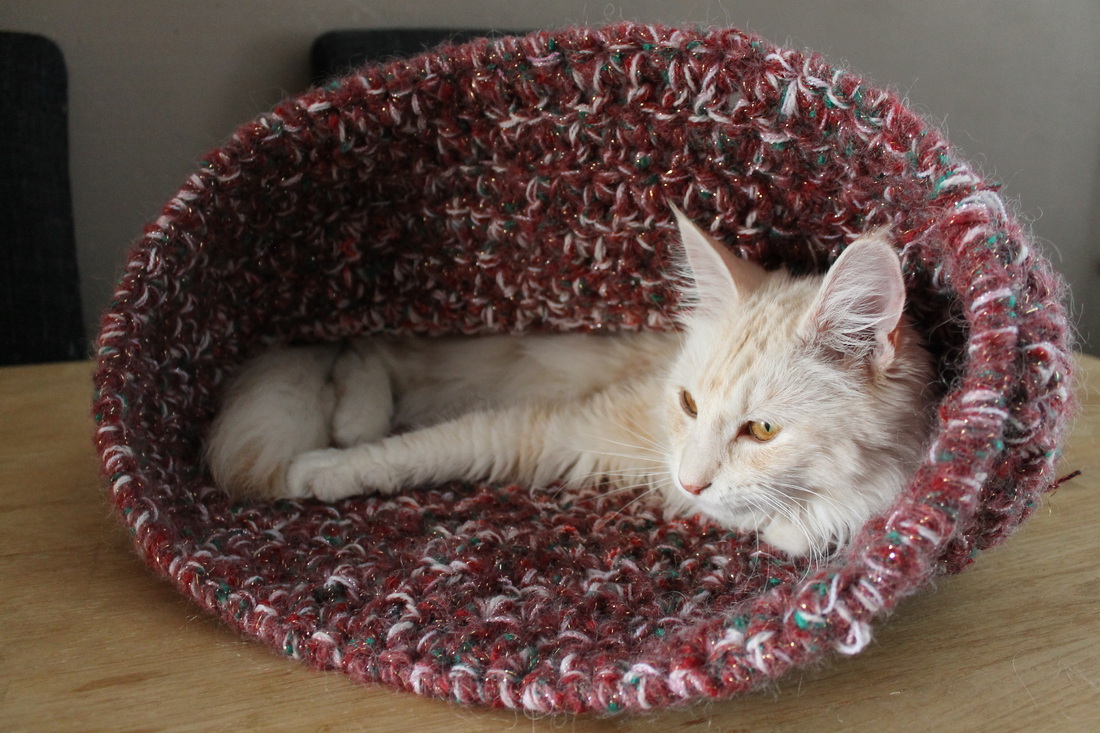
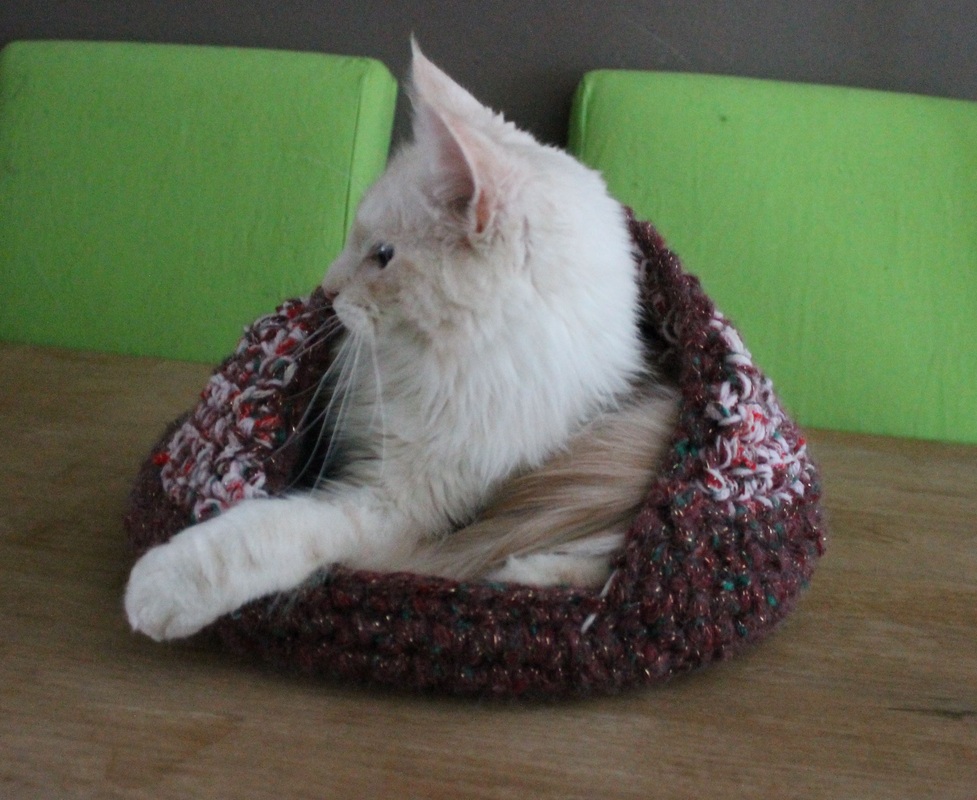
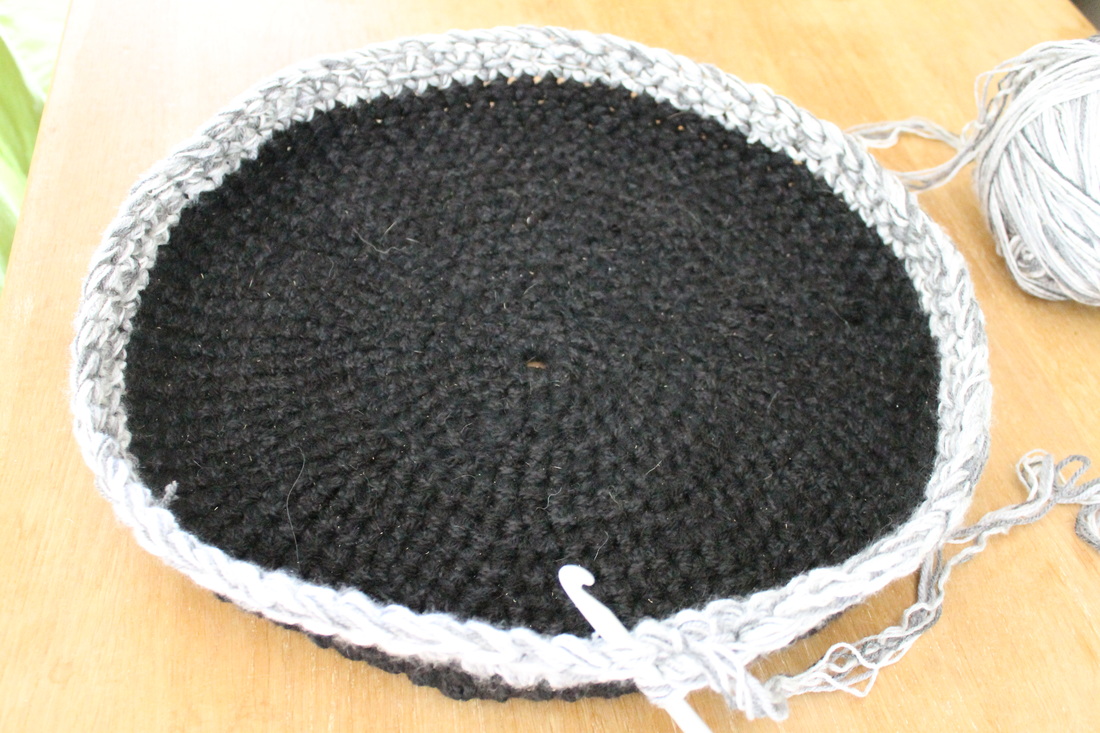
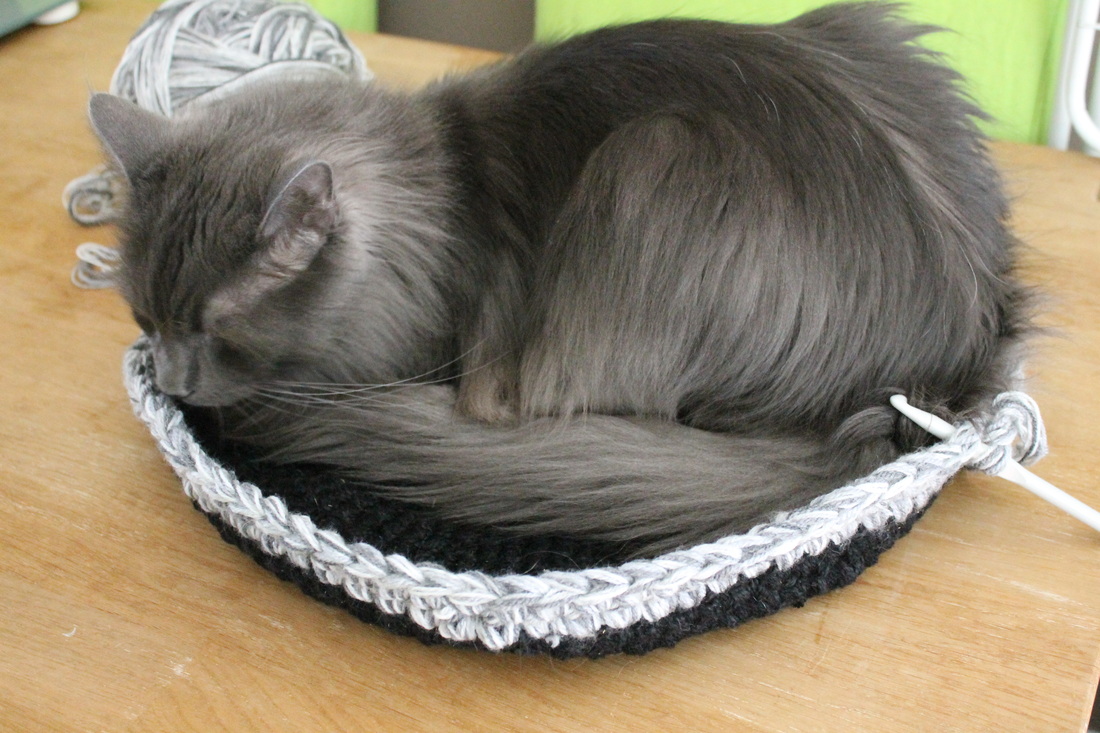
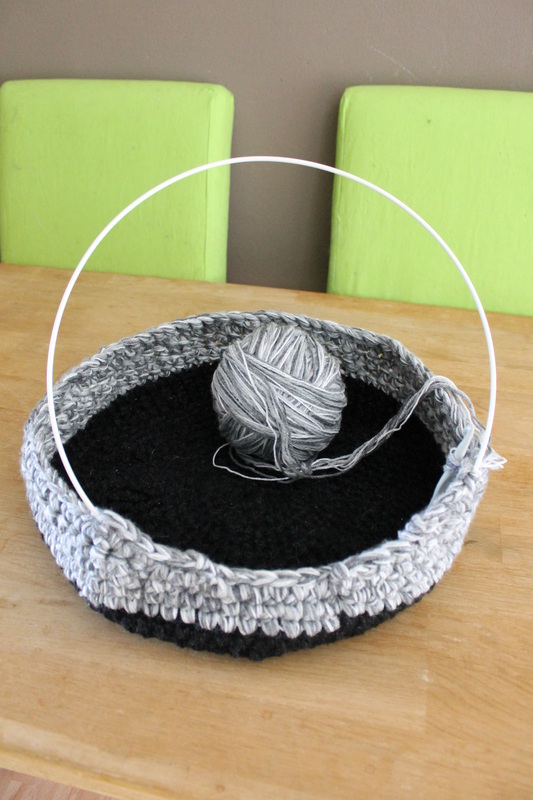
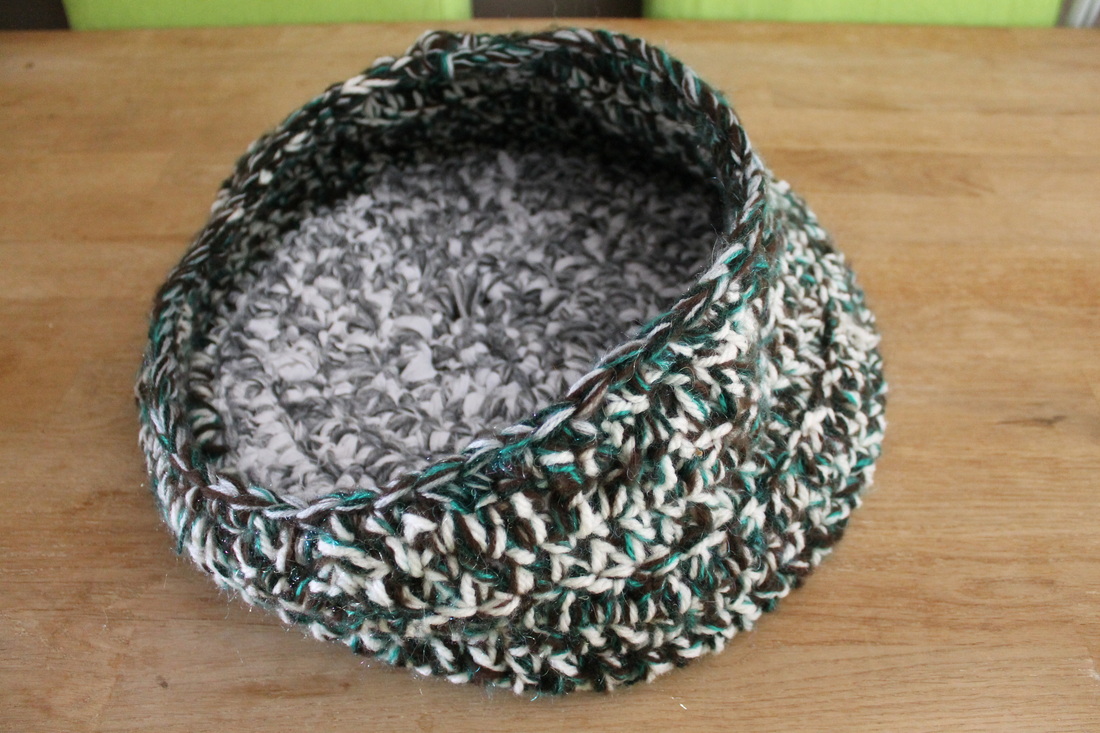
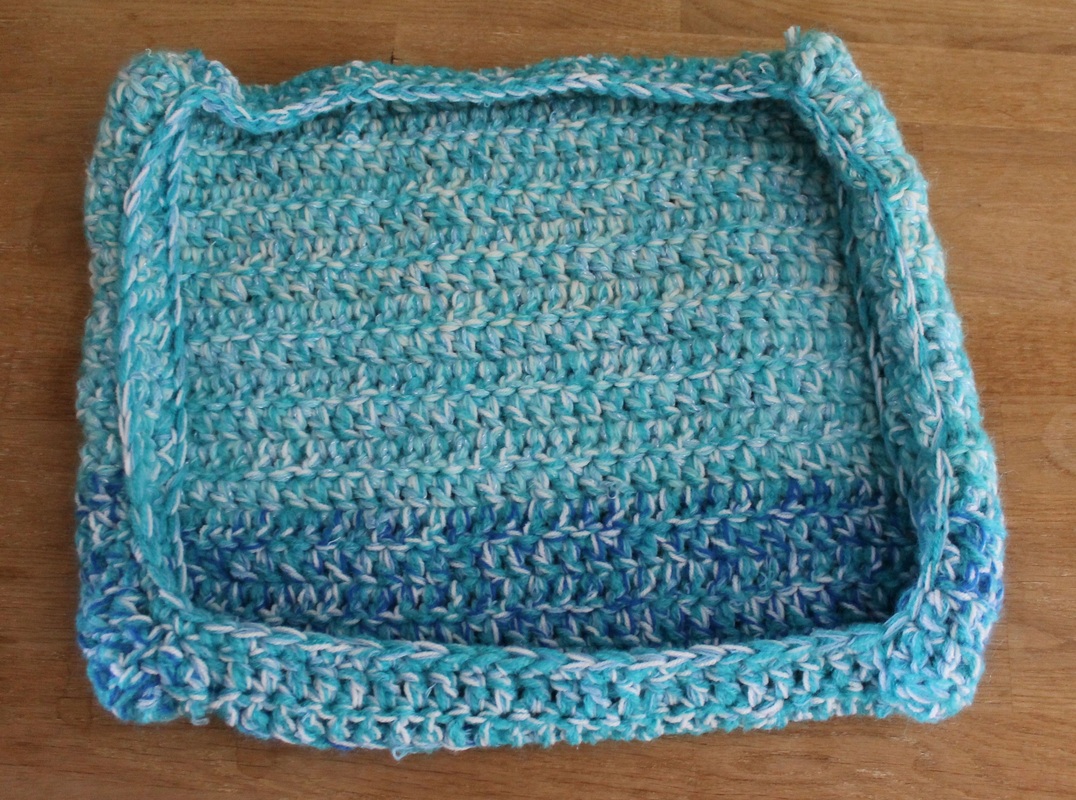
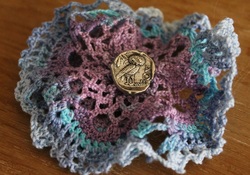
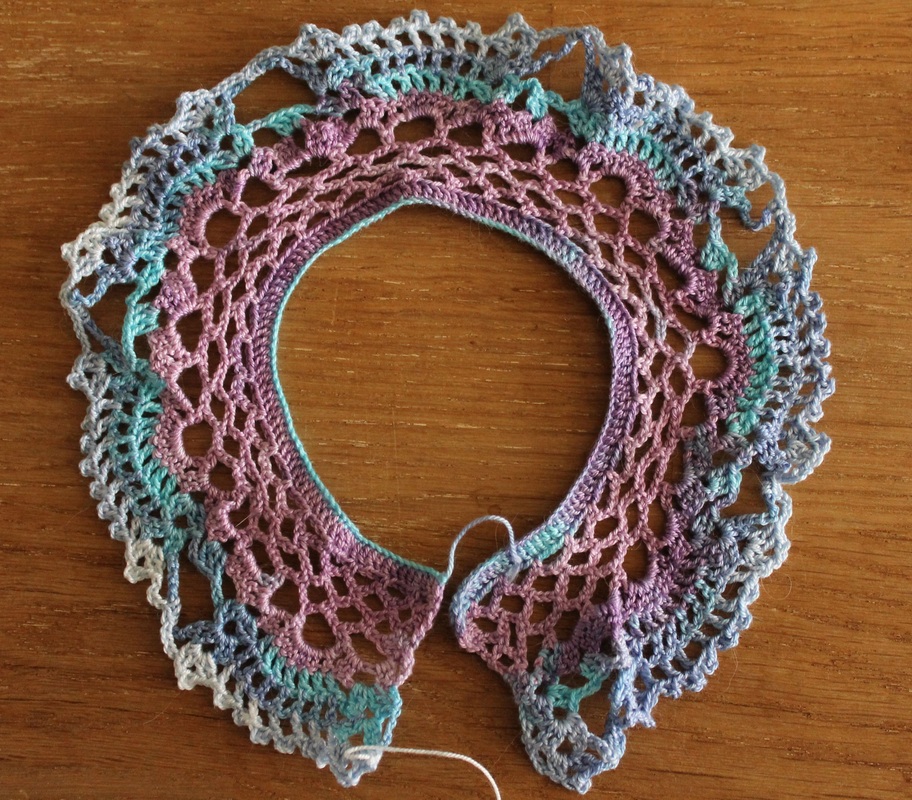
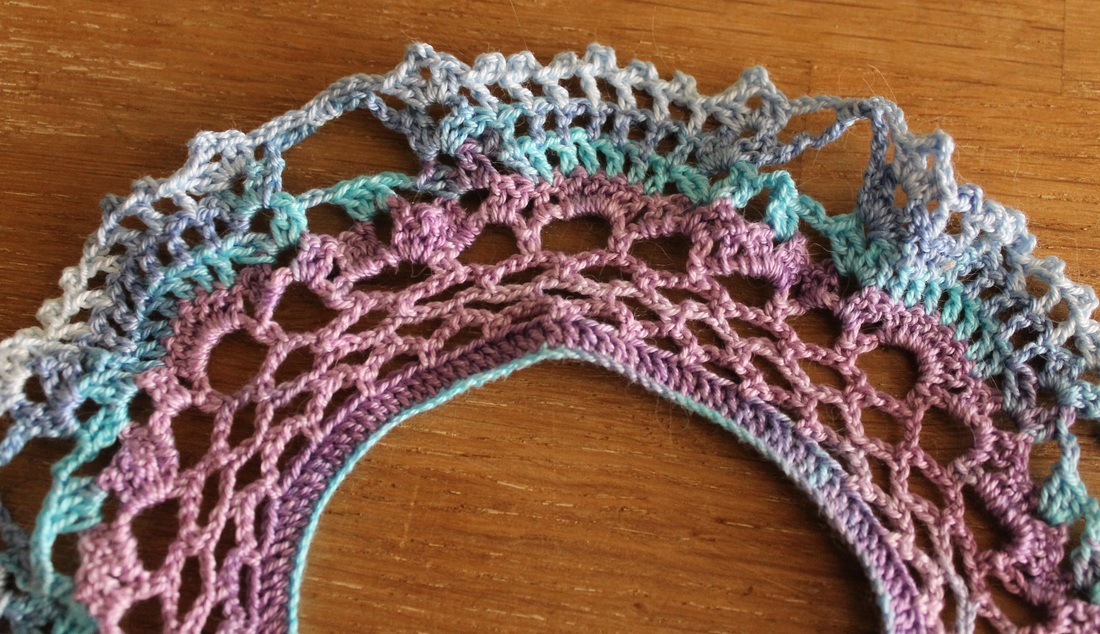
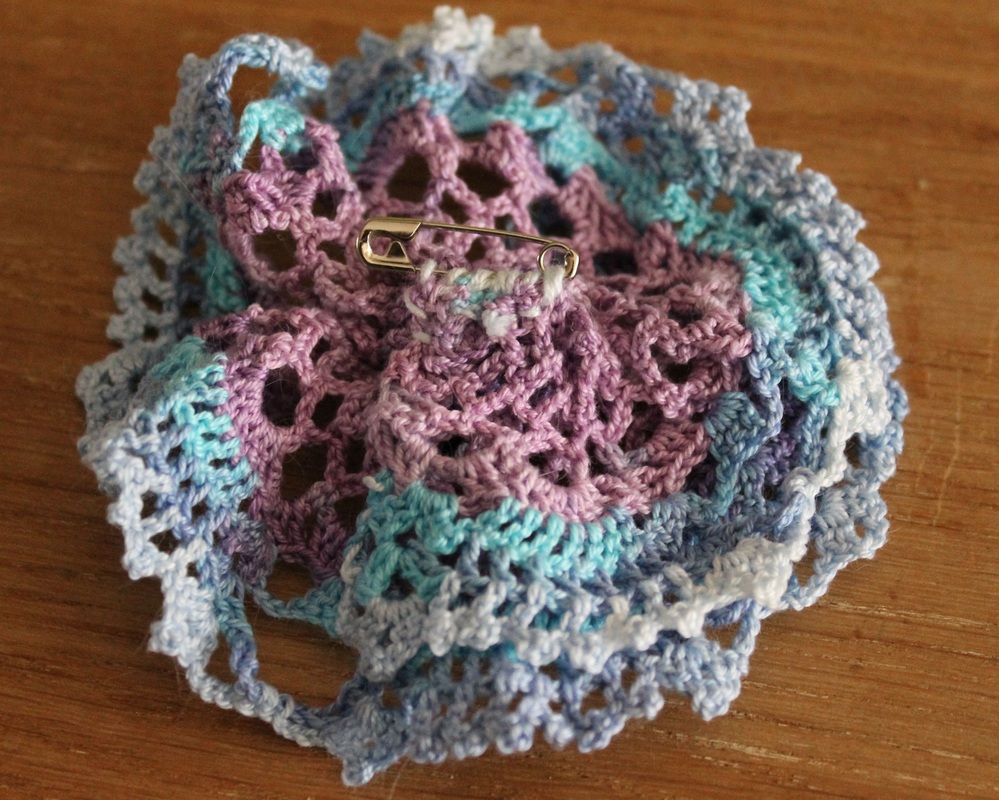
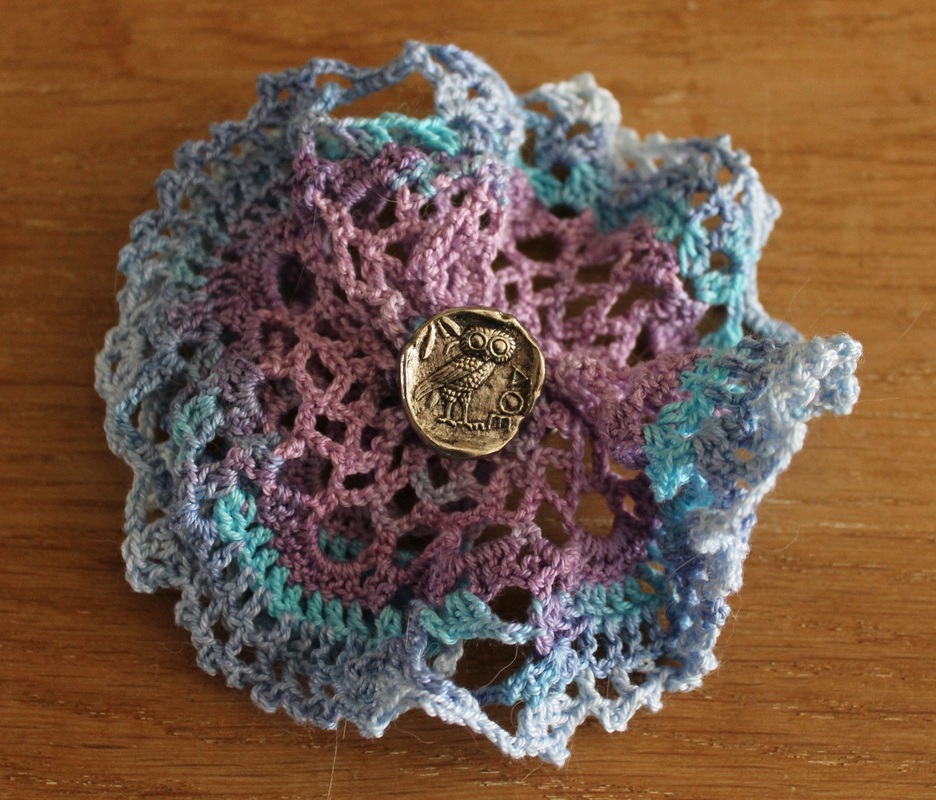
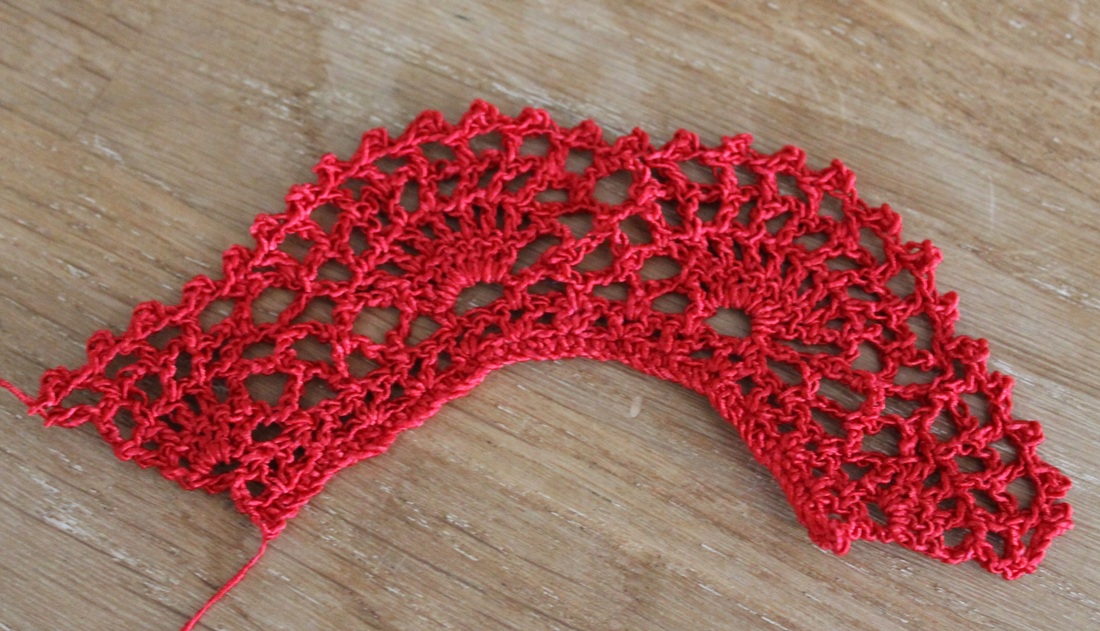
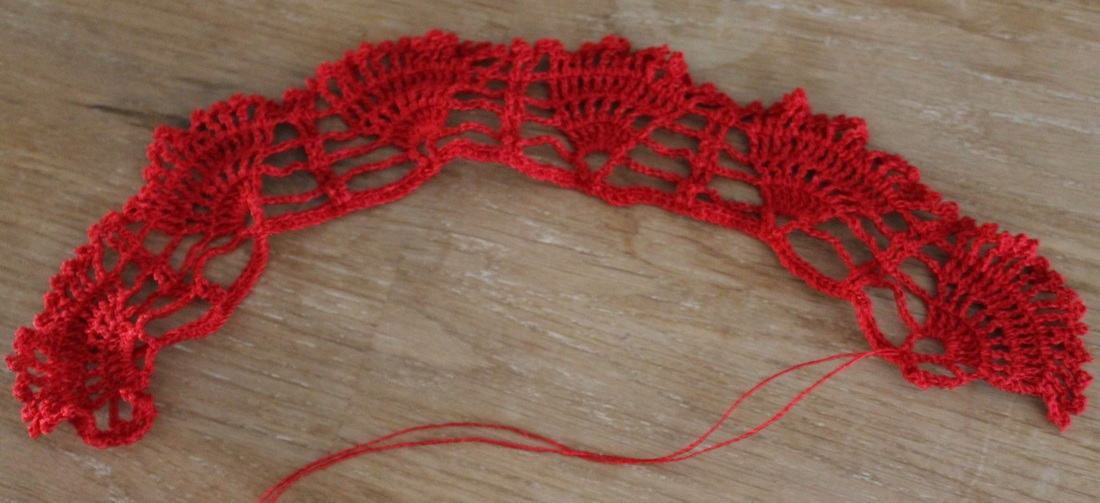
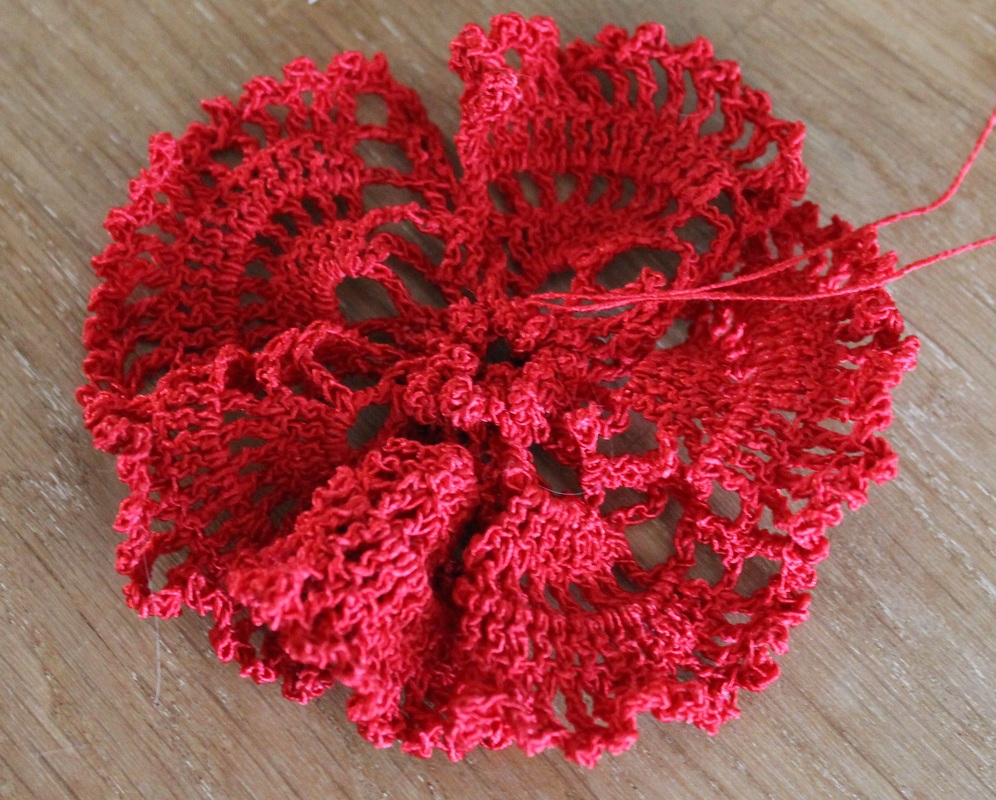
During my holiday to Romania I found a lot of treasures. Among them also lots and lots and lots of doilies and other crocheted items. Today I had the time and the energy to put them to good use. I made a new winter curtain :) With doilies!!! Not the most original idea (there are some other examples on pinterest), but still, I love the one I made. Because the fabric is from my grandmother as well as the doilies and the crocheted edges. So please, enjoy the pictures I made while working on this DIY project. I hope you like the result :)
0 Comments
Some months ago I entered a competition organised by the Dutch edition of Mollie Makes. The topic was "birds" and my idea was to make a birdhouse from twine embellished with some needlework.
And guess what? :) My little bird house was chosen the winner of the competition! That means that my design will be featured in the next edition of "Mollie Makes Haken", I could choose 10 books published by the editing house "Tirion Creatief" and in addition, the pattern will be also published online on Freubelweb, which is a nice platform featuring free DIY projects for the Dutch community. So, I am very happy that I took the time to make the bird house. I cant wait to see my pattern published and to receive the 10 books on crafts I chose :) For me, the best craft projects are those that have no strict plan and where I can just improvise as I go. This funny fellow is the result of such a project. I loved making it. All I used was scrap fabric and felt, crocheted pieces I had lying around, two old buttons, thread for hand sewing and cotton for filling up. And some patience :)
Yes, a cat is inside and one on top :P So two happy cats in one go ^^ But, joke aside, this is my new cat cave design. Again I used left over yarn combined in a bulky thread and a size 12 hook. I also used a plastic hoop to make the entrance. The cave is made out of two circular pieces that are then sewed together, allowing for an entrance. I crocheted around the plastic hoop to secure it. And that was it, easy job :) This one also goes to Romania but I will make sure to make a similar one for my cats also, they really like it ^^ Some time ago I posted a brief tutorial on how to transfer a drawing on fabric for needlepoint work. I said then that it was part of a secret project I was working on :) Well, the secret can be revealed! Yesterday my mother in law celebrated her birthday and the fact that she participate the 4th time to the 4Daagse marches. For those who do not know what 4Daagse maarches are, check this link . In my opinion is a kind of insanity and the same time a remarkable deed - walking 30 km every day for 4 days like my mother in law did is not something that I could do! To celebrate those 2 events I made her a special present: an IPad sleeve specially designed for her :) I used crochet, tatting (for the first time actually), needlepoint and I sew the pieces by hand. The design theme for one side was a "To do list" for her with two goals: finish the 4daagse 2013 (which I checked 'done' since yesterday was the last day of it) and holiday in Romania (which I left un-checked because that is still to come). And on the other side I draw a whimsical picture of her dressed in the colors of the 4Daagse marches - green and orange :) The crocheted flowers are just random patterns I found on the internet and that I saved on my Pinterest boards. I save there quite a lot of free patterns and diagrams, so if you are looking for inspiration it is a good place to start :) I also tatted a butterfly (not very good I must say, but it was my first try at tatting). The pattern is from a free video tutorial , but the catch is that this video tutorial is in Italian. But, if you understand the language and you want to learn tatting, this is a very good way to do it, especially that the butterfly tutorial is from a series that start with the basics and goes on demonstrating a lot of interesting tatting projects. Enjoy watching the pictures I made with the "making of" and let me know what you think of my little project. I am curious to know what you think of it :) I just love making things for a good cause :) Just that I get bored easily and then I need to invent something new. The same happened with the cat nests I was doing - I just needed to do something else for a bit of variation. So I made a cat cave! For those cats out there who just like to dig and hide in the darkness :))) We have one like this, if she finds a blanket she will do her best to crawl under and take a nap :)) Ok, so here is how I did it. Again, I used left-over yarn, combined it in a bulky thread and crocheted using a size 12 crochet hook. I also used a hoop made from a flexible plastic rod that I rescued from an old window cover. I started the beginning row by crocheting single crochet stitches around the hoop. Slip stitch to close the circle and then worked in circles using double crochet only. Because the hoop was a bit large I decreased from time to time (3 stitches every 2 or 3 rows). When I was satisfied with the length of the cave I stopped and left the end of the cave open. Then I asked my cats to test it :P Just a little update with the stuff I made until now :) I like so much how they turned out and my cats agree that all the nests and baskets are good to go to Romania :) We are going to Romania for holiday and for this occasion I wanted to do a little bit more for the two animal organizations that I support. What I can do best is crochet so it was an easy and obvious choice for me to start working on some cats' (and in the next weeks also dogs) nests. I bought online a big stash of left-over yarn and by combining several thinner threads I created a stronger and bulkier thread that I crocheted with a size 10 hook. I also had some yarn made out of old sheets and I decided to use that also. The result: by now 4 cat' nests :) The simple version is worked just like a basket. In case you want to make a cozy nest yourself there are plenty free patterns online that can be used. If you need help with finding one send me a message and I will try to help :) For the more complicated version I used a flexible plastic rod that I saved from a window cover. I bent the rod in a circle and used it to created an entrance to the nest to create a cozy effect. I crocheted around the rod and because the thread was so bulky it maintained shape and did not collapsed. If you want to make something similar I do not have a written tutorial but I did make some photos to illustrate what I did. And in case of getting stuck send me a message I will do my best to help you. It is official: I love up-cycling, especially combining lace and old buttons. So I did it again :P I found this lovely cotton from Katia and i got me the purple-to-white-and-blue version. And I made another brooch, for another friend. I used a button with an owl on it - she likes owls :P Now I cant wait for my next project... i have so many more buttons :P The first project using one of the items I got from the flea market: a lace brooch with an extra decoration element given by a vintage button. I made this brooch as a present for a friend. I loved working on it, it is so rewarding to do something for a friend. I also like the idea of using old items in this way, to create new things. I am curious what you think about it, if you find it as pretty as I do :) PS: and if you want to do one just like this I wrote a short tutorial. You know where you can find it :) Happy crocheting! |