Zaraza crochet
  • Home
  • Yarn love
  • Stitches
  • Patterns
  • Useful links
  • Dogs and cats stories

An aunt work is never done :P

4/30/2014

0 Comments

 
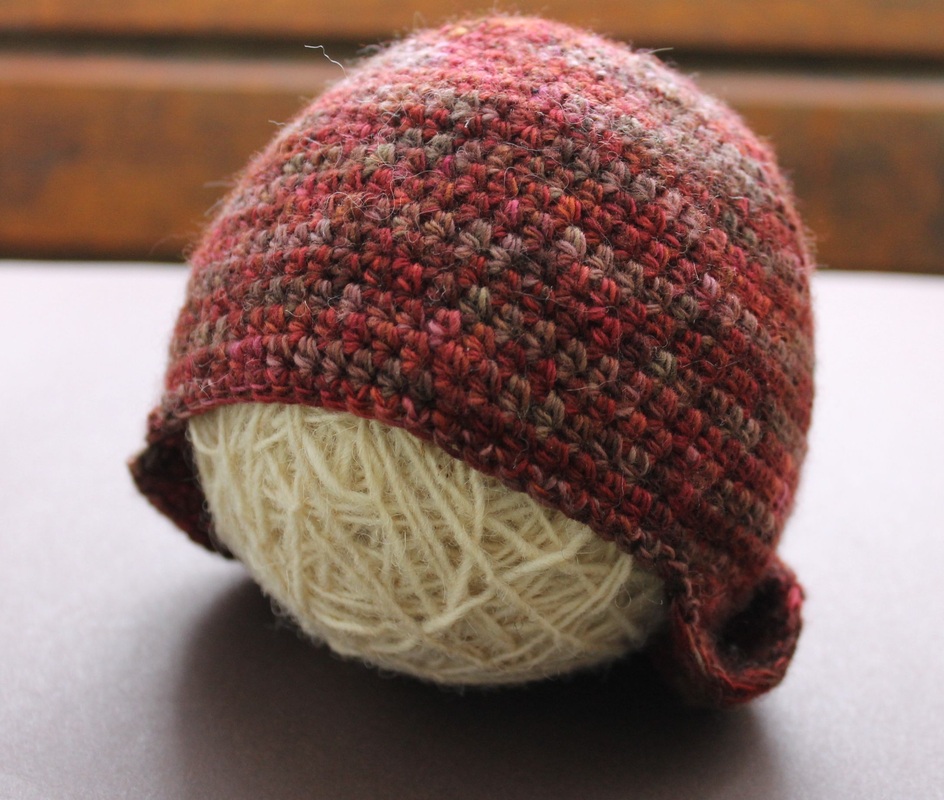
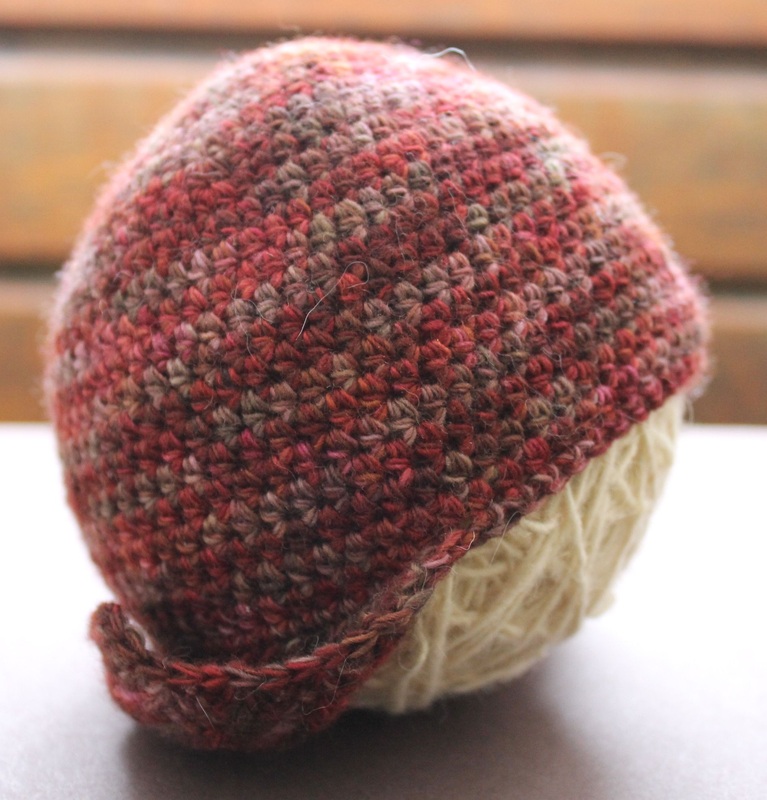
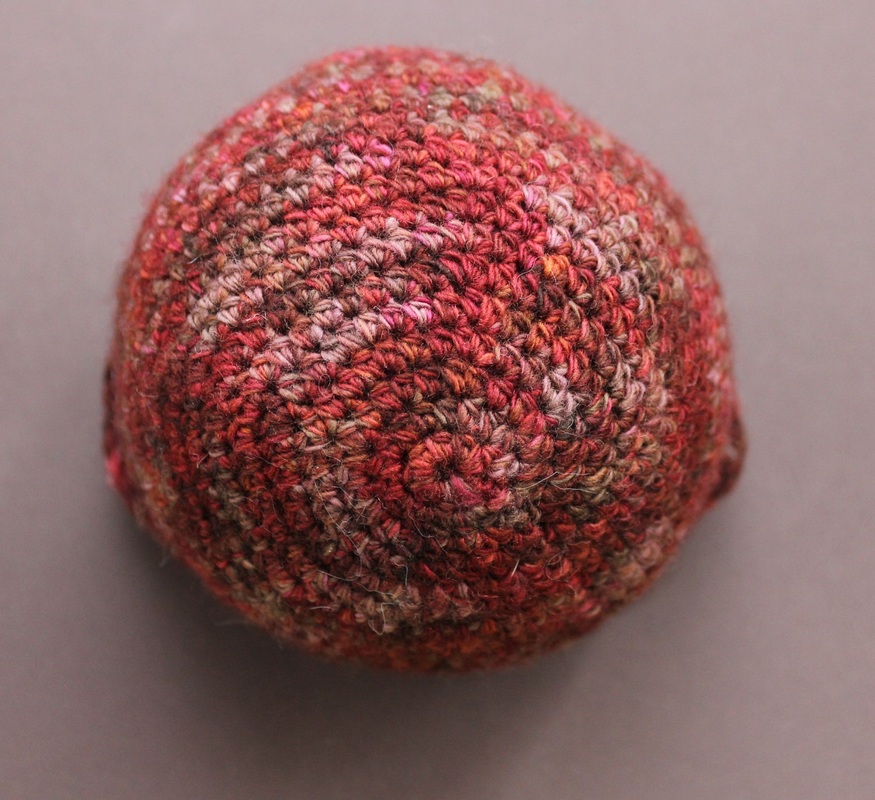
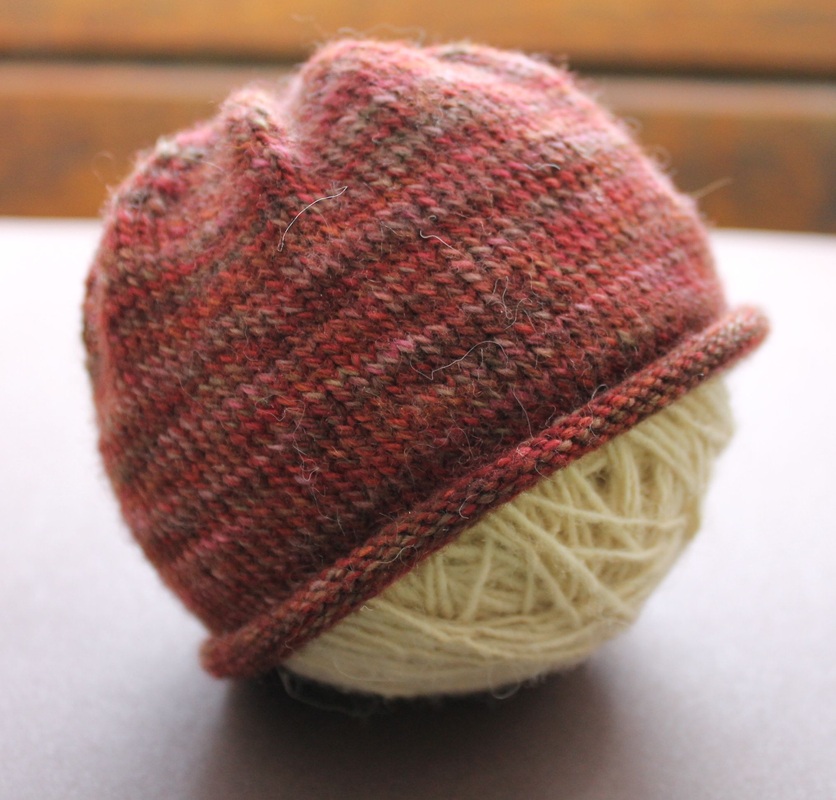
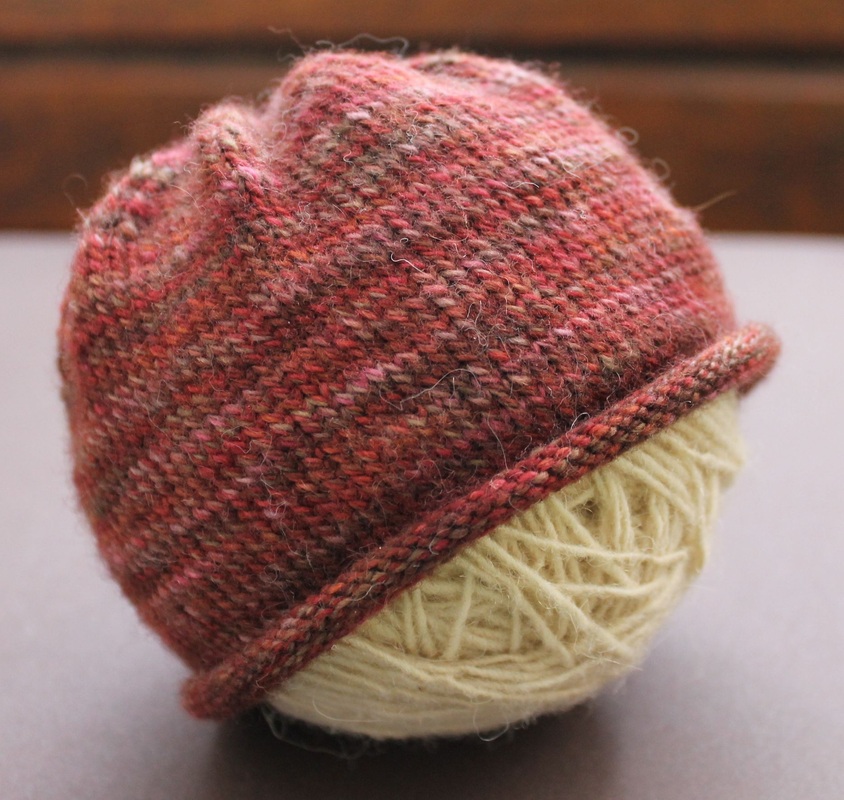
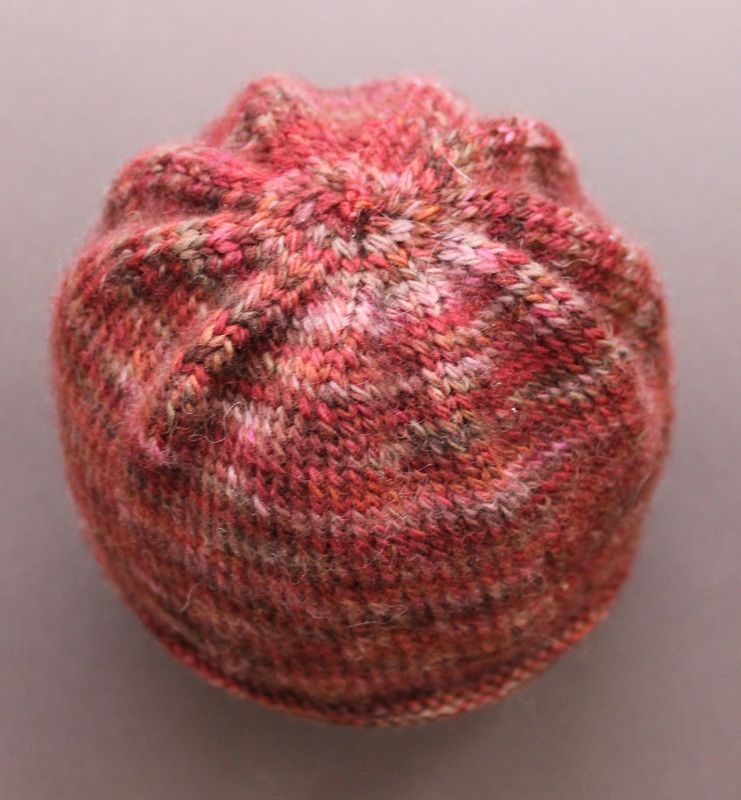
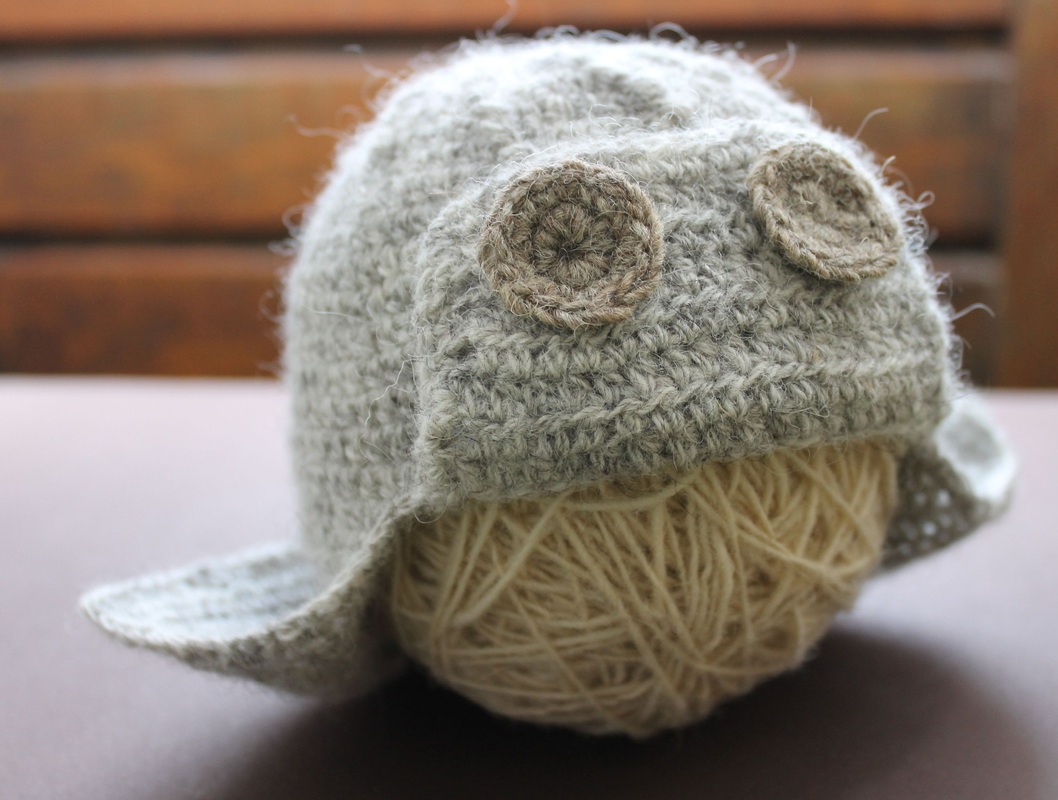
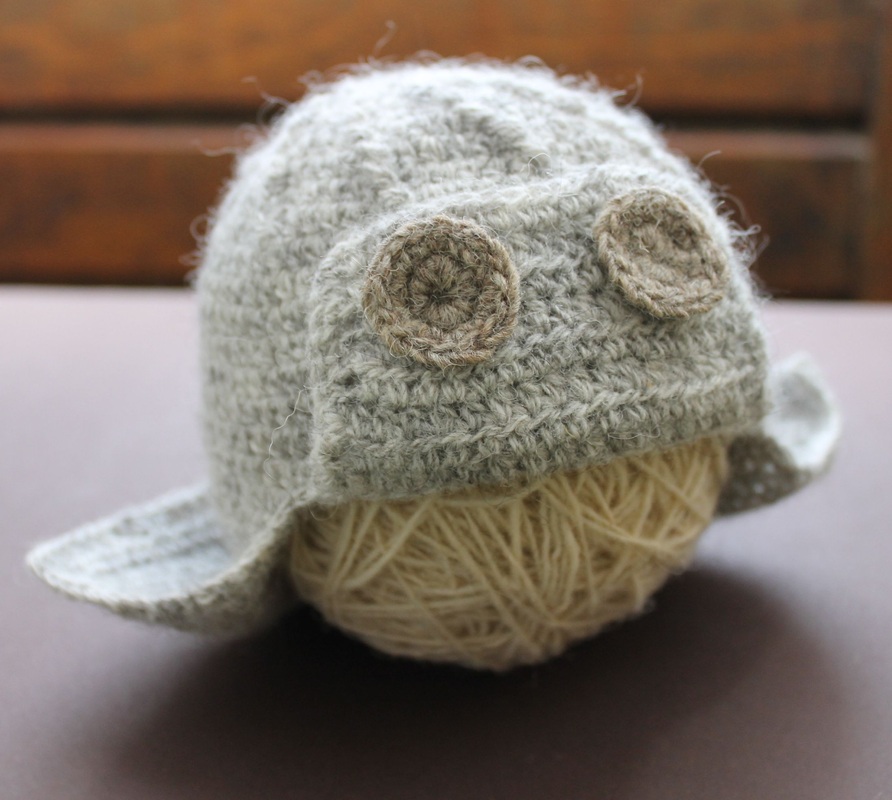
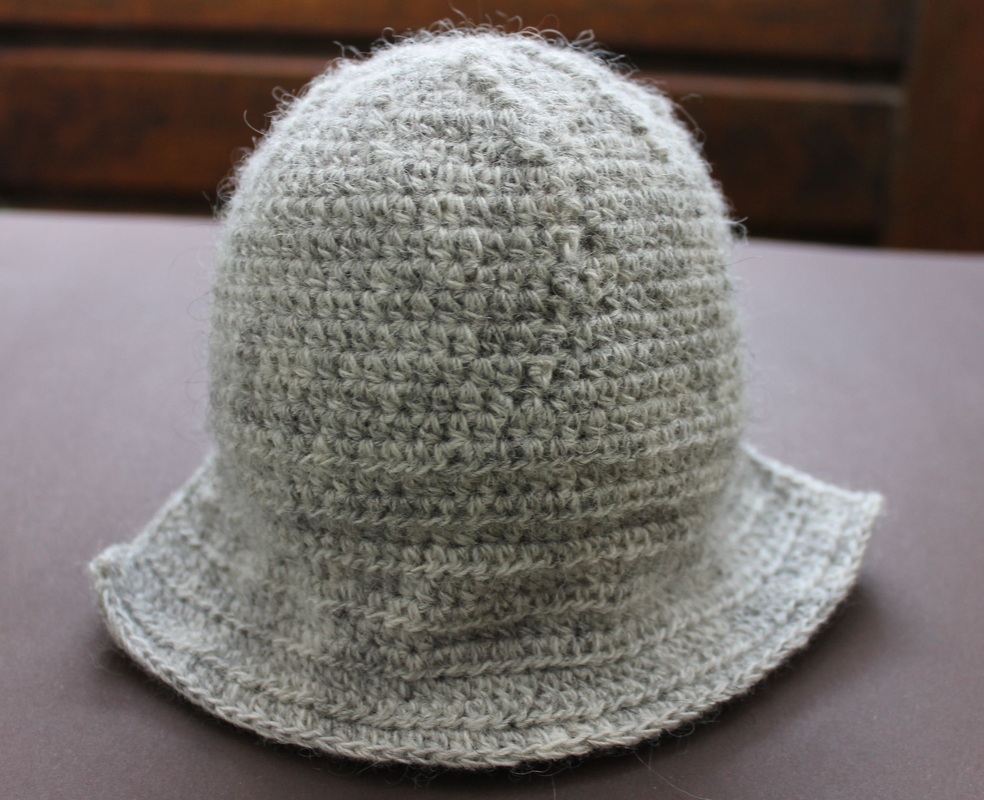
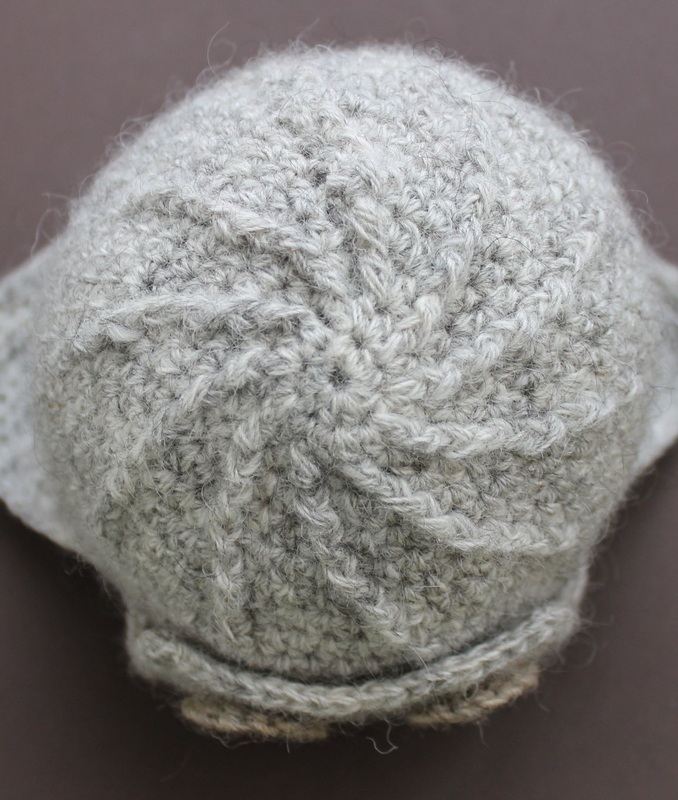
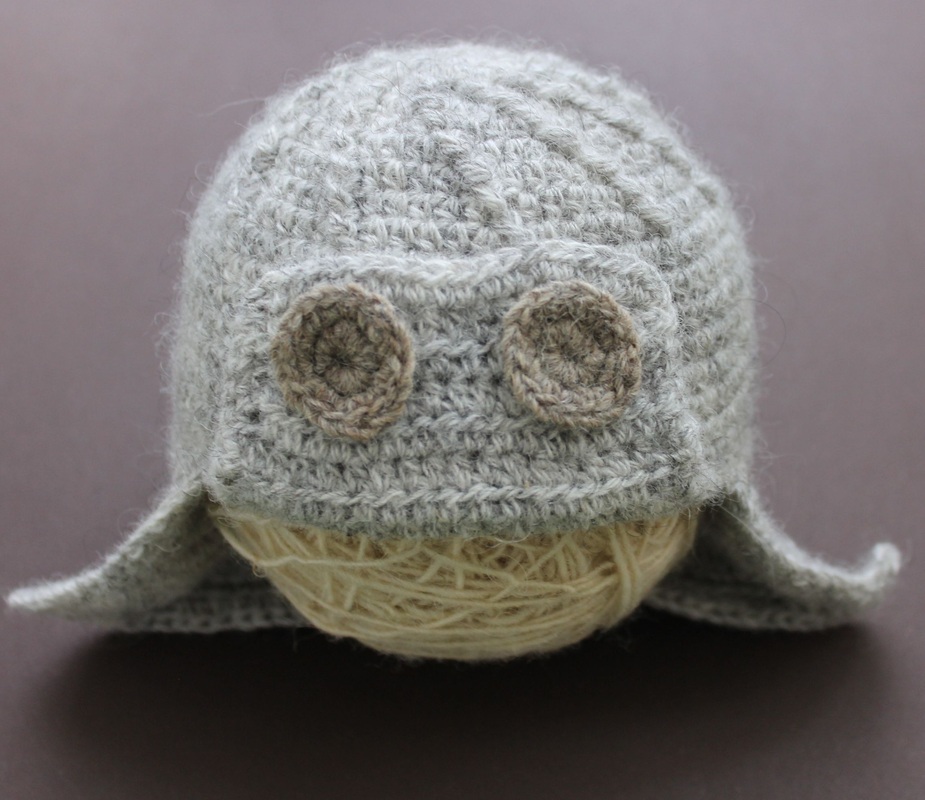
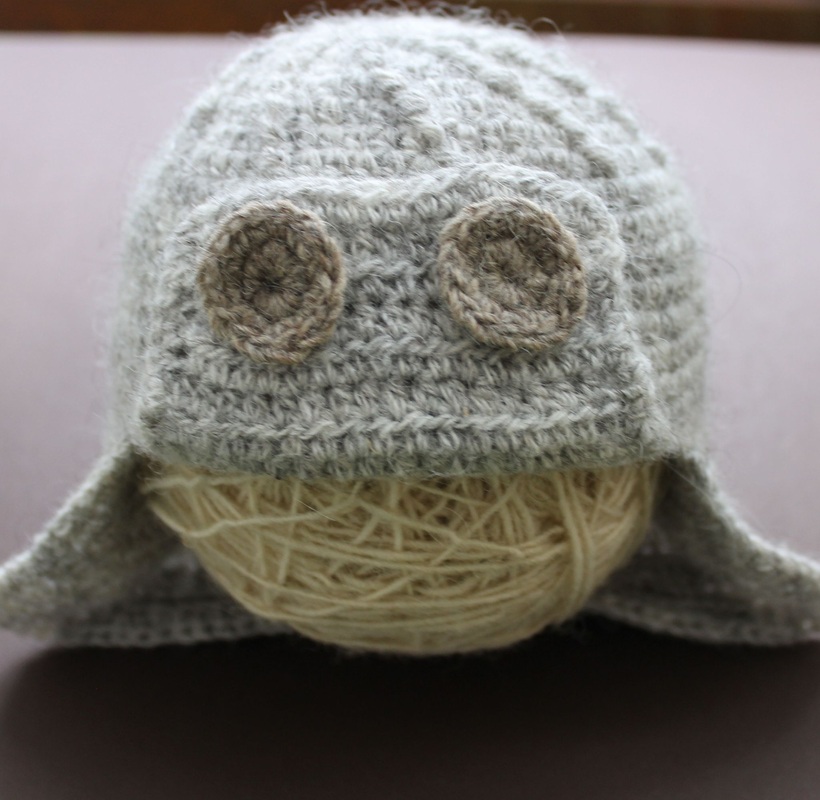
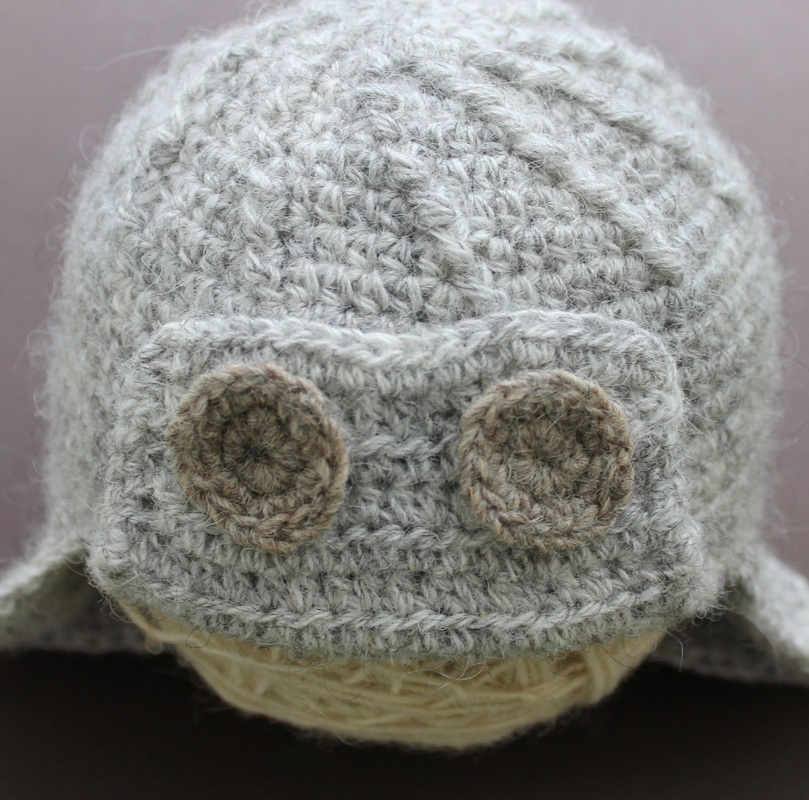
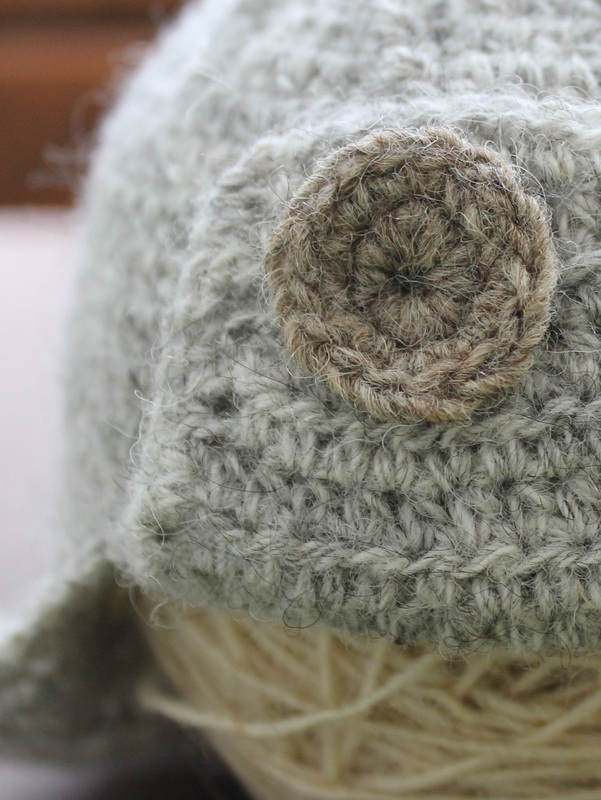
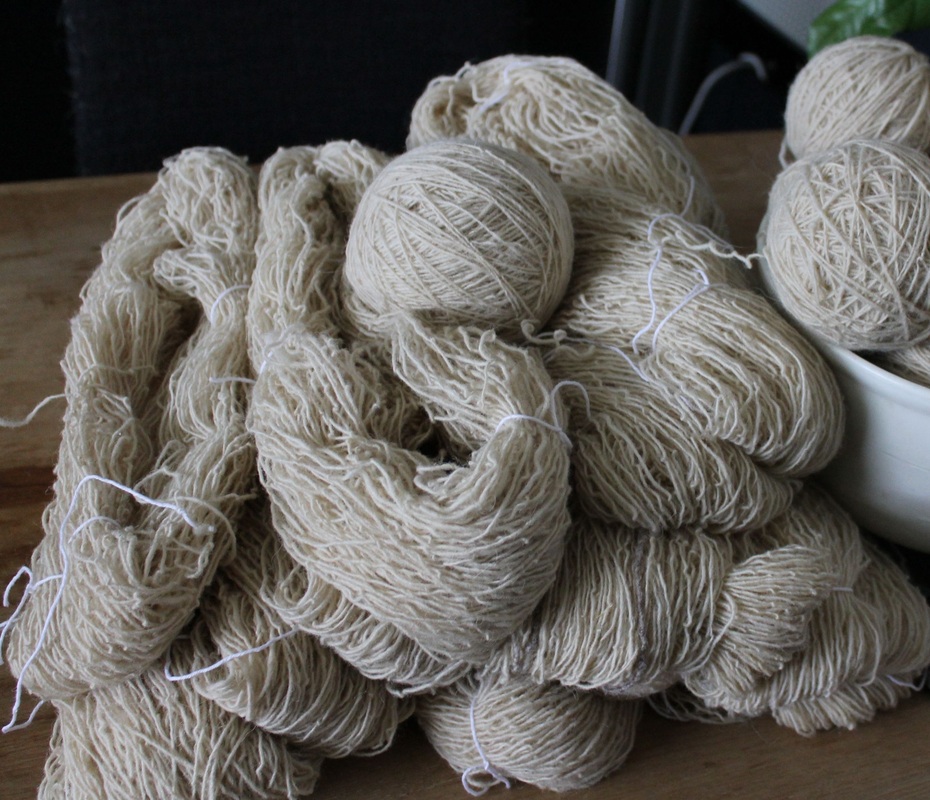
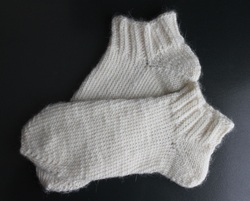
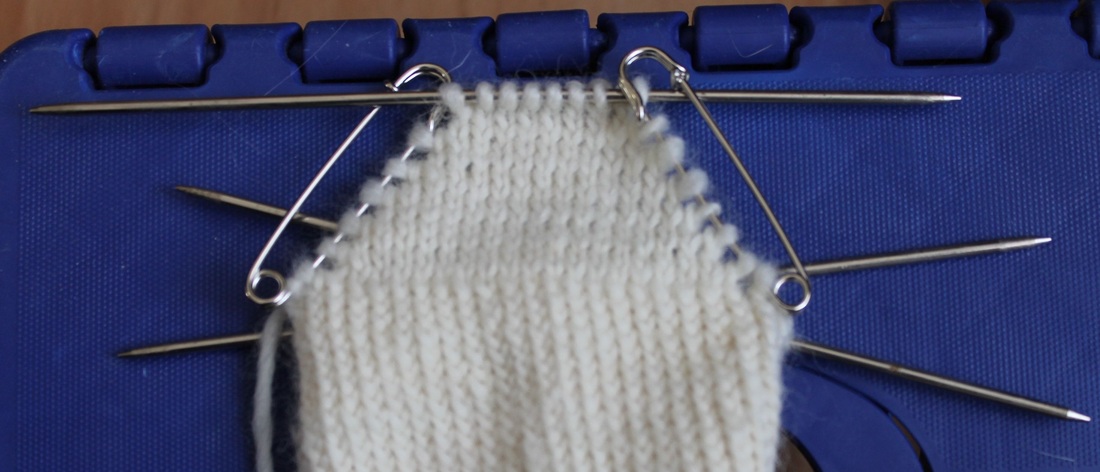
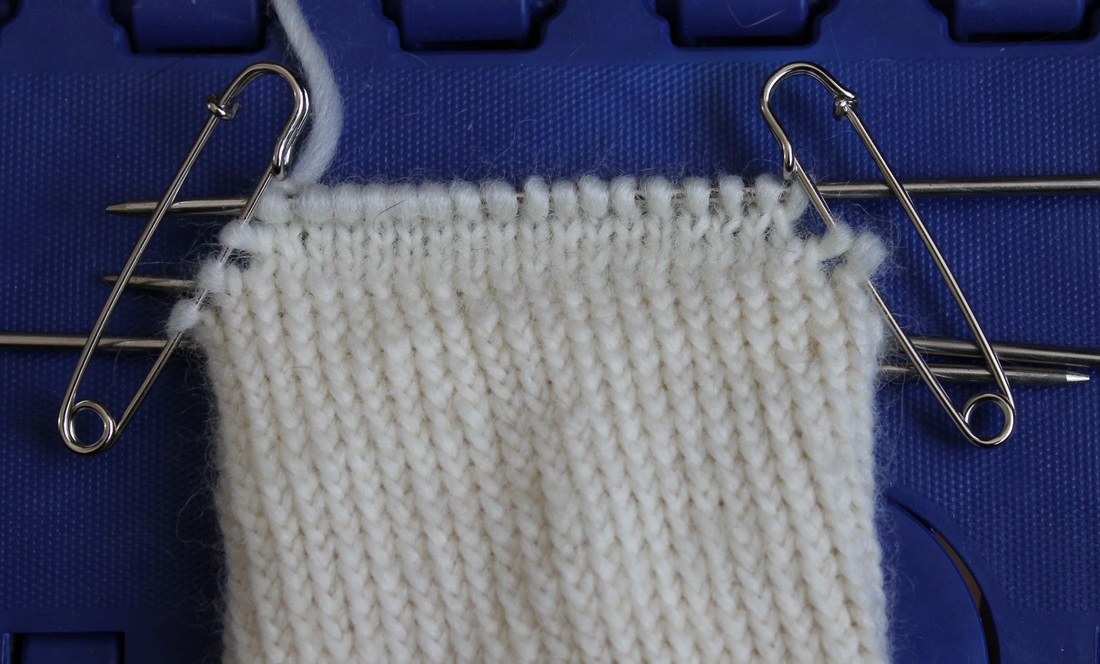
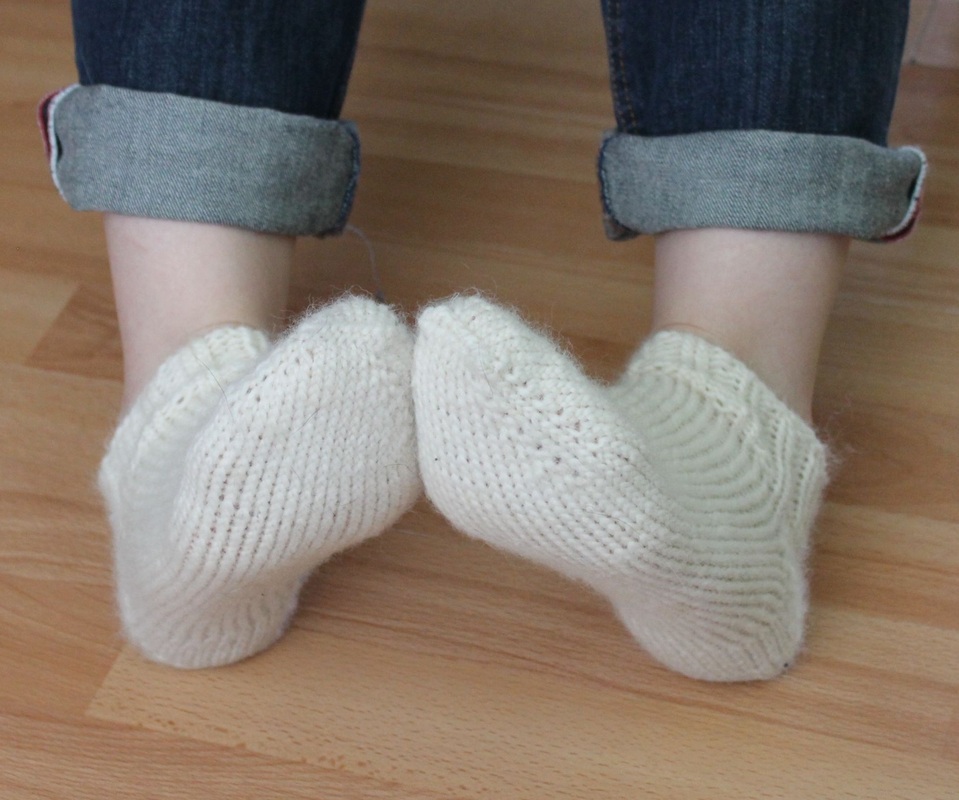
While waiting for the fermentation process for my dyeing experiments I managed to make 3 hats for the soon-to-come baby. Not my baby, my brother's.
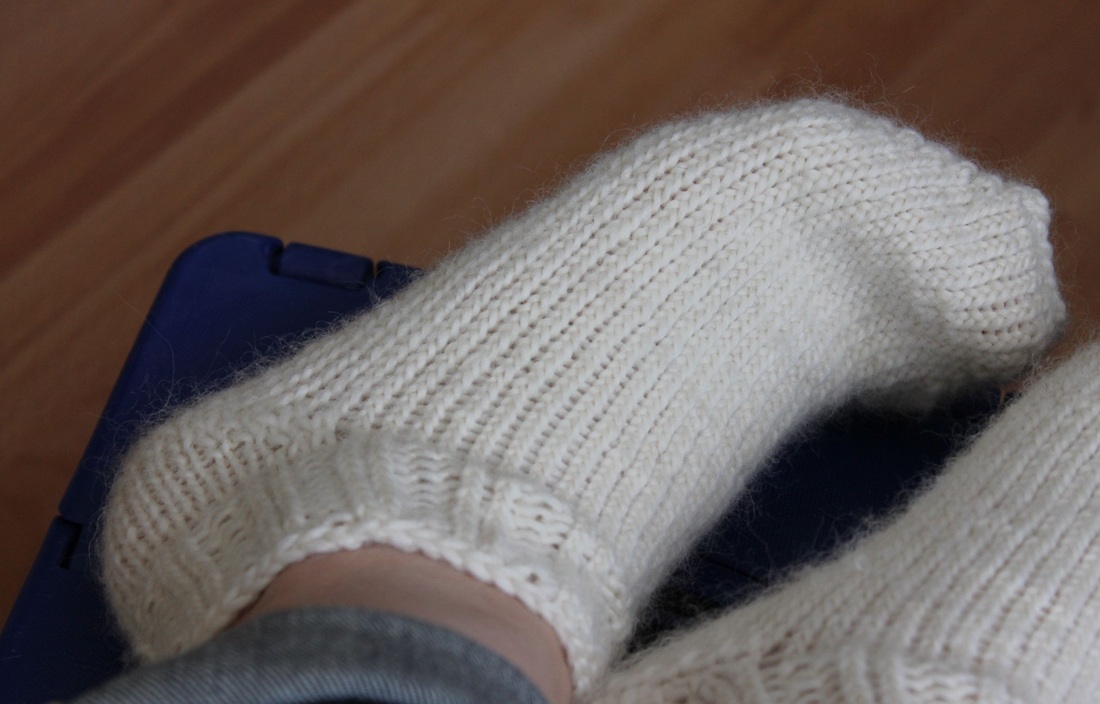
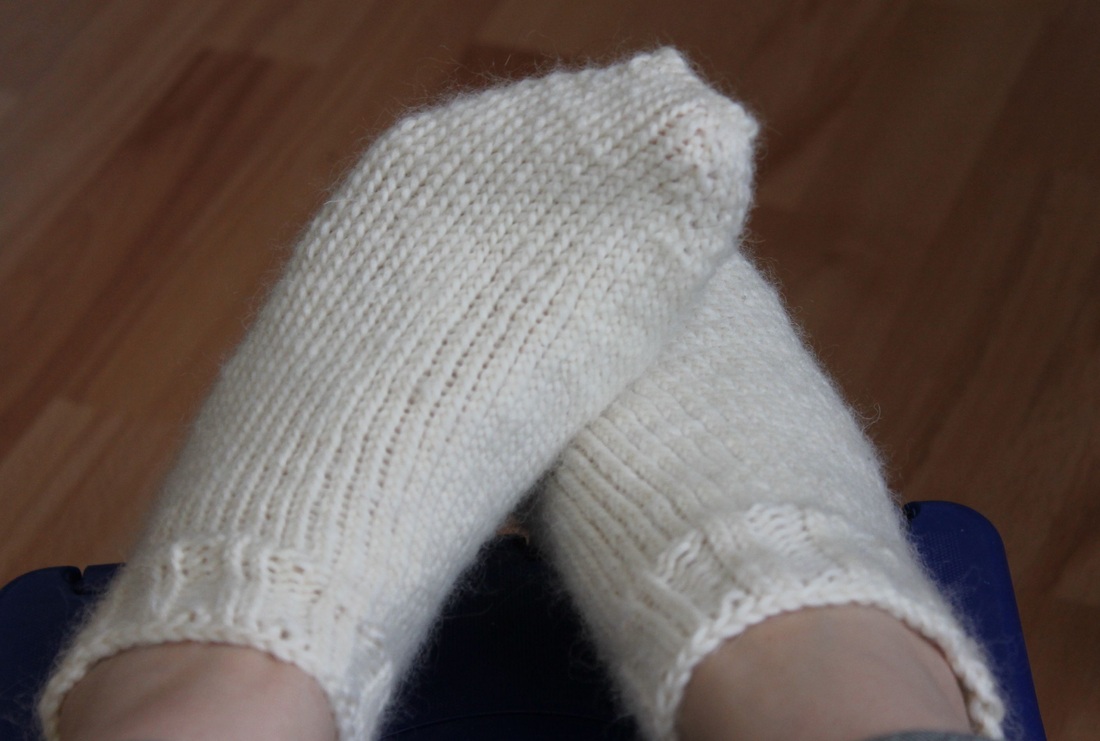
Ravelry was good to me and I found some nice and easy basic patterns that I customized to create the following 3 models. And I discovered something: if you don’t have a baby to try on or to use as model, try a yarn ball J
0 Comments

Experiments: fermentation dyeing

4/21/2014

0 Comments

 
Picture
Being home and sick sucks. But I try to have a useful existence and I read a lot, mostly random things. Among these random things I found some very interesting sites on dyeing with plants. Among these, fermentation dyeing caught my interest (see here and here more on the process and some beautiful results). I like the fact that it does not use mordants to fix colors. Also, you do not need a heat source, or to bring water to boil or to take care of the wool not to felt. Of course, there are some downsides to this fermentation process: it needs warm days, the fermenting solution stinks, the results are quite unpredictable and it takes more time.

But! Even with all these negative points I decided to give it a go. I decided to experiment more with tree bark and leaves. So I convinced my father in law to go with me foraging in the forest. After a couple of hours walking around we got back with the following: oak bark (Quercus); white alder (Alnus rhombifolia) leaves, roots and twigs; some other type of leaves and twigs that look like a redish alder (no idea what the correct specie is, but they are a lot around here); some wilde liguster (Ligustrum vulgare) dried out twigs; birch bark (Betula papyrifera) from a fallen tree; and a birch fungus (Piptoporus betulinus). After that I added a dried out quince branch (Cydonia oblonga) and some woad leaves (Isatis tinctoria).

So, now I have a lots of containers with different combinations – some only with leaves, some with combination of leaves and twigs, etc etc. I measured the amount of plants in each so I can also report on how much wool can be dyed. My wool is almost ready to be dye and the sun was very warm these last days. Some of the plants are already fermenting, and yes, they stink like … eeeww… The jars with only leaves are not doing so good, I don’t know why… maybe they need some more time to start the fermentation process? Well, we’ll see. Now we need to practice some patience :) I am curious: anyone else tried this method and can share from own experience?

0 Comments

Crocheted garland

4/13/2014

3 Comments

 
Remember the colorful curtain I made last summer? Well, I received a question about it, actually regarding the crocheted garlands that I neglected to talk about. I managed to find some very bad photos of the garlands hanging (sorry about that) and also a better one that I took while I was making them.

To make such a garland is very easy. Start by making one circle by chaining x and closing the circle by making a slip stitch in the first stitch (you can decide on how large the circle to be by chaining more or less stitches). I believe that in my case I chained 10 stitches. After making my circle, I started crocheting around it: I first chained 1 and then continued with single crochet in the circle. Make enough single crochet around to obtain a flat surface. Close the circle when you are happy with how it looks and continue to the next one. Note that I left 2 stitches between circles and I finished my second circle on the “wrong side”, that is, near the 2 stitches I left in between. So I needed to slip stitch half circle to get to the good side, where I could continue working toward the third circle. And then repeat. And that’s it. Depends on you how long you want to make the garland, if you want to make it one color or if you want to combine more colors. Wash and block the circles to stay flat. Enjoy :)
3 Comments

The ultimate challenge – knitting socks

4/5/2014

0 Comments

 
Picture
Well, at least for me, socks are the ultimate challenge. And here is why. First, I am not very good in knitting techniques and making heels seems to be quite a difficult thing to do. Second, I do not know how to read knitting patterns... auch … Third, you need to adapt the pattern for your own foot size. And last, there is the gauge issue if you want to use another type of yarn than the one used in some pre-made pattern. Ok, so it seems that in my case it would be better to either crochet a pair of socks or just buy some.

But NO! I refuse to give up! It can’t be that hard! I mean, socks were made since human kind discovered wool and needles, and those women who first knitted some socks did not have a degree and they certainly did not have internet! And I have. So, I started to look around for someone to explain me how to make socks FOR ME or FOR WHOEVER I WANT. In other words, I wanted to find out the principles of constructing a perfect fitting pair of socks. I thought: if I can figure out that, rest is a question of refining the knitting technique.

After looking around the internet for a while I found a really cool (for me anyway) guide written by Michele from the Puritantherapy blog. Her advices and explanations are based on her experience with knitting socks 2 at a time using circular needles. Her starting point was a series of video tutorials explaining how to do that. Good video tutorials by the way. I am not going to repeat all she said – you can read it directly on her blog. Point is that I found the explanations enlightening: finally someone who gave me the tools to make my own socks! But there was a problem: I do not know how to use circular needles to knit in round. I know how to use double pointed needles though!

And that is exactly what I did. I followed her instructions on how to calculate length, width, number of stitches, increases and such and I figured that I will just knit the socks one by one. On double pointed knitting needles. How hard can that be? Turns out that is not that hard. The first sock was not that great and I had to unravel and knit again several times. Then, I had no idea that there is a magic loop casting method for toe-up socks. Now I know. Too bad that I found out about that after I finished both socks. Ah well, next time I will know better. Then… well, then there were some other mistakes but I am not going to go into more detail. Let’s just call them the results of a learning process :P

BUT! At the end of the day I have my first pair of socks. Made by me! For me! I love them, even with all the imperfections. Because they stand for something: a challenge that I won :)

0 Comments

    Who is Zaraza

    Zaraza is the name of a famous Romanian tango and a link to my Romanian background.
    Want to find out what things inspire me? Follow me on Pinterest :)
    Have questions? Then send me an email by clicking on the icon below.

    Links

    My wool!
    De noord ster creaties
    Studio Nyske
    Ravelry

    Archives

    October 2014
    September 2014
    July 2014
    June 2014
    May 2014
    April 2014
    March 2014
    February 2014
    January 2014
    December 2013
    November 2013
    October 2013
    September 2013
    July 2013
    June 2013
    May 2013
    April 2013
    March 2013
    February 2013

    Categories

    All
    Animals
    Crochet
    Crochet To Wear
    Doll
    Dyeing Fiber
    Home
    Knit
    Recycle
    Shop
    Tutorial


Proudly powered by Weebly