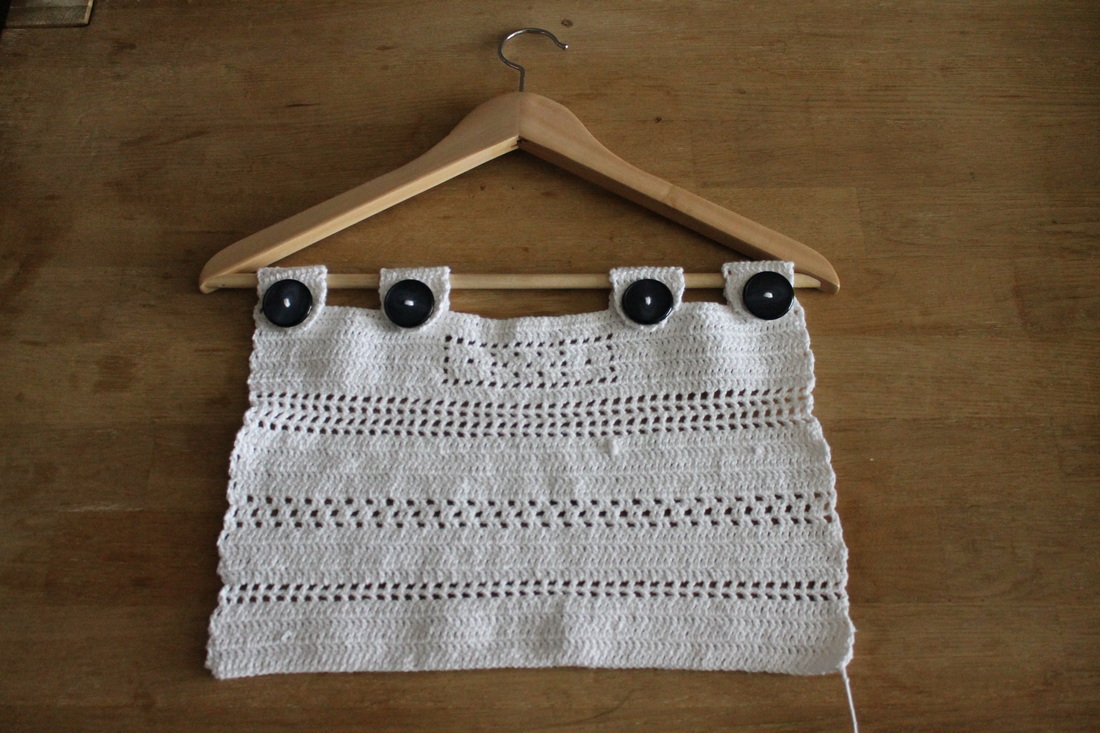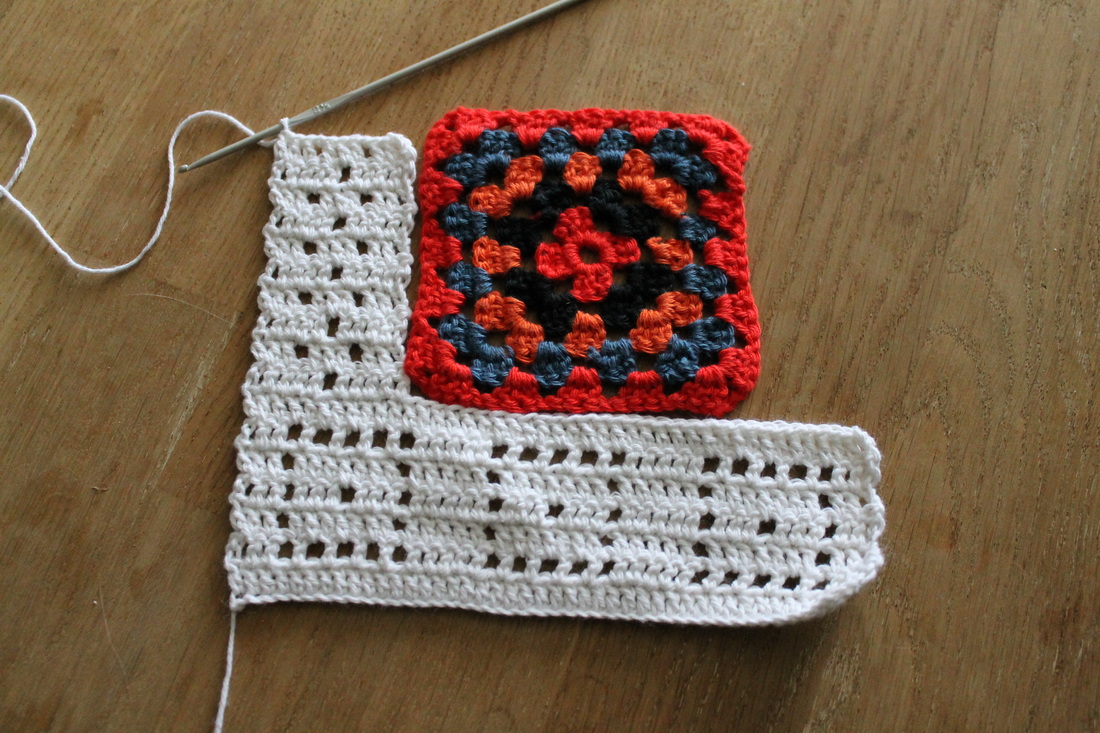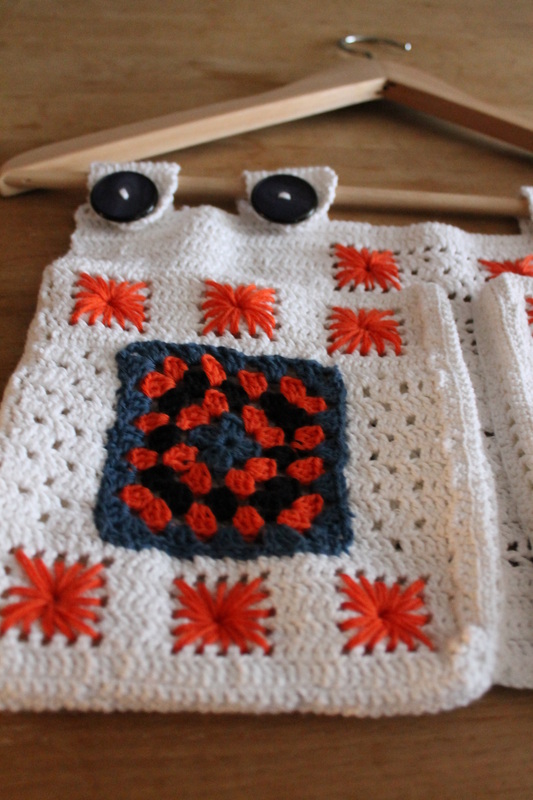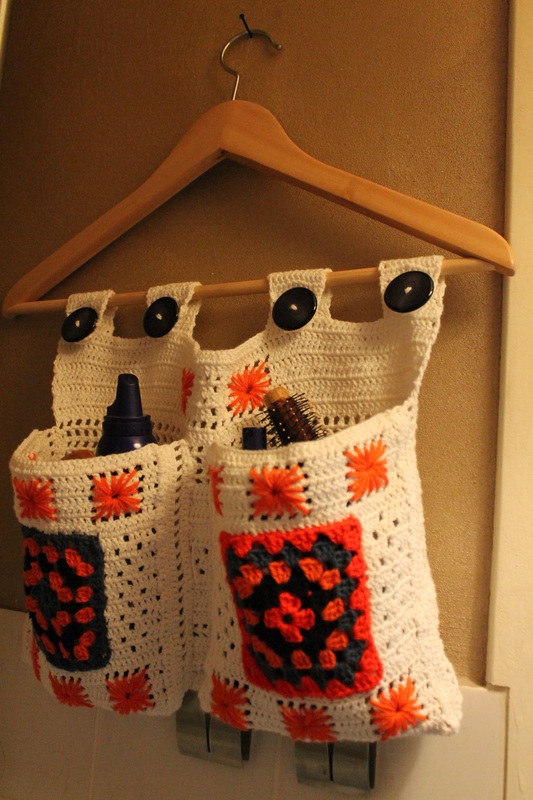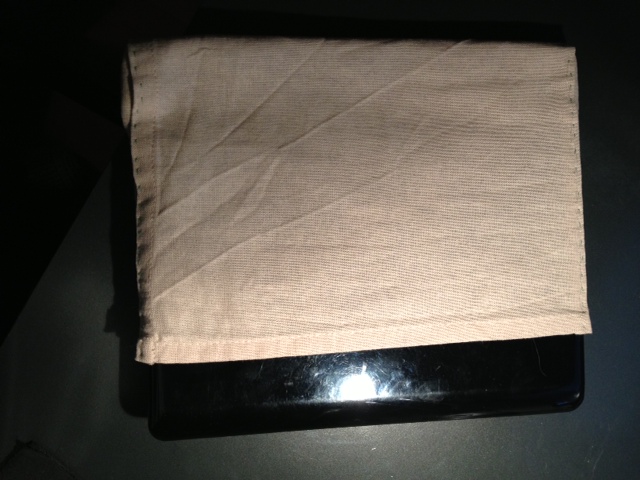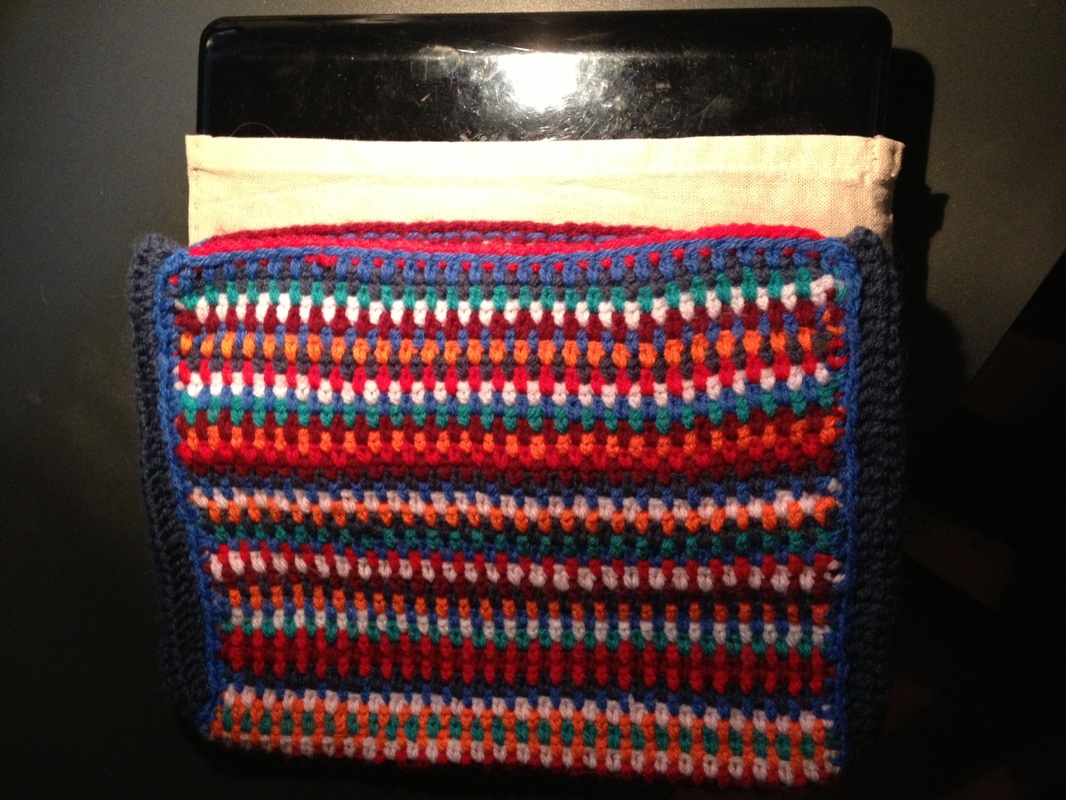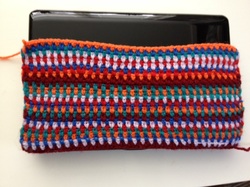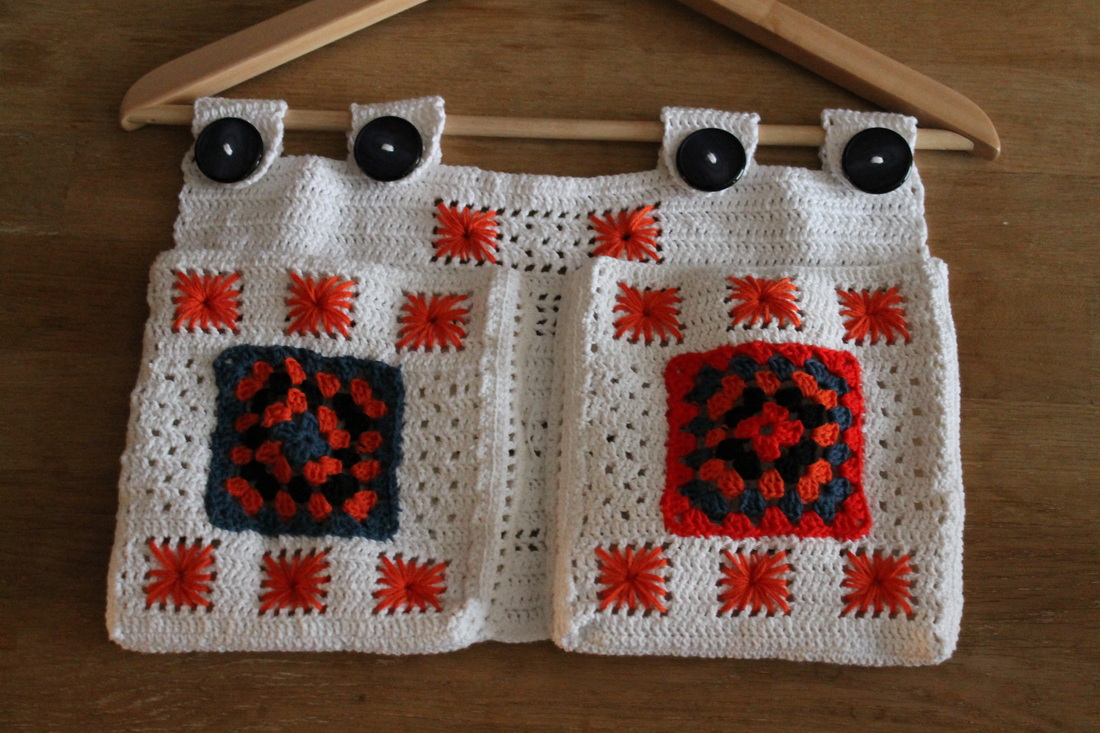
My last project: a wall organizer. Dutch houses are small, and our apartment is no exception. One needs to find ways to keep everything organized. This little project is meant to help me do that :) Plus, it is a fun project to make. I had some granny squares that I made long time ago but did not use them - perfect for this project! And as a method to hang it to the wall I improvised and used a clothes hanger :P
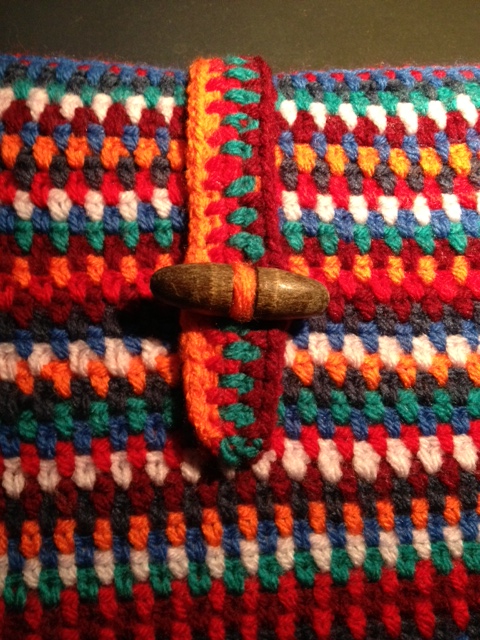
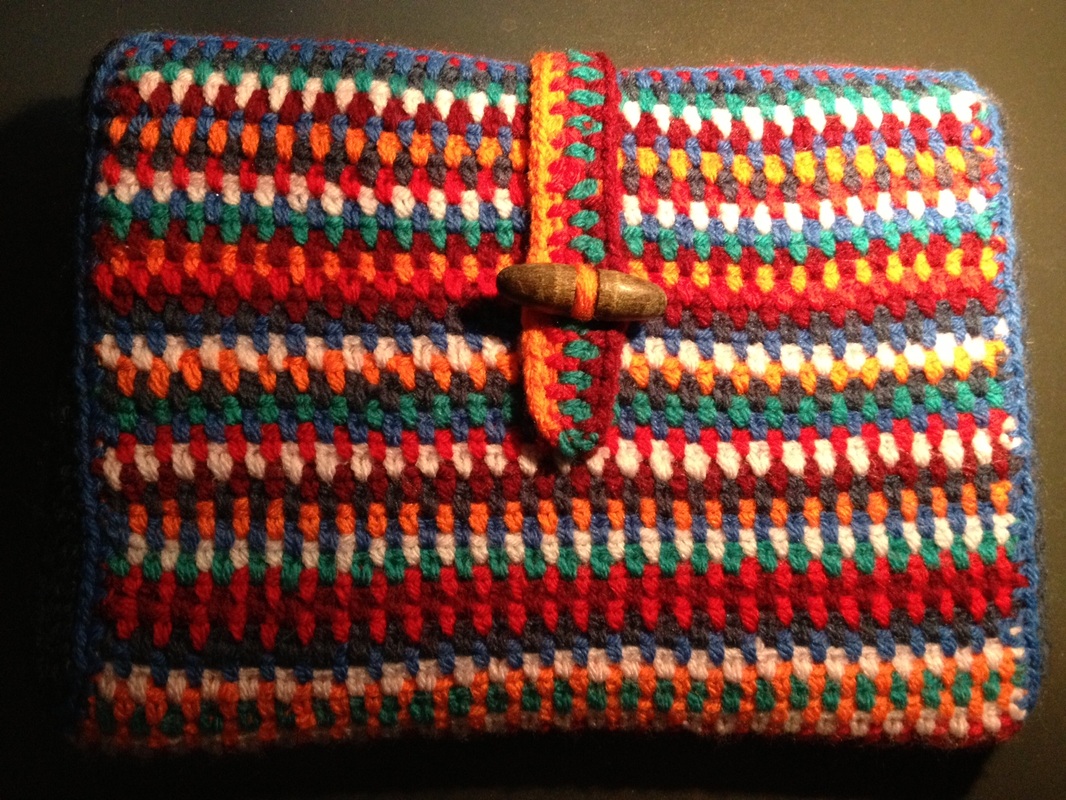
As always, for those of you who want to see how I did this project, all the details are found on the Patterns section. I am happy with the result :) Do you like it?
As always, for those of you who want to see how I did this project, all the details are found on the Patterns section. I am happy with the result :) Do you like it?