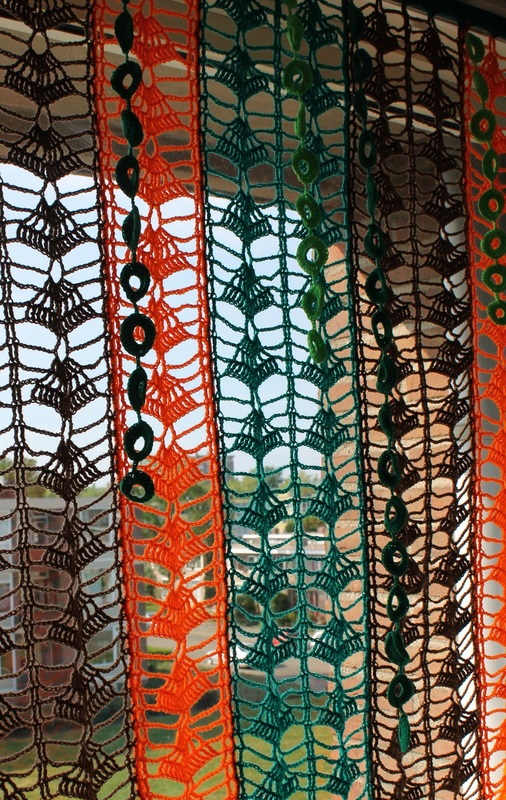
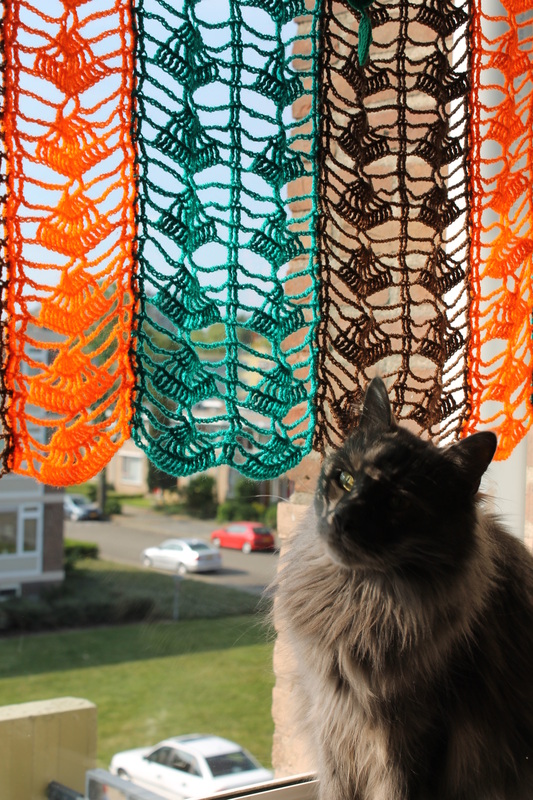
Remember the colorful curtain I made last summer? Well, I received a question about it, actually regarding the crocheted garlands that I neglected to talk about. I managed to find some very bad photos of the garlands hanging (sorry about that) and also a better one that I took while I was making them.
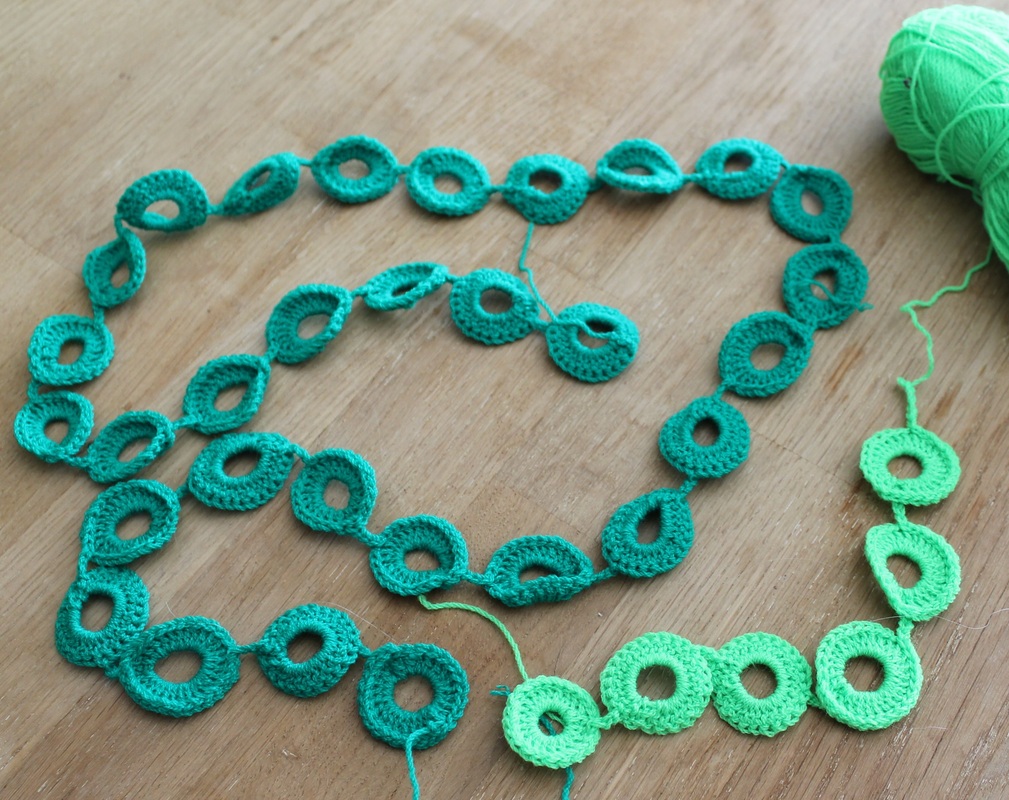
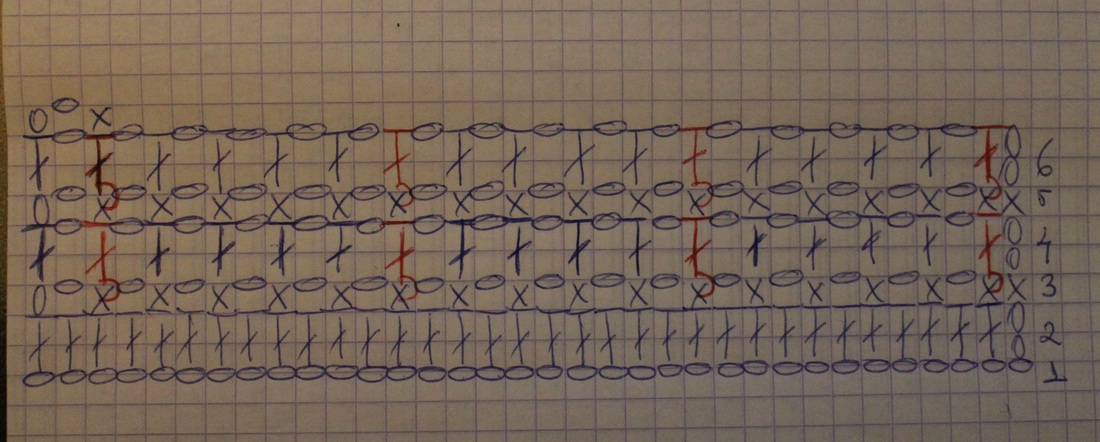
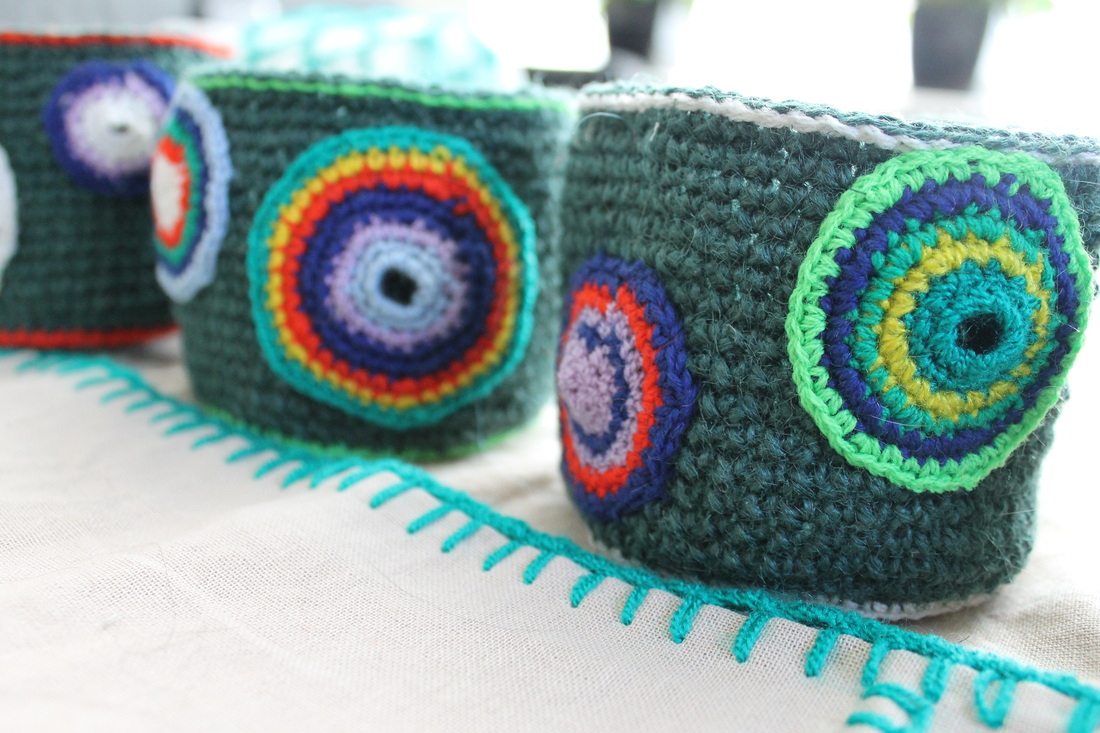
To make such a garland is very easy. Start by making one circle by chaining x and closing the circle by making a slip stitch in the first stitch (you can decide on how large the circle to be by chaining more or less stitches). I believe that in my case I chained 10 stitches. After making my circle, I started crocheting around it: I first chained 1 and then continued with single crochet in the circle. Make enough single crochet around to obtain a flat surface. Close the circle when you are happy with how it looks and continue to the next one. Note that I left 2 stitches between circles and I finished my second circle on the “wrong side”, that is, near the 2 stitches I left in between. So I needed to slip stitch half circle to get to the good side, where I could continue working toward the third circle. And then repeat. And that’s it. Depends on you how long you want to make the garland, if you want to make it one color or if you want to combine more colors. Wash and block the circles to stay flat. Enjoy :)
To make such a garland is very easy. Start by making one circle by chaining x and closing the circle by making a slip stitch in the first stitch (you can decide on how large the circle to be by chaining more or less stitches). I believe that in my case I chained 10 stitches. After making my circle, I started crocheting around it: I first chained 1 and then continued with single crochet in the circle. Make enough single crochet around to obtain a flat surface. Close the circle when you are happy with how it looks and continue to the next one. Note that I left 2 stitches between circles and I finished my second circle on the “wrong side”, that is, near the 2 stitches I left in between. So I needed to slip stitch half circle to get to the good side, where I could continue working toward the third circle. And then repeat. And that’s it. Depends on you how long you want to make the garland, if you want to make it one color or if you want to combine more colors. Wash and block the circles to stay flat. Enjoy :)