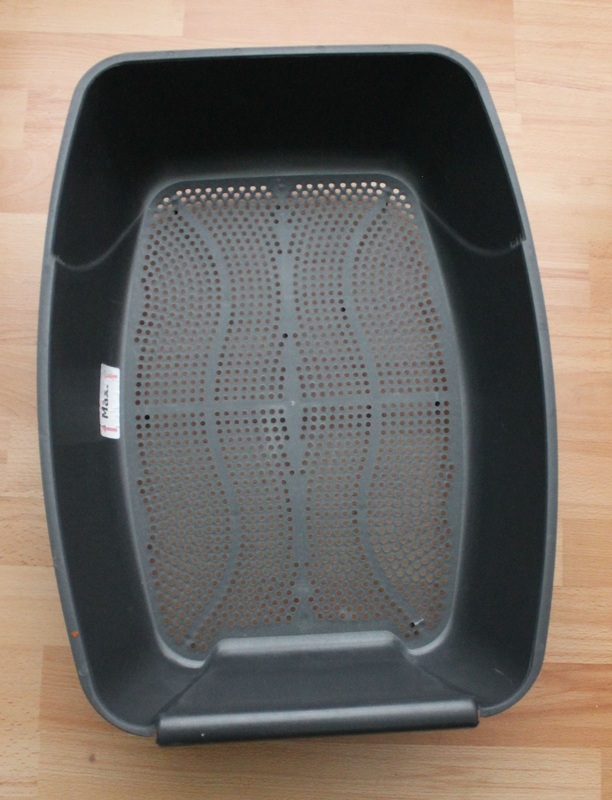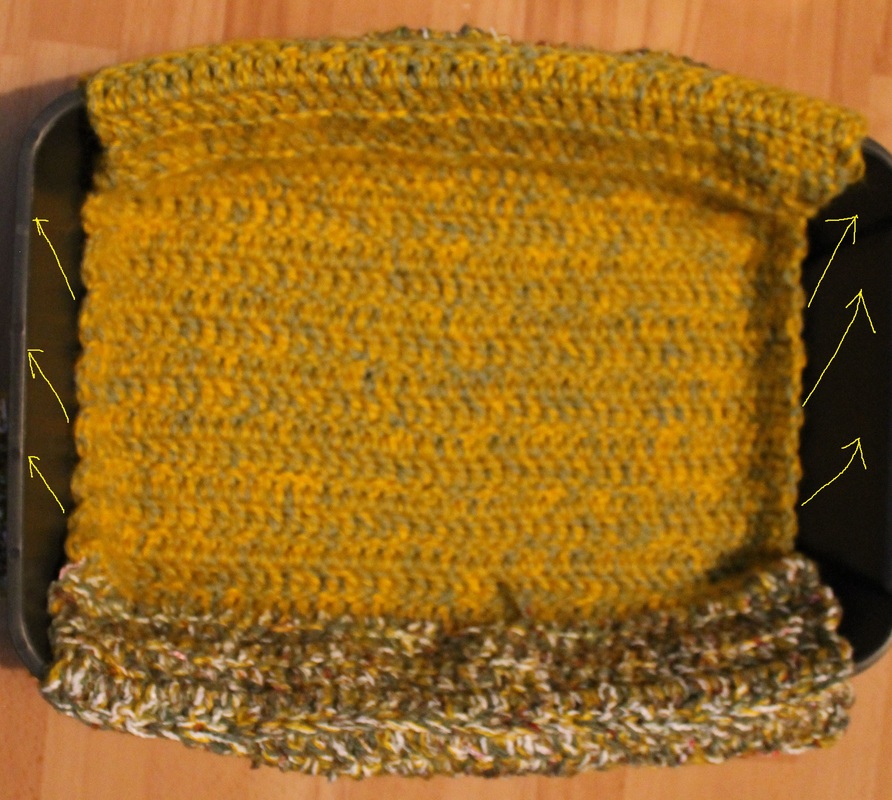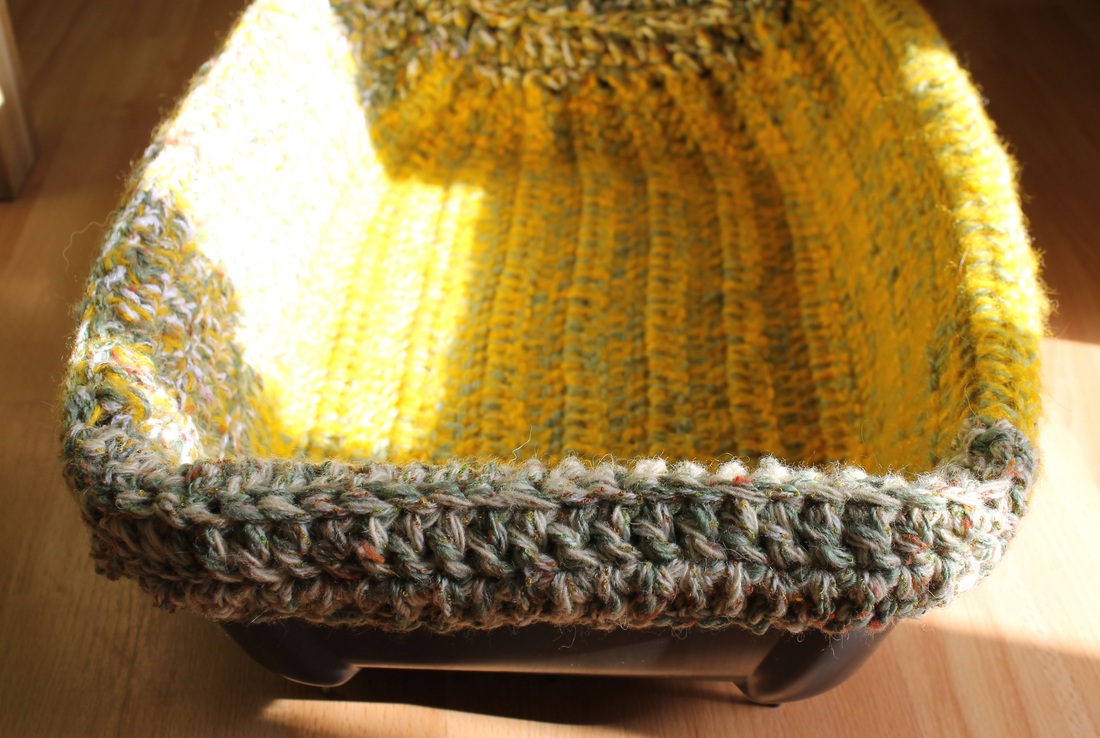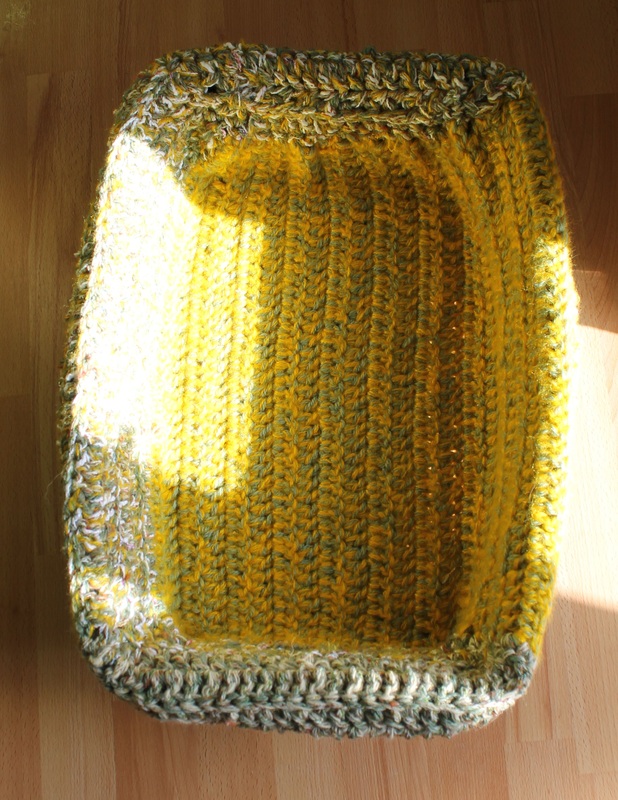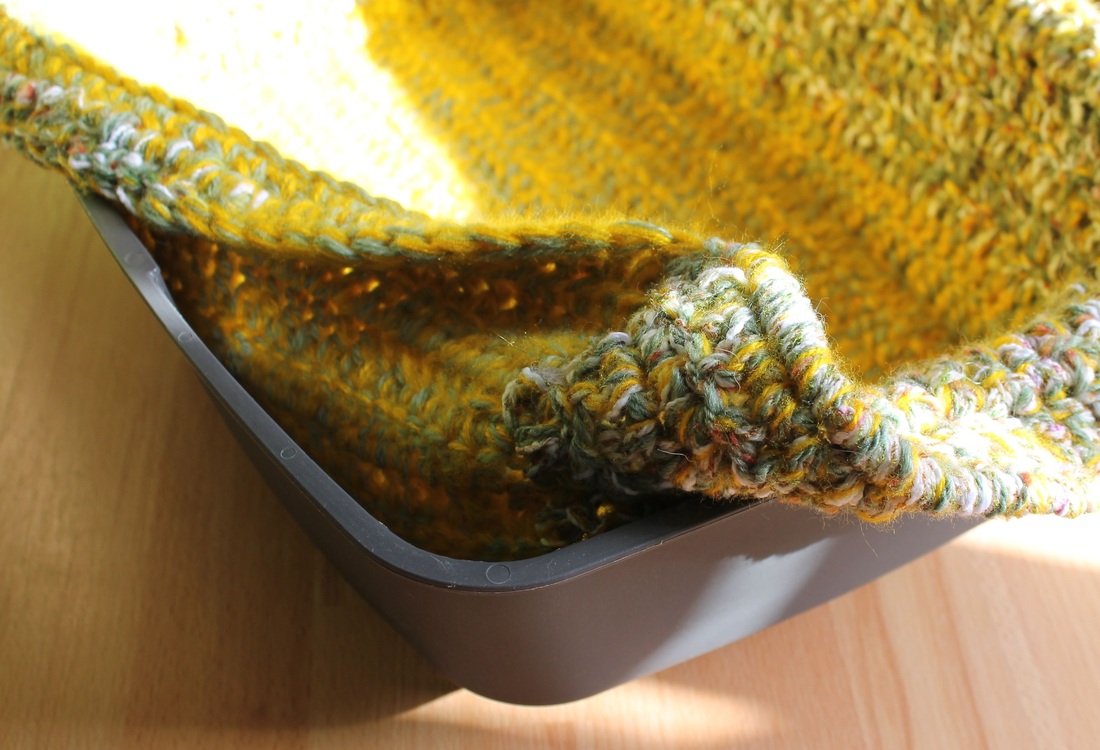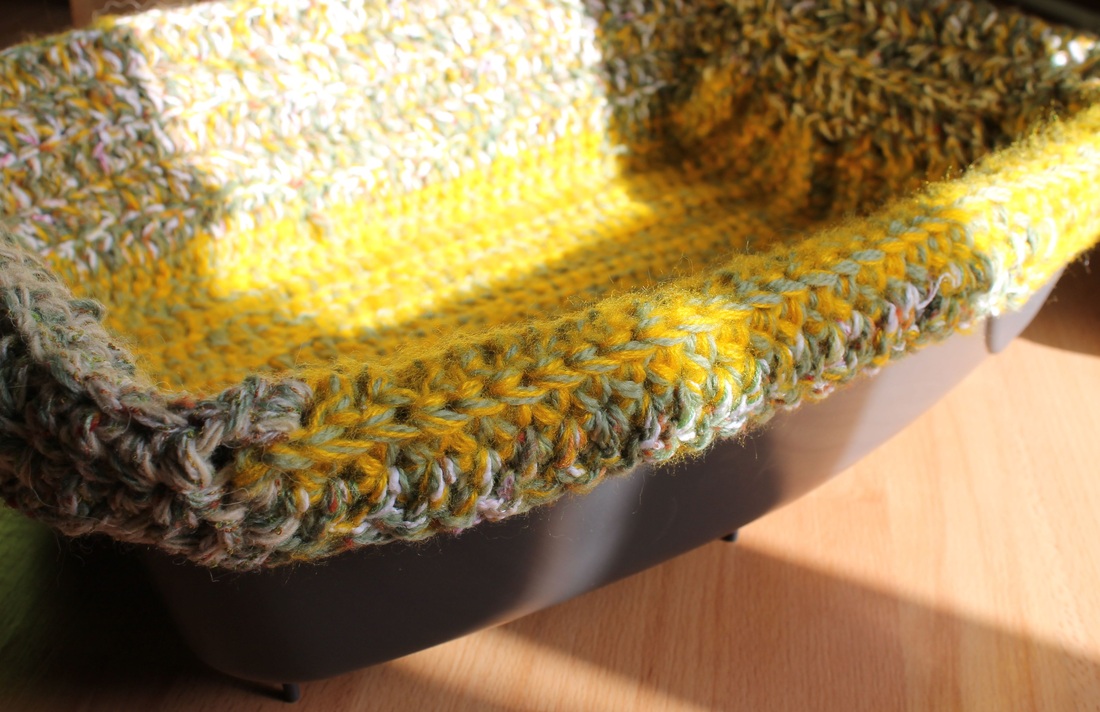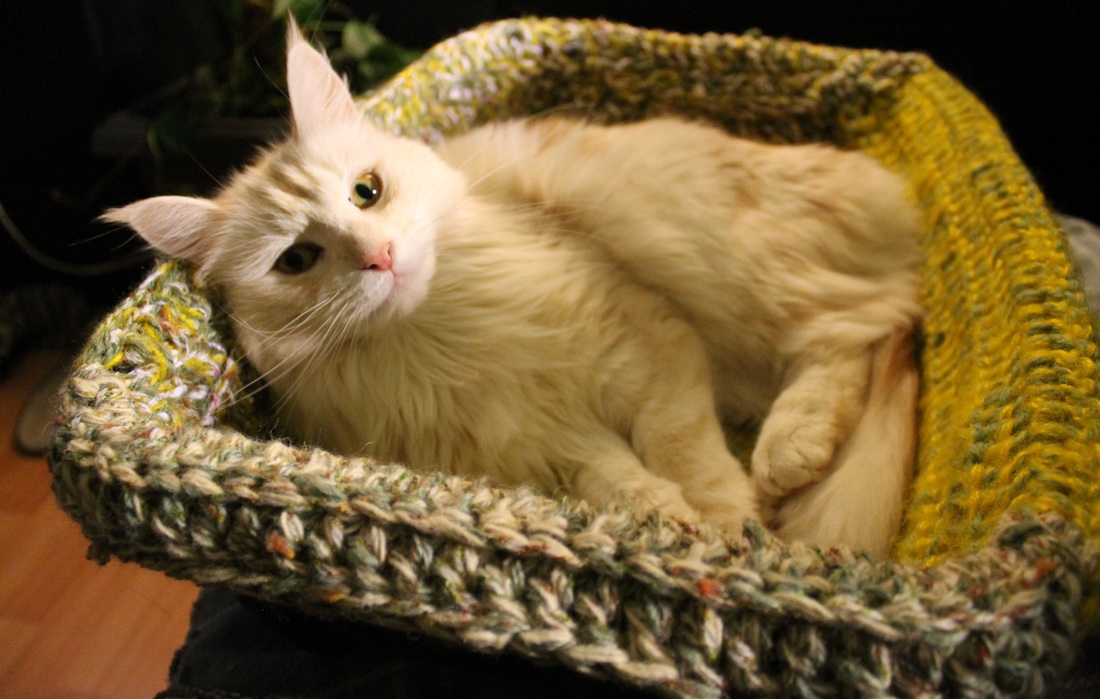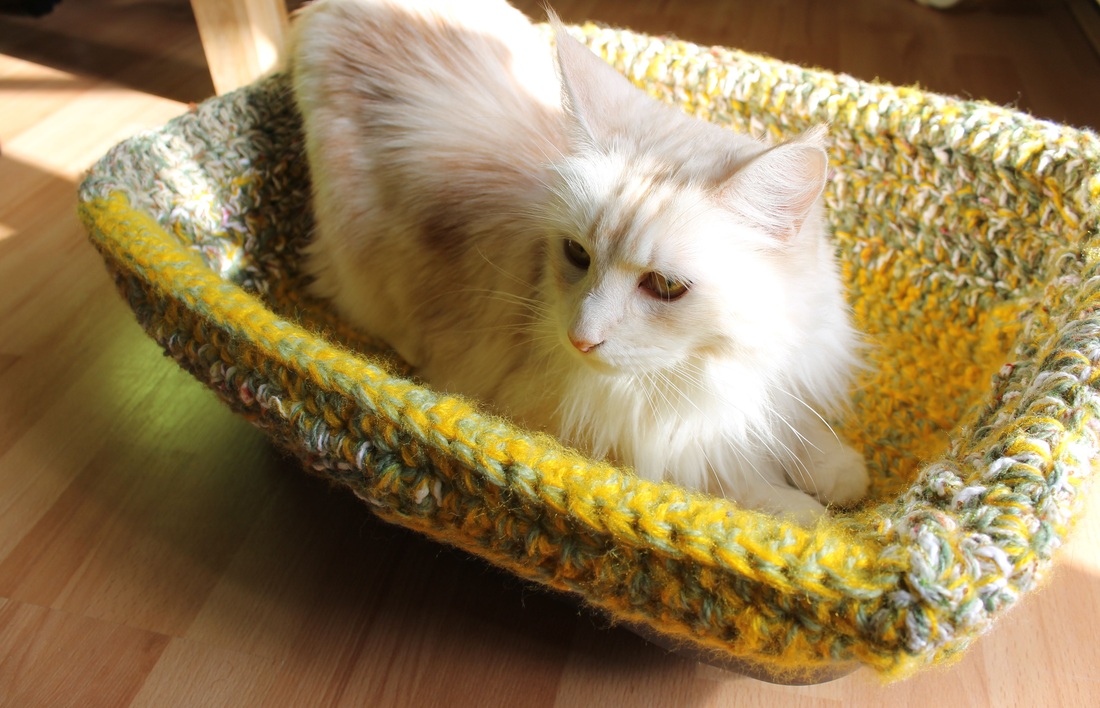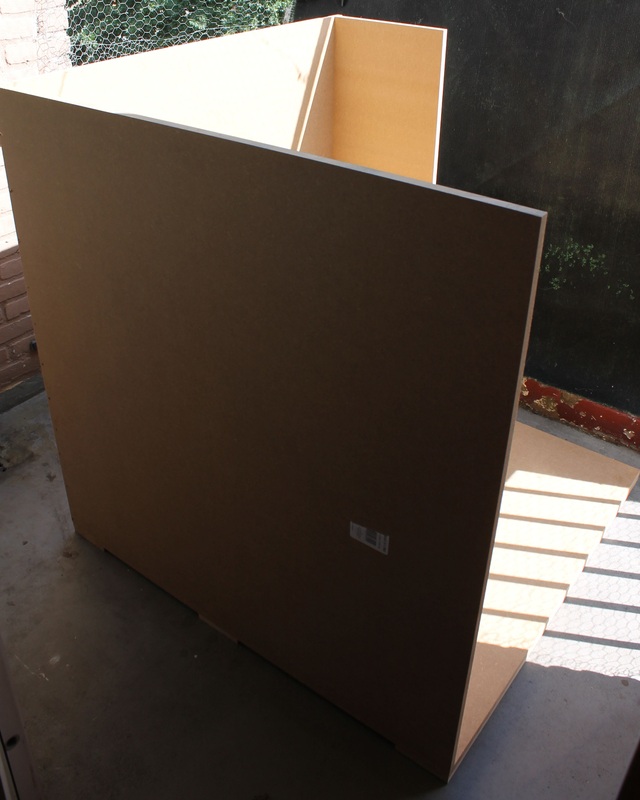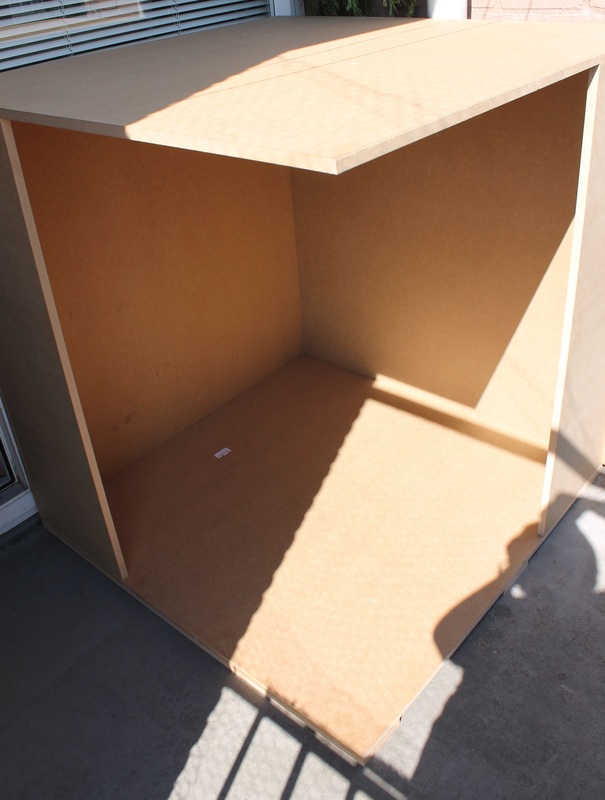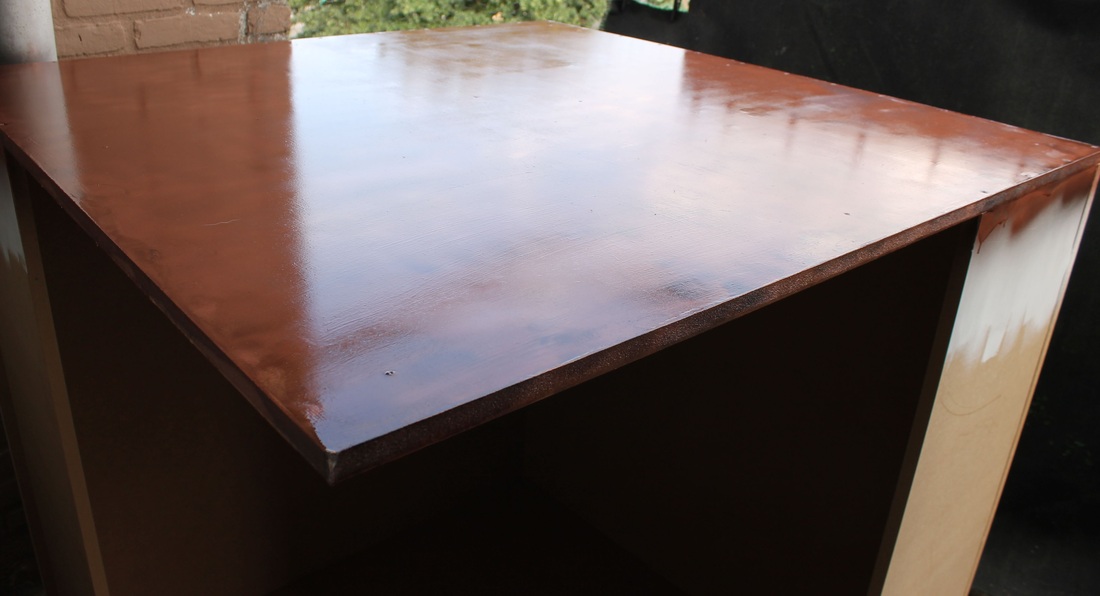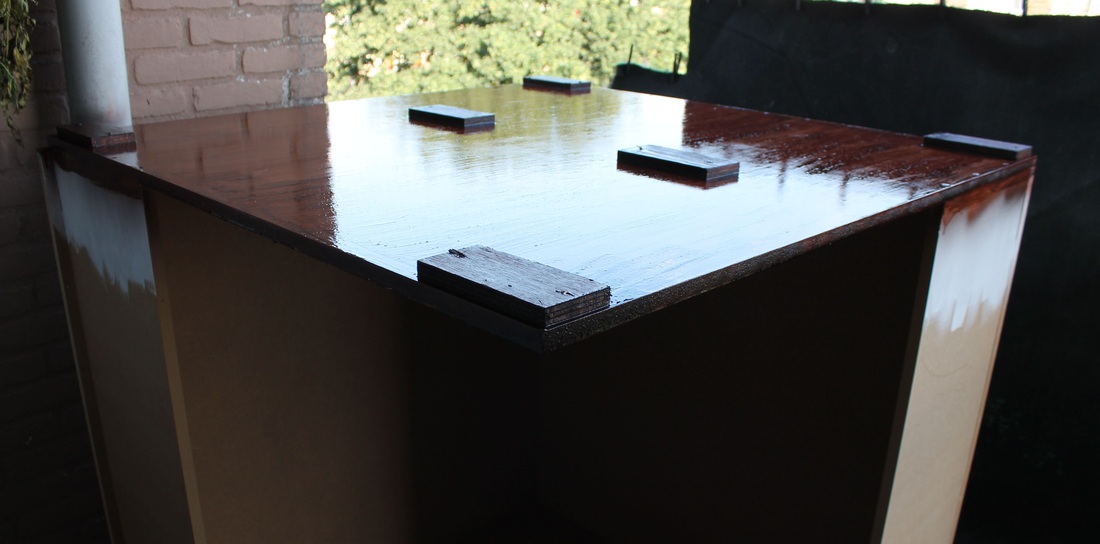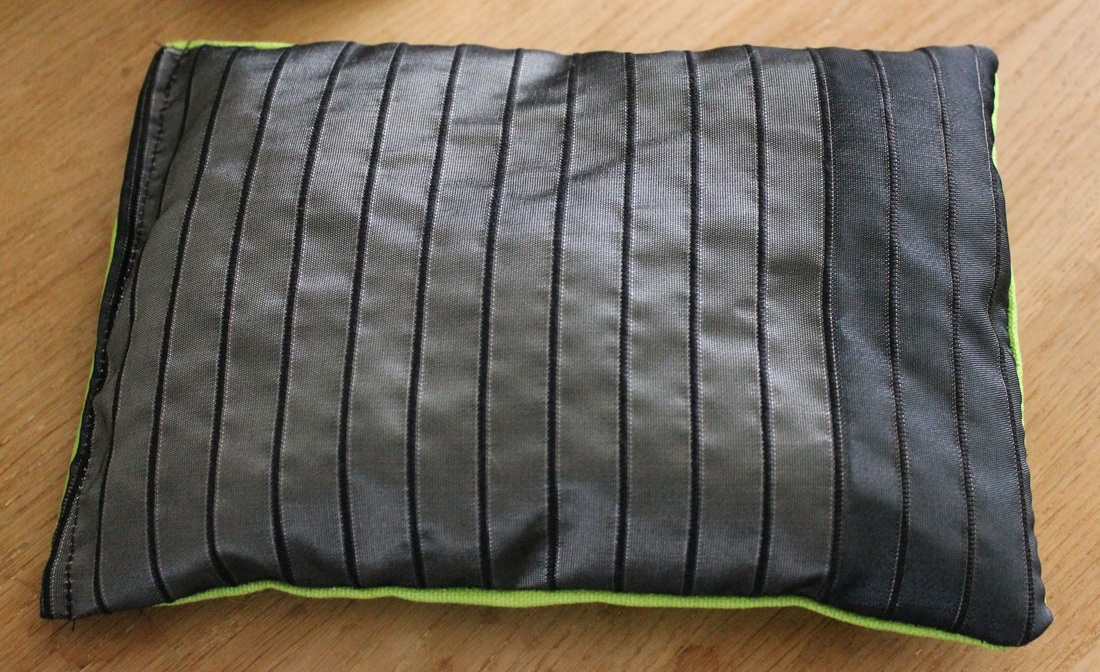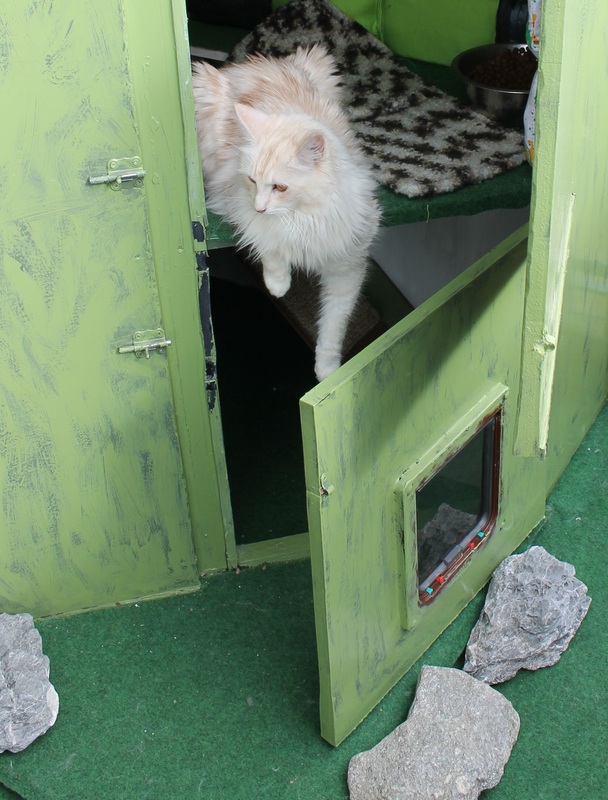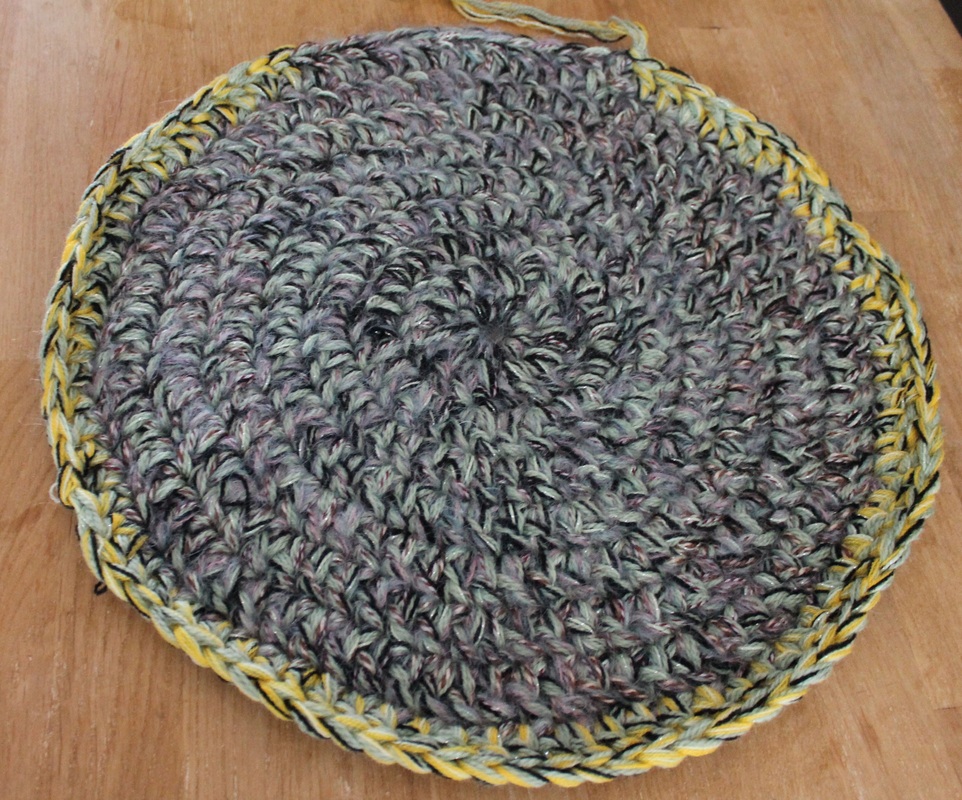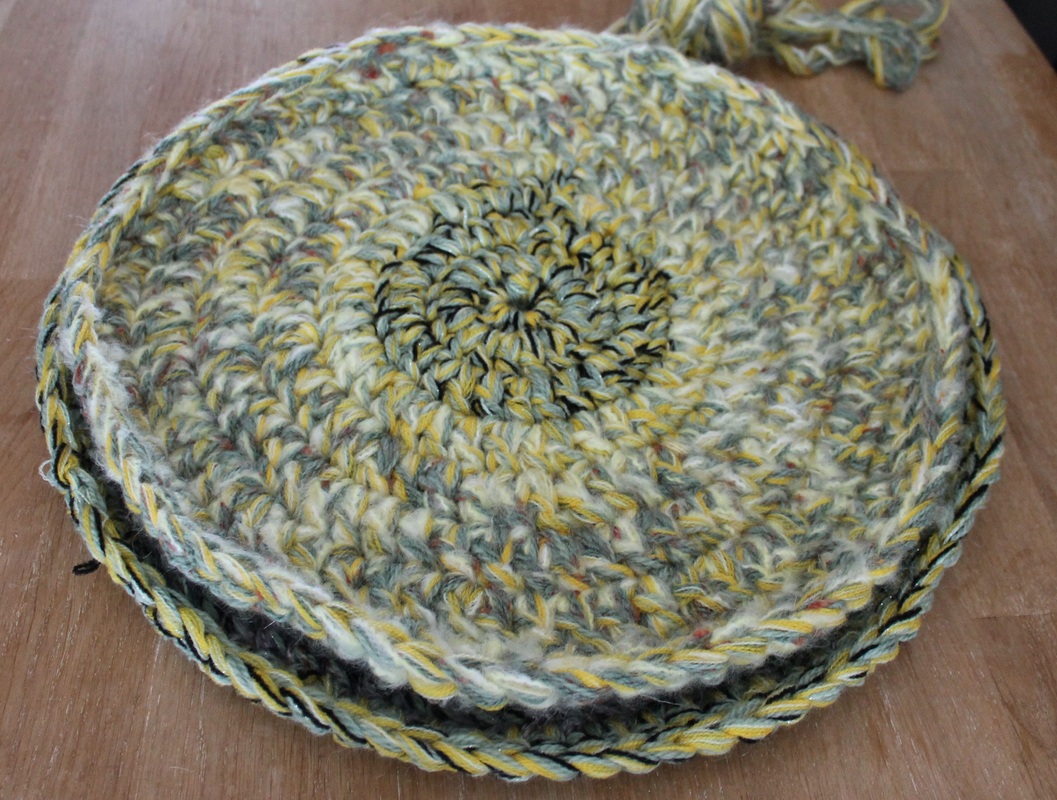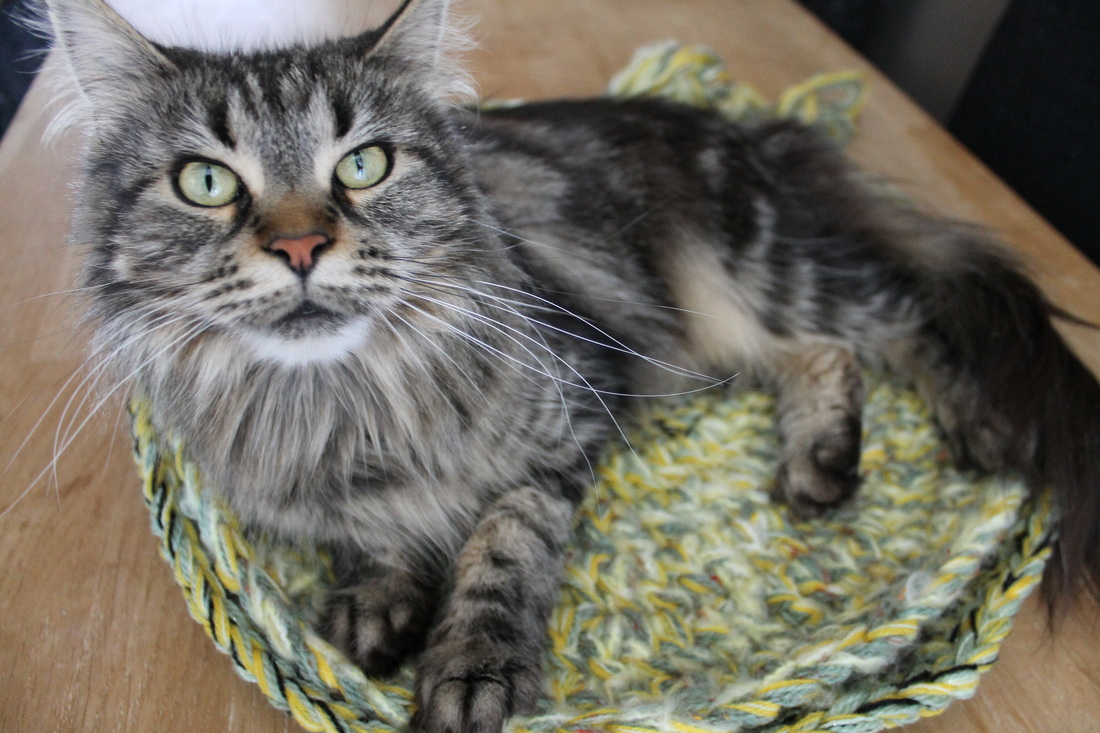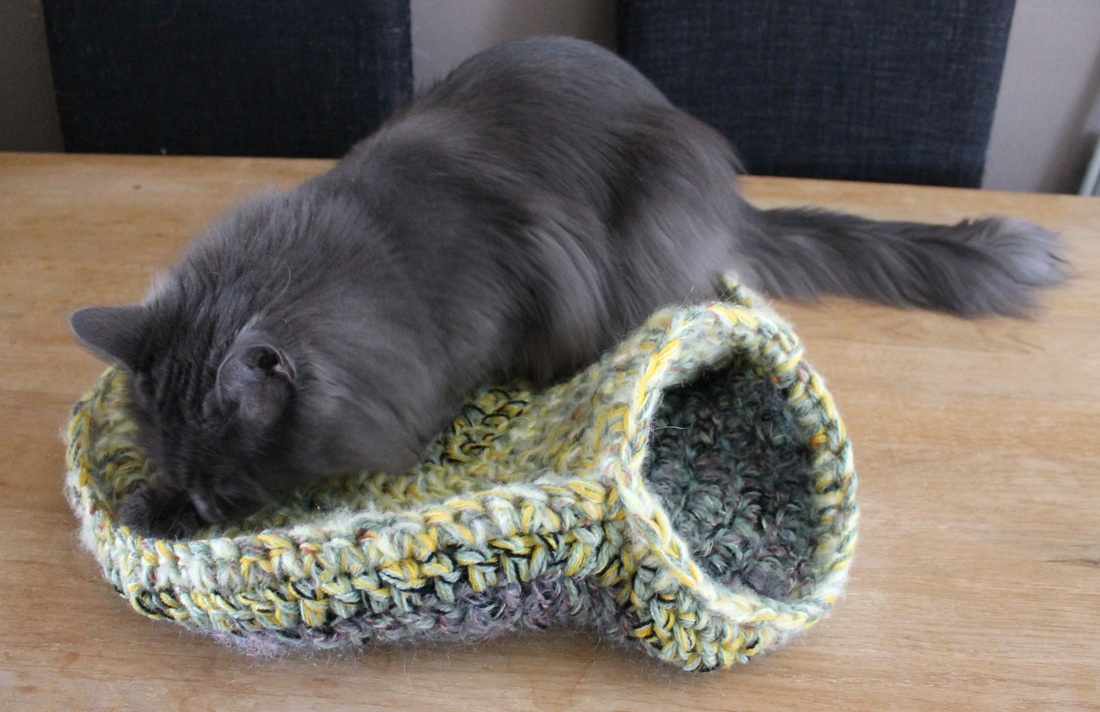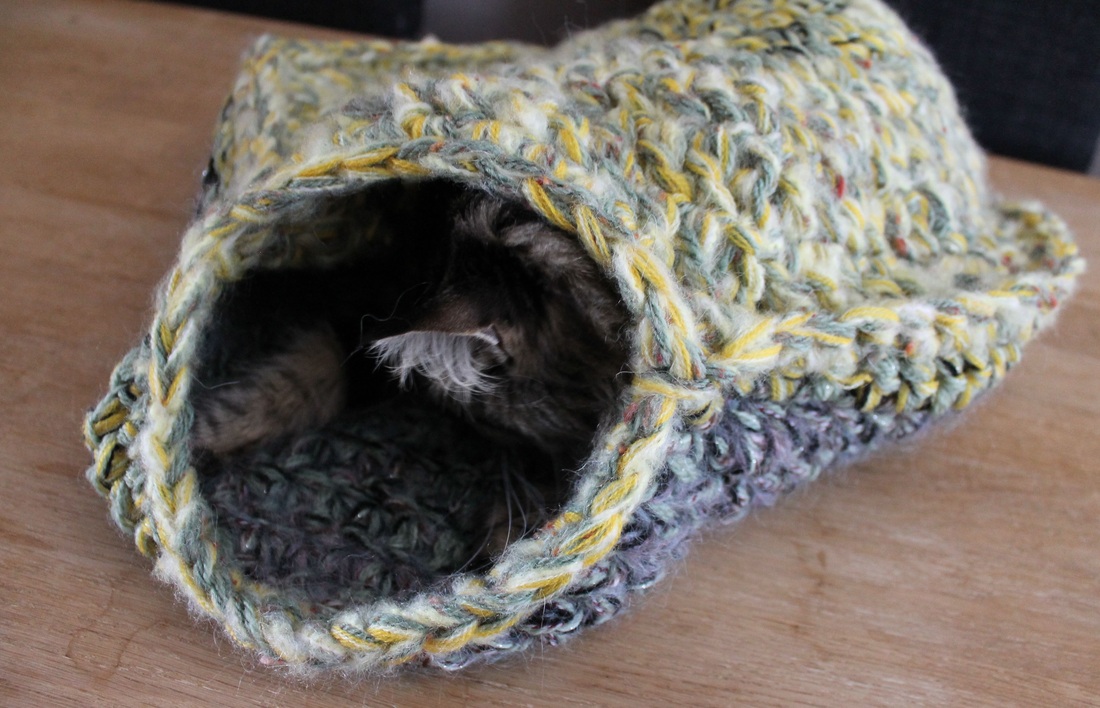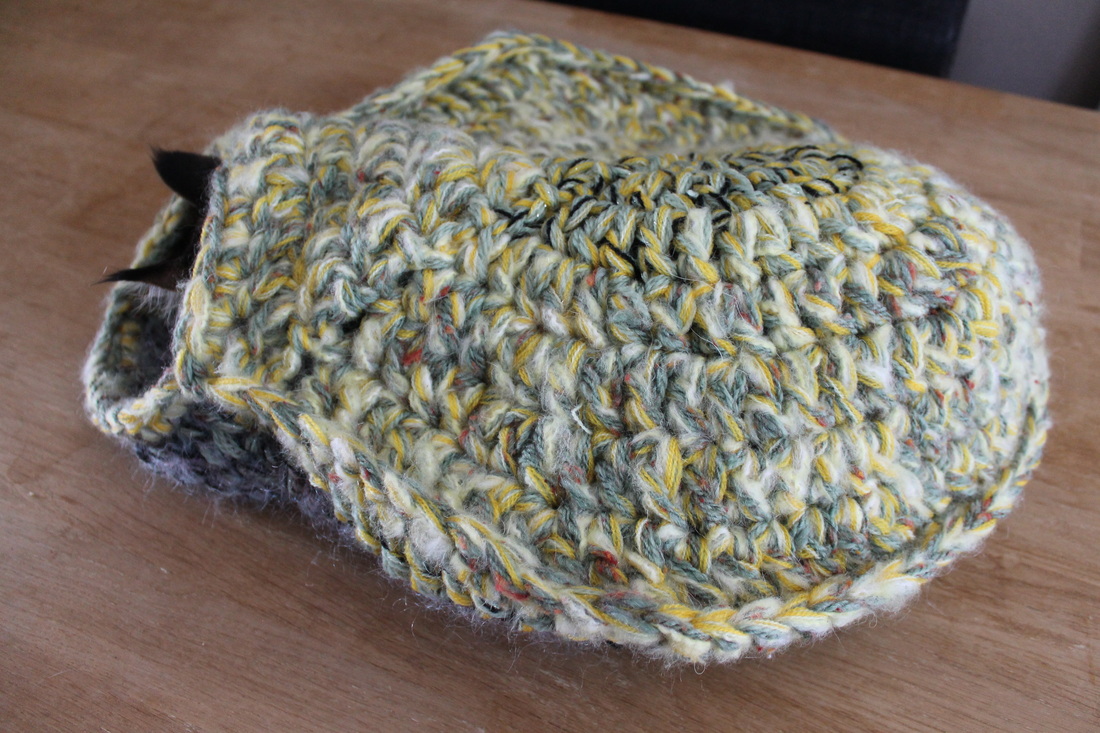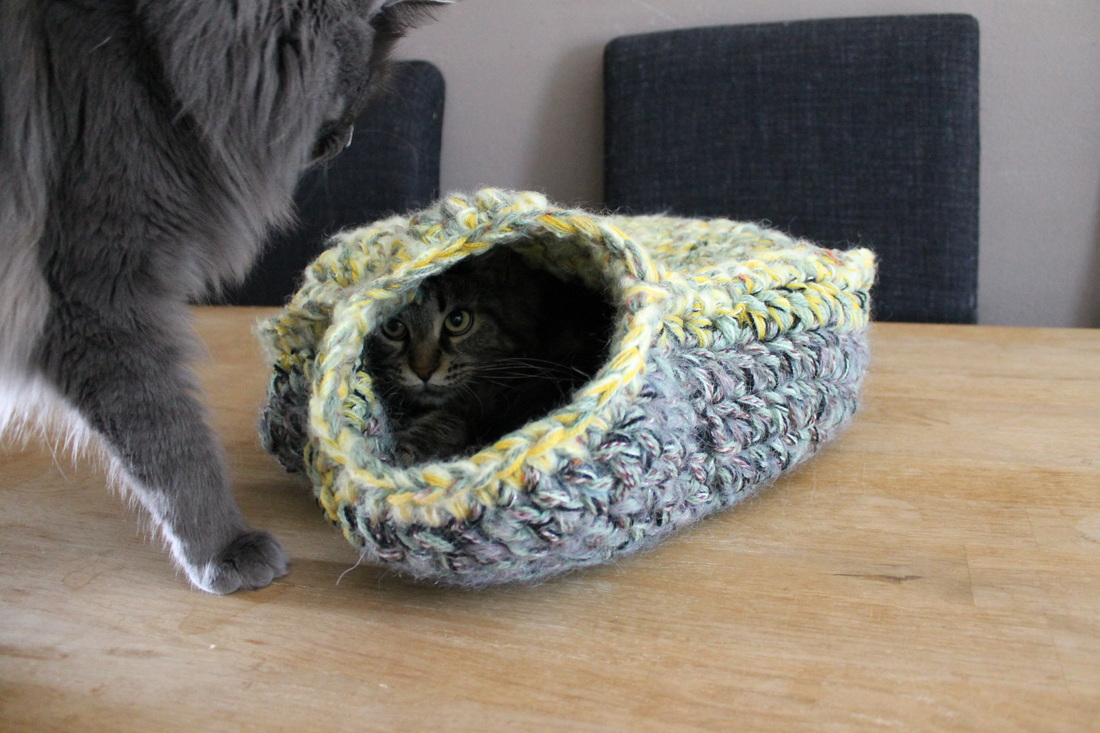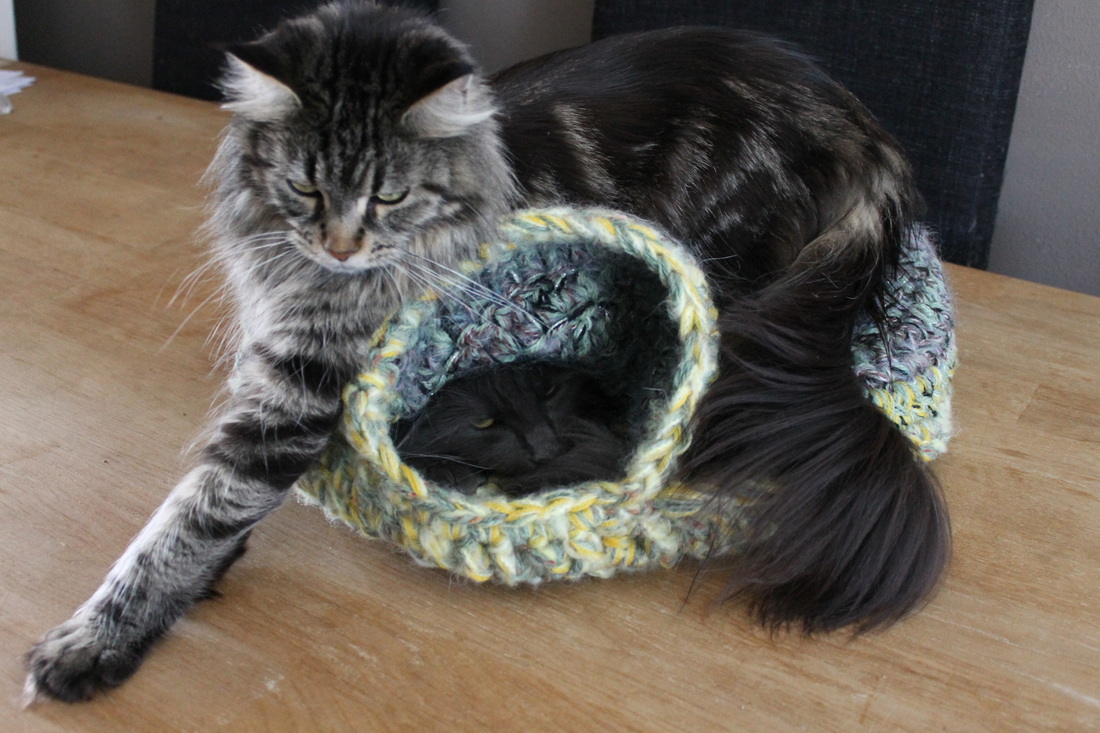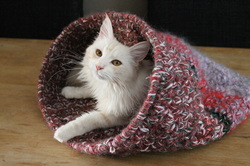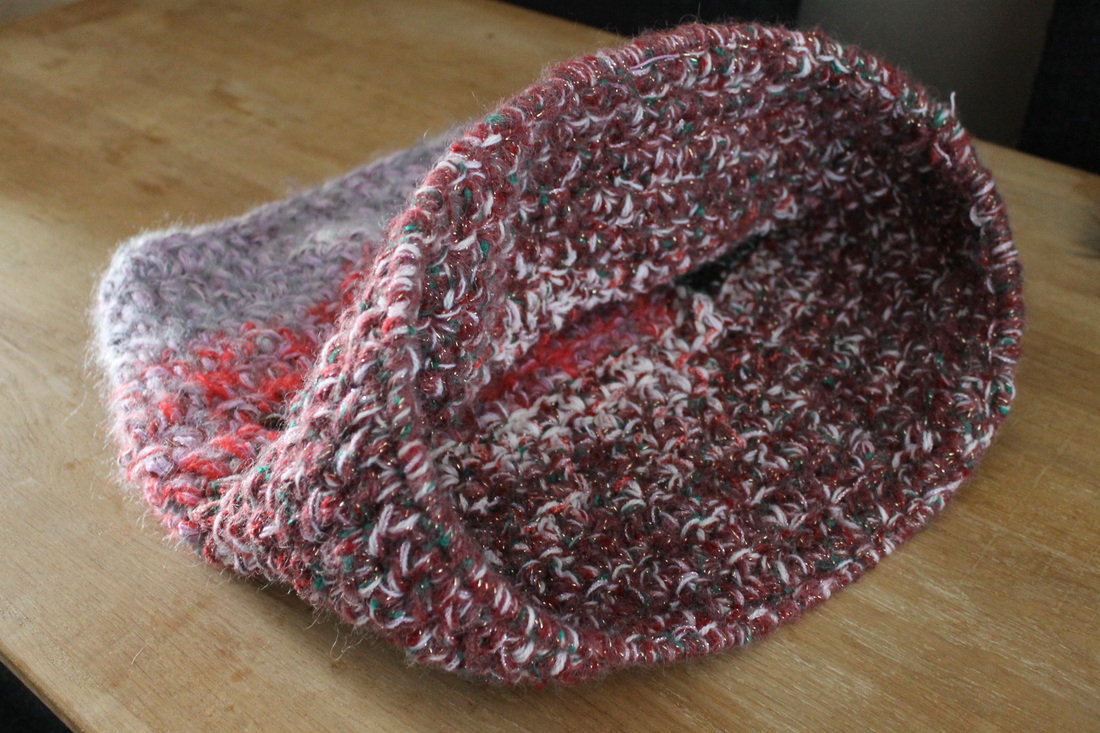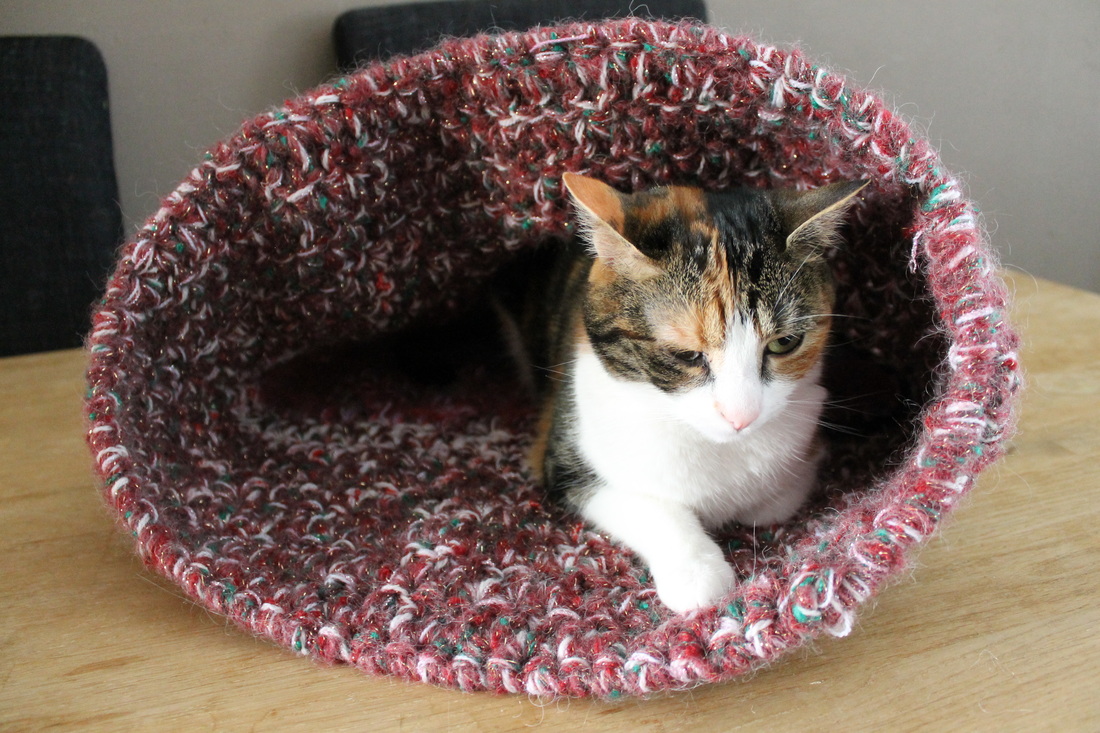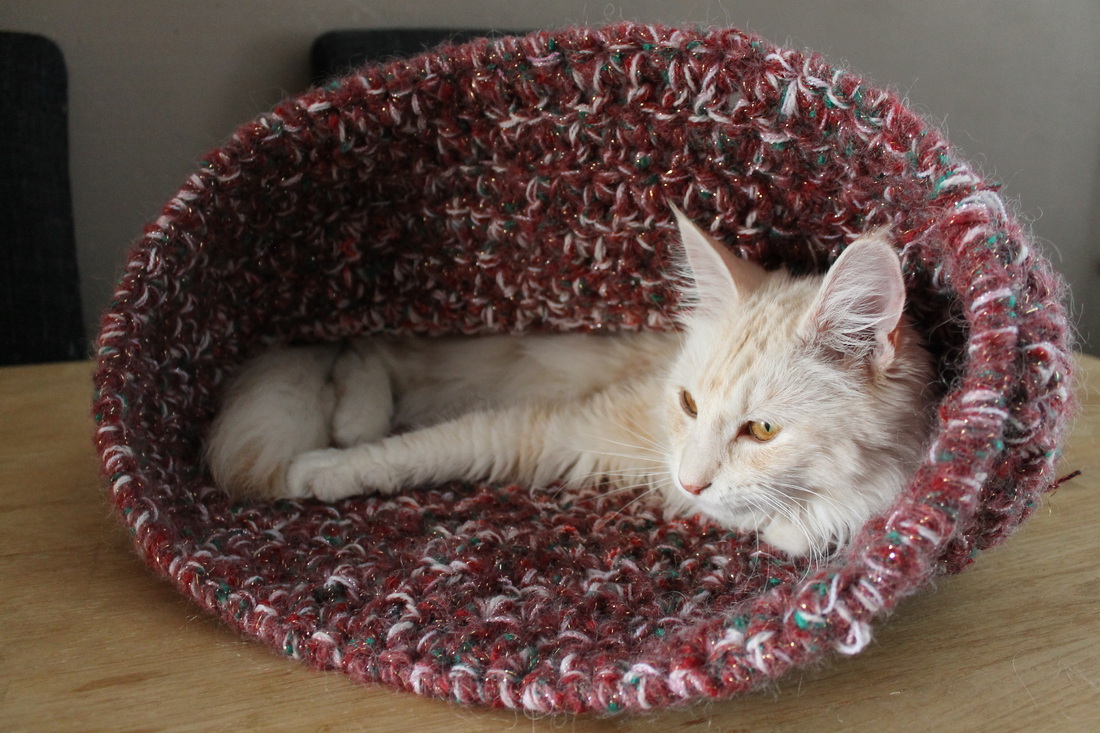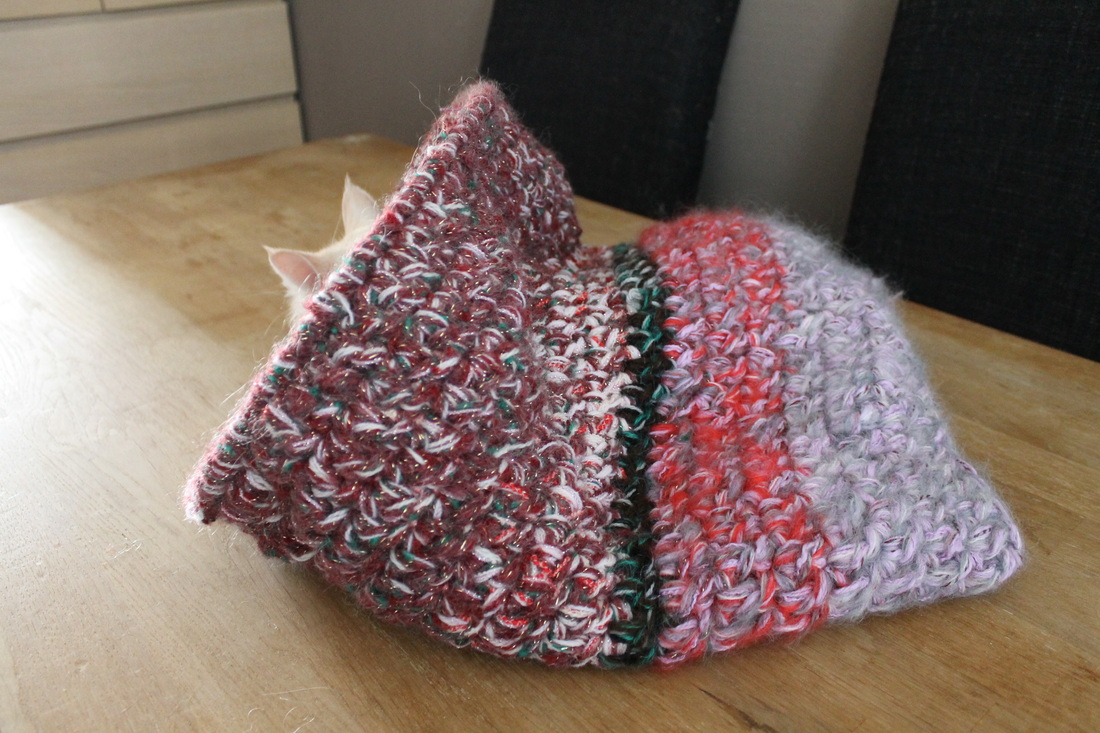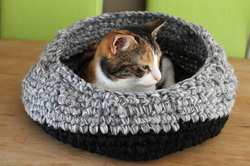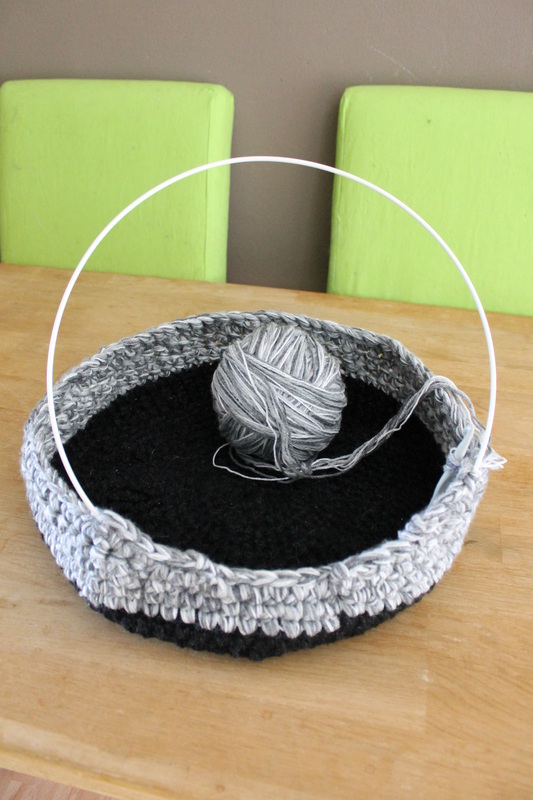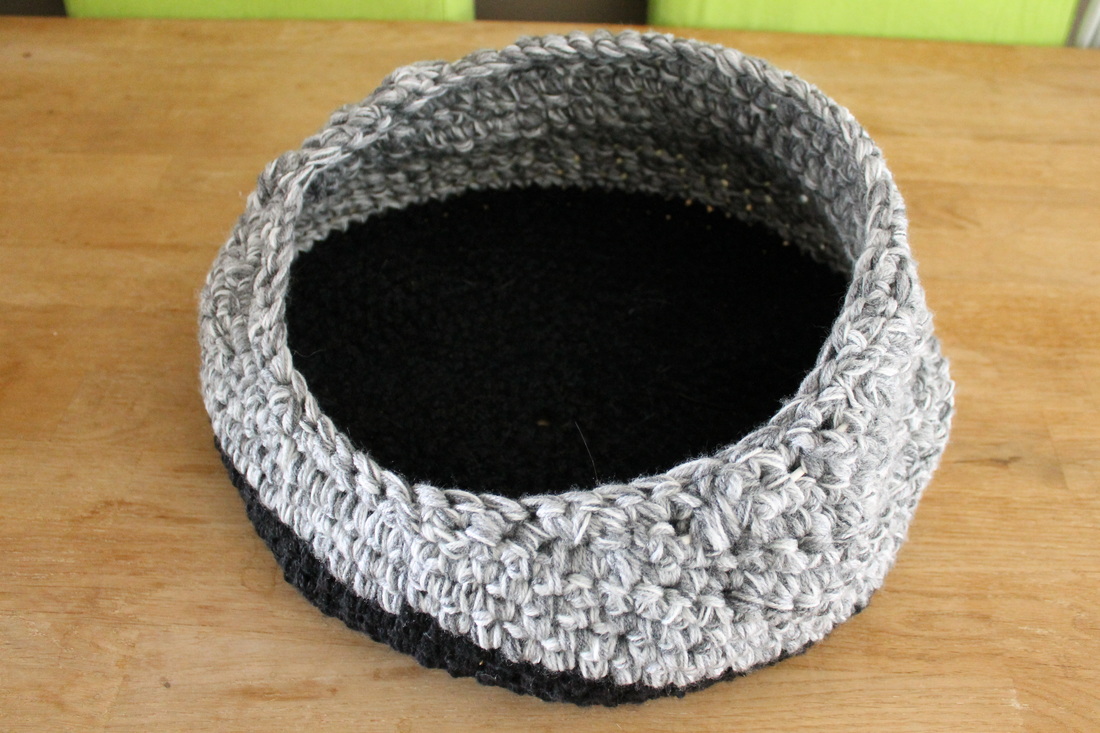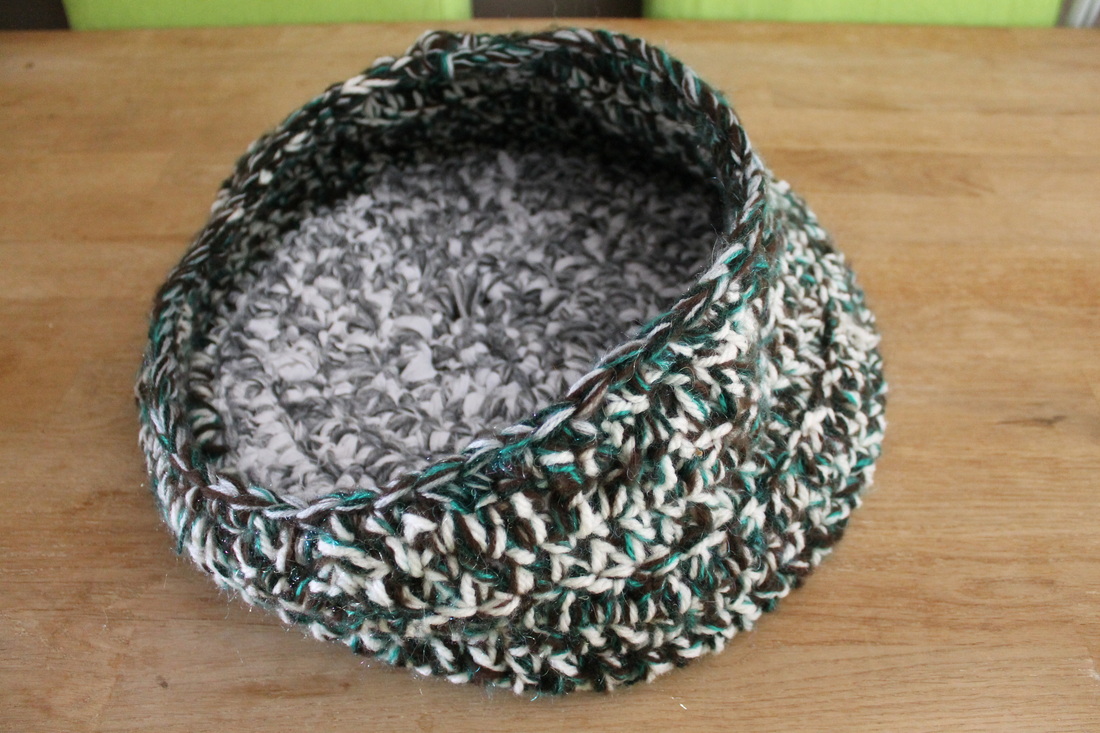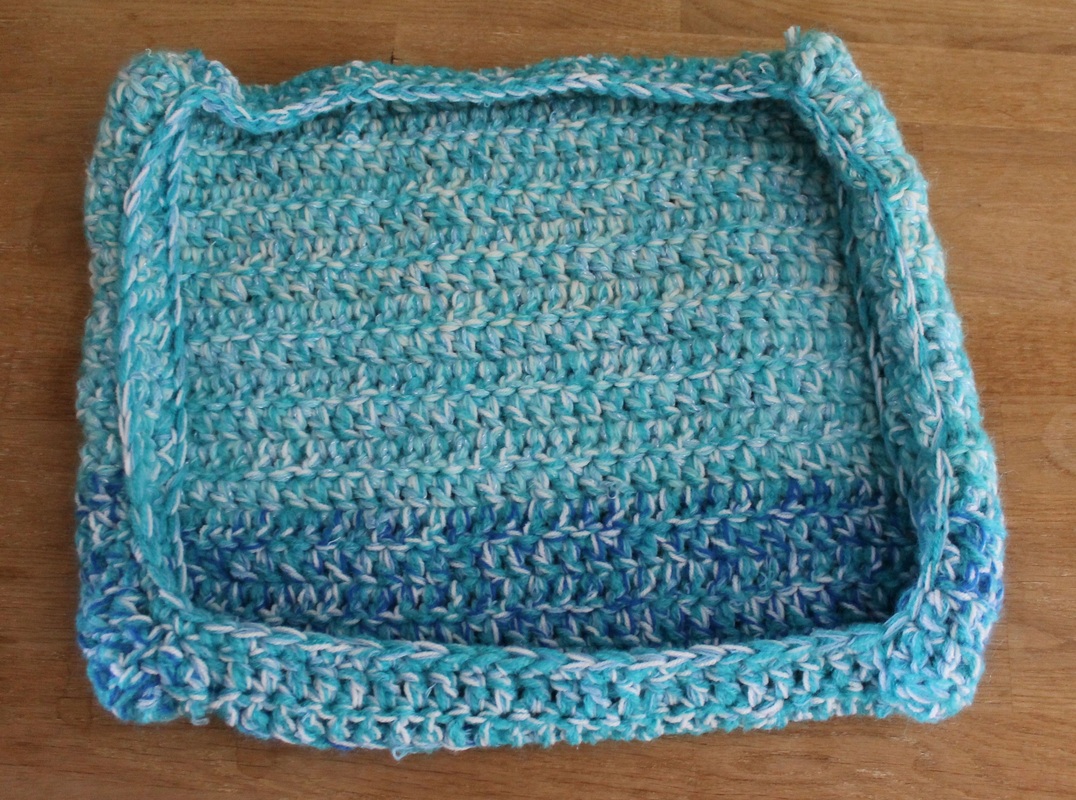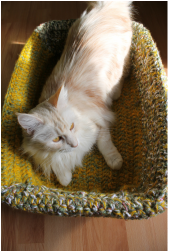
Following up on our cat house on the balcony I was busy these days with making cozy stuff for the inside. One easy project was to transform an old plastic litter box into a sleeping basket. I used left over yarn combined into a bulky thread which I crocheted to make a cover. Turned out very nice I think and based on how the cats were busy testing it, I think they liked it a lot :)
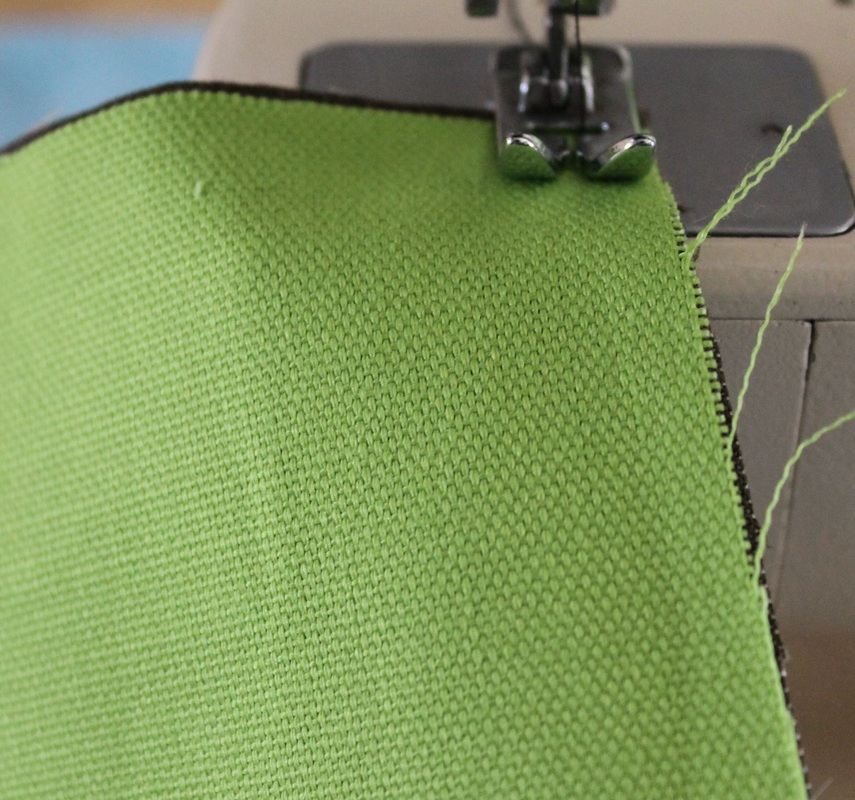
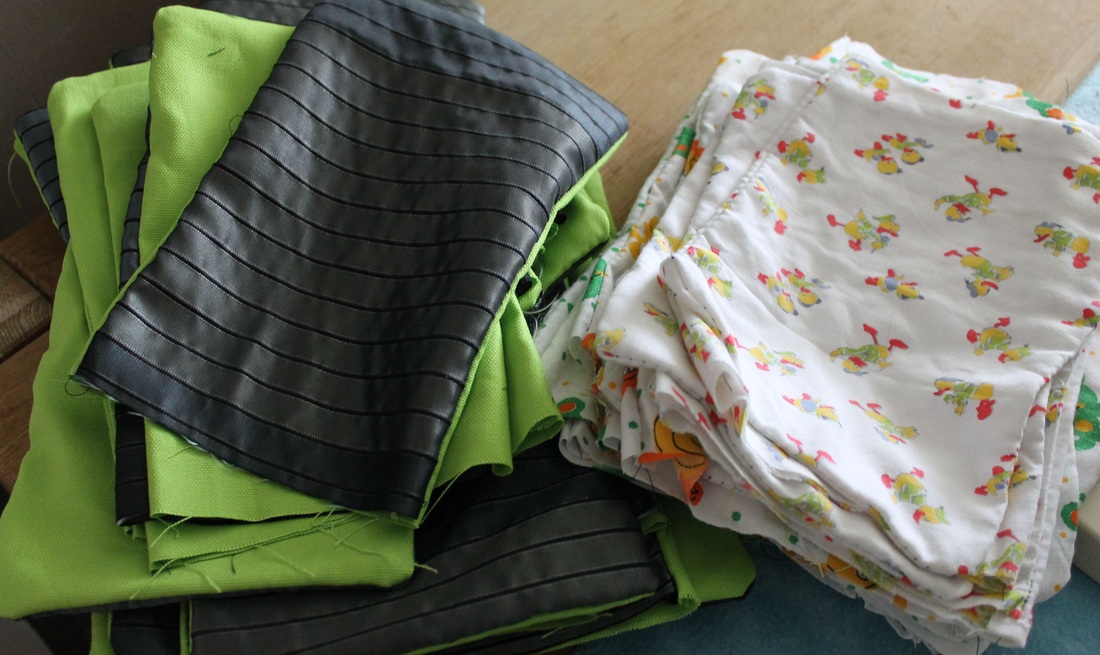
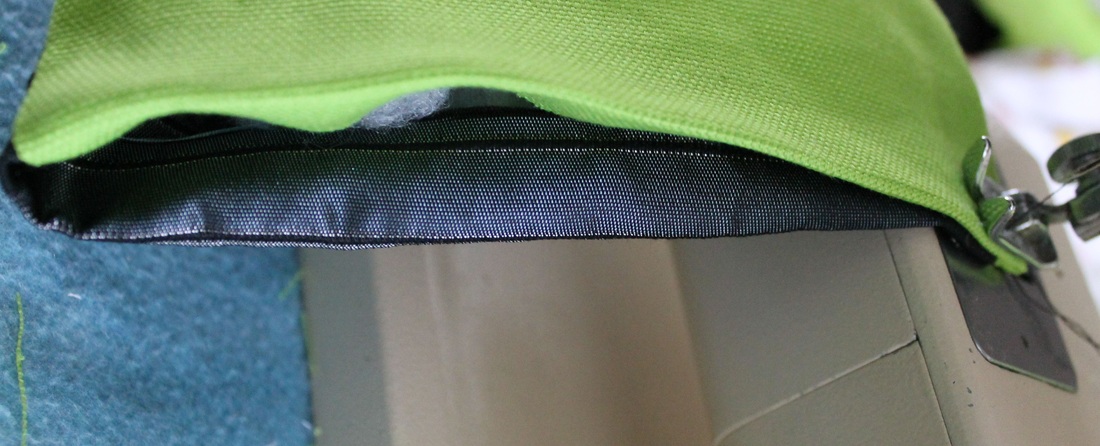
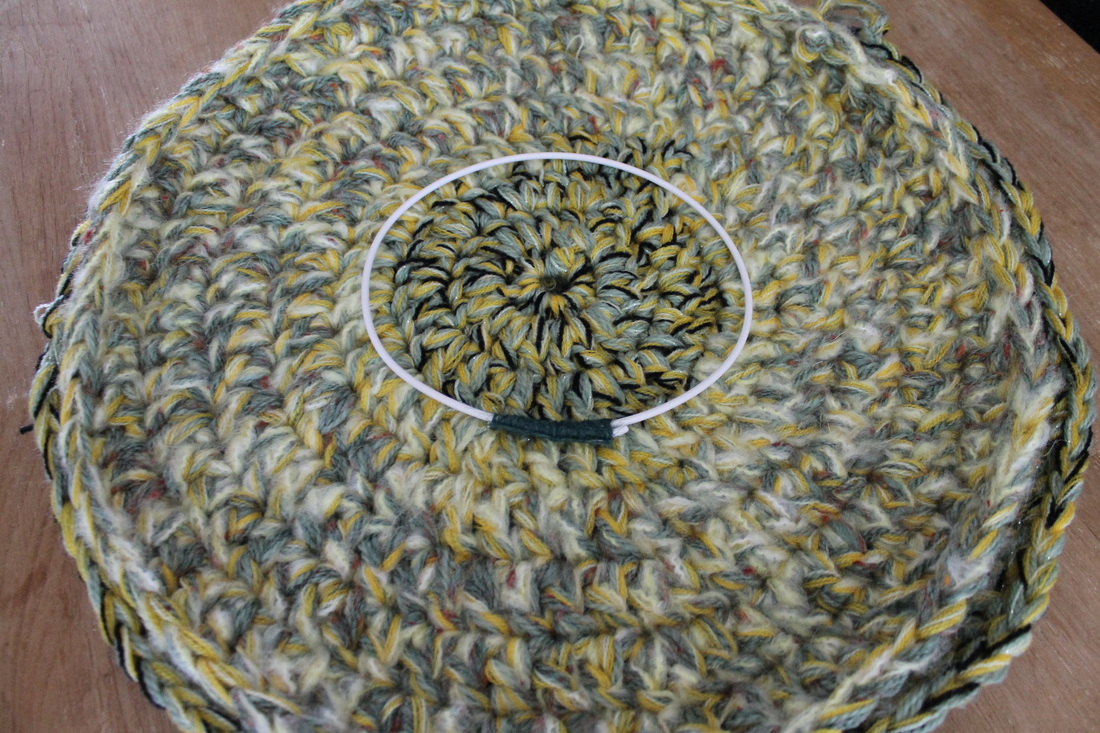
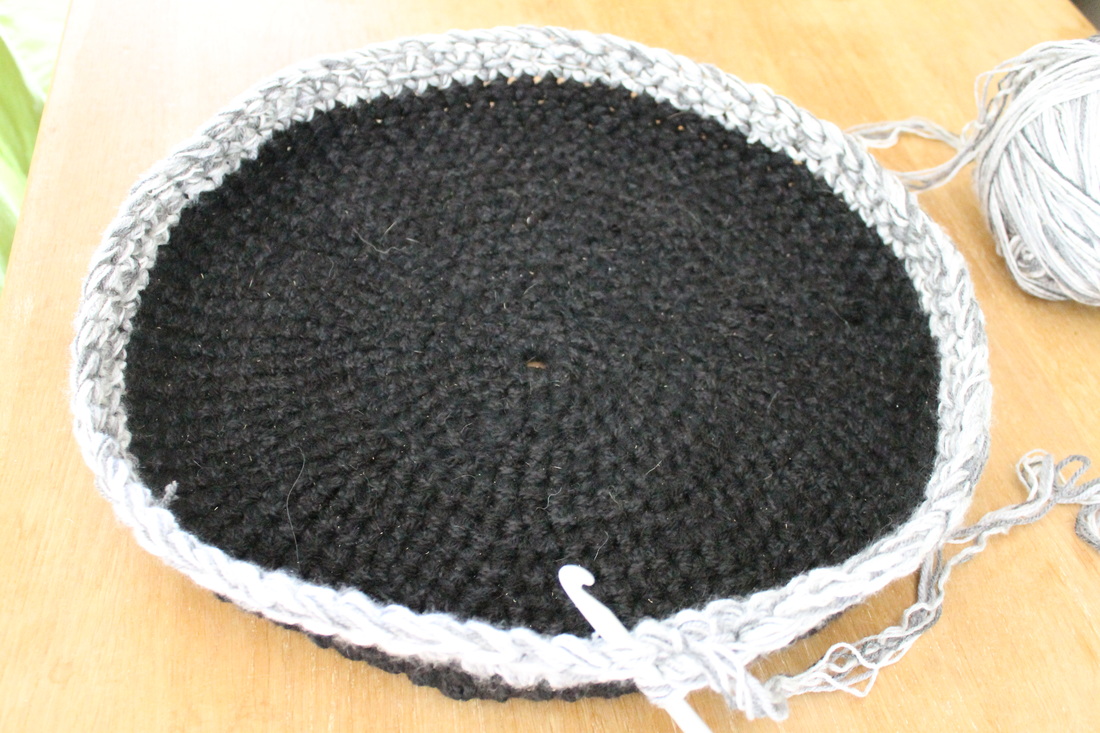
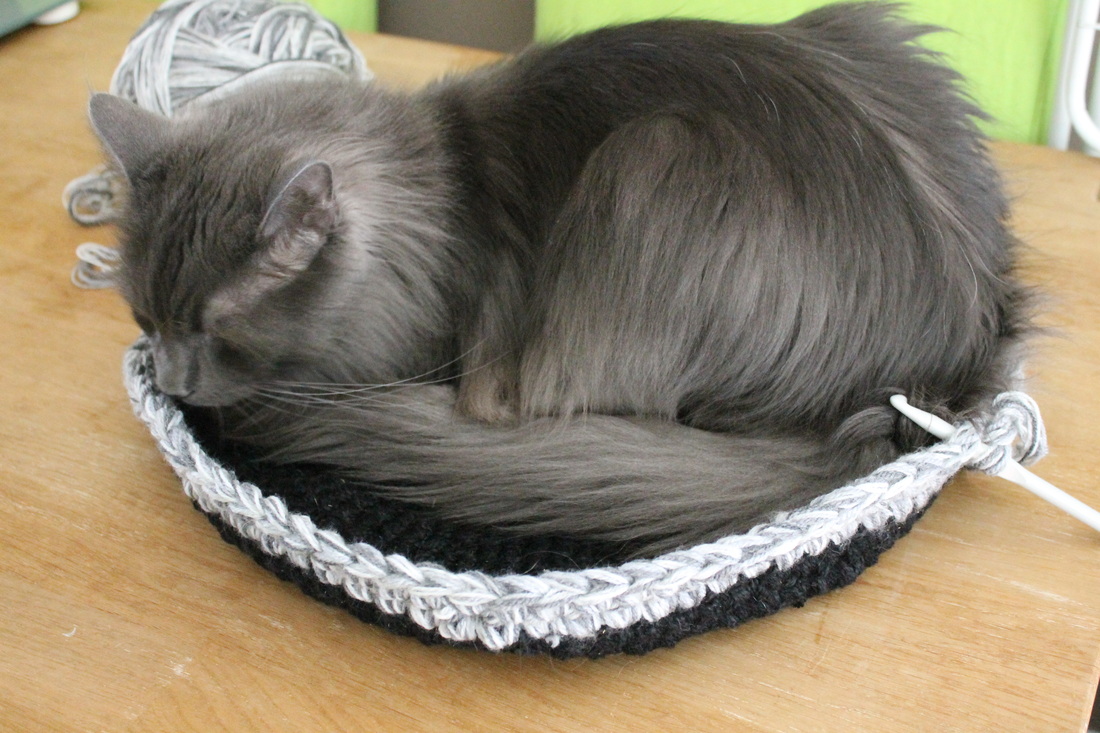
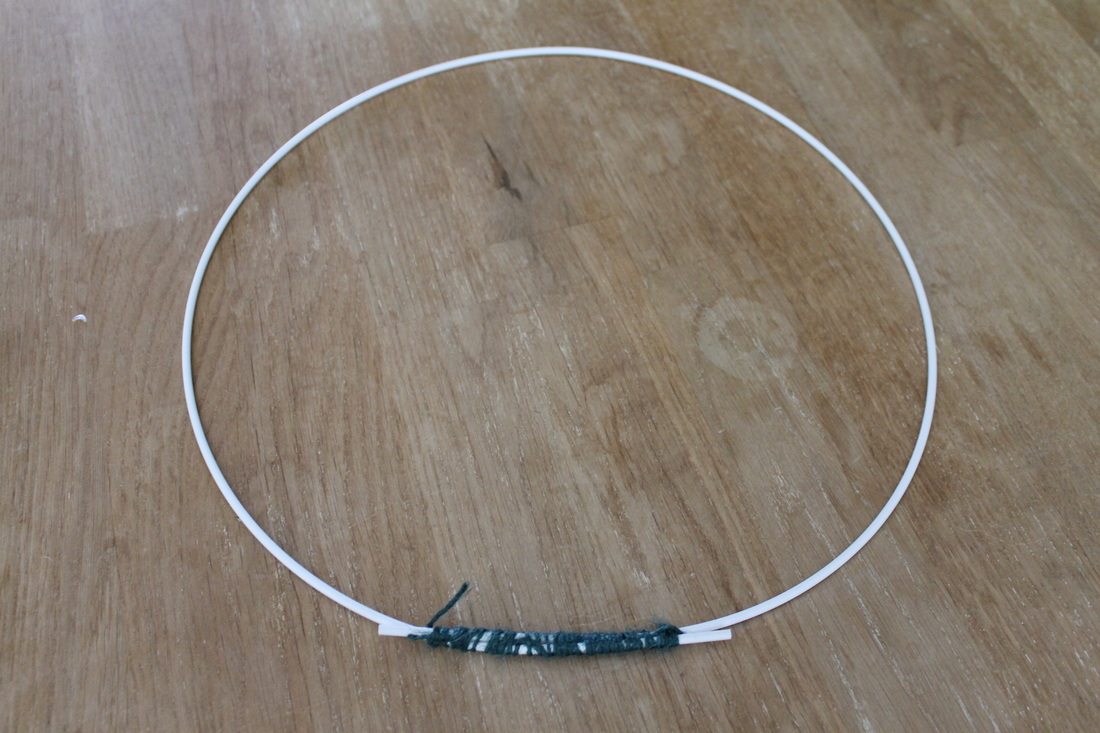
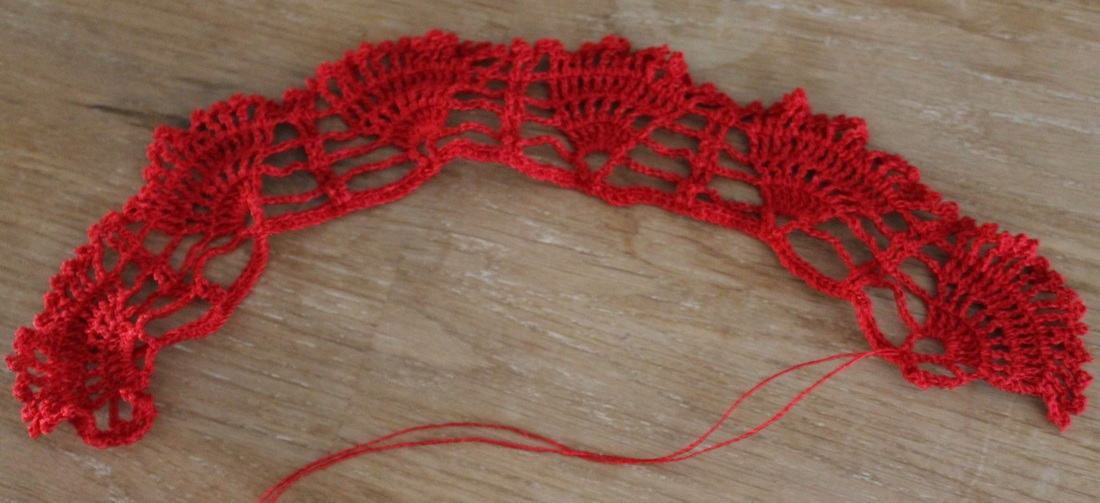
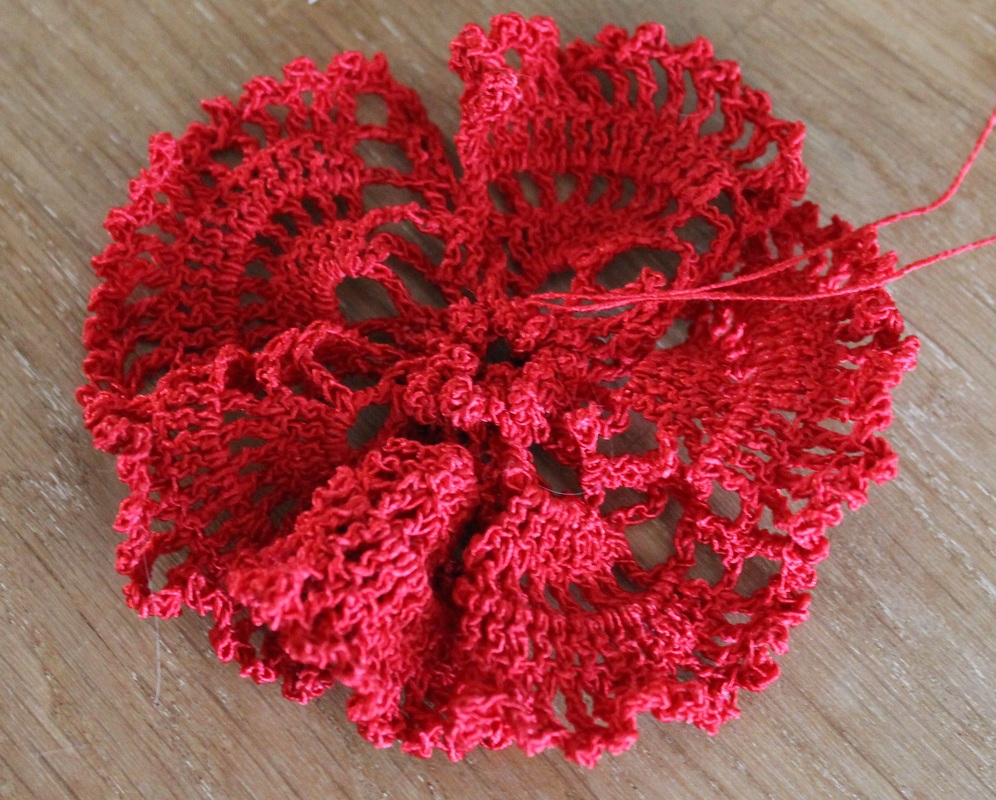
If you feel inspired by this simple recycle-DIY-project, I took some photos to illustrate the process :)
If you feel inspired by this simple recycle-DIY-project, I took some photos to illustrate the process :)